This is Part 1 of Configuration of VMware Site Recovery Manager 6.0
Granting access for pairing the sites
Below Steps for granting access to Administrator Group should be followed on both the ends i.e. it should be added on Production and DR.
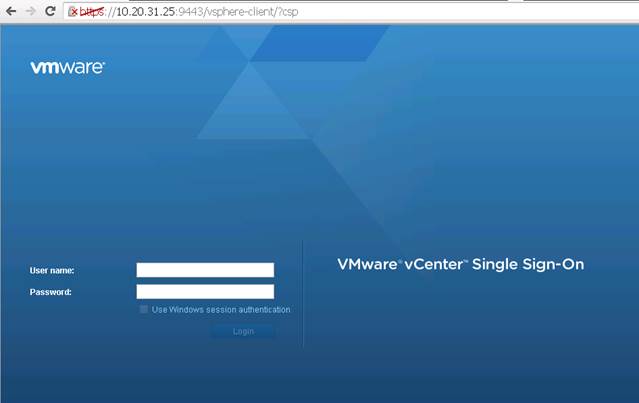
Login to vCenter web Client.
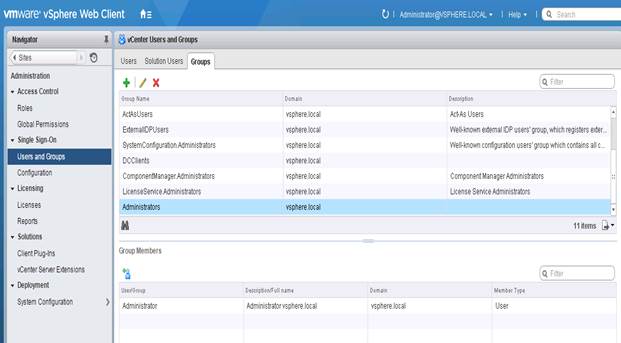
Go to Administrator on Home Page.

In Users and Groups, go to Groups Tab.
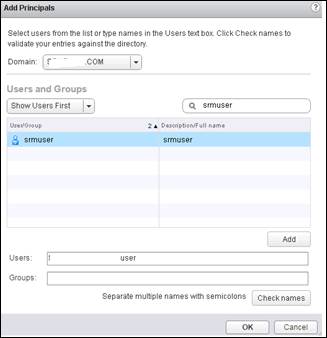
Select Administrator Group. Under Group Members we need to add the service account created by Customer for getting Administrator access on SSO and vCenter.
Search for the user, select the user and click on add to complete the step.
Under Group members you should be able to see the added user.

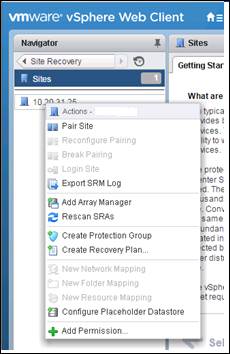
Site Pairing
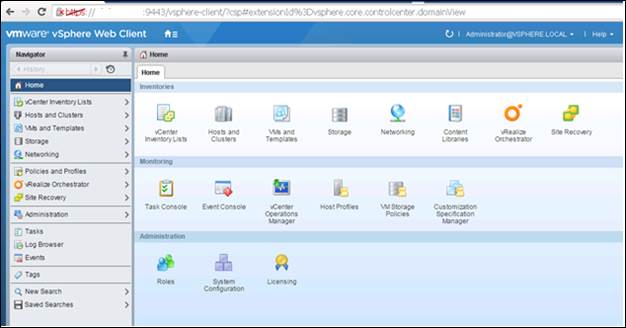
Login to vCenter web Client.
Go to Site Recovery.
In Sites right click on SRM server and then click on Pair Site.
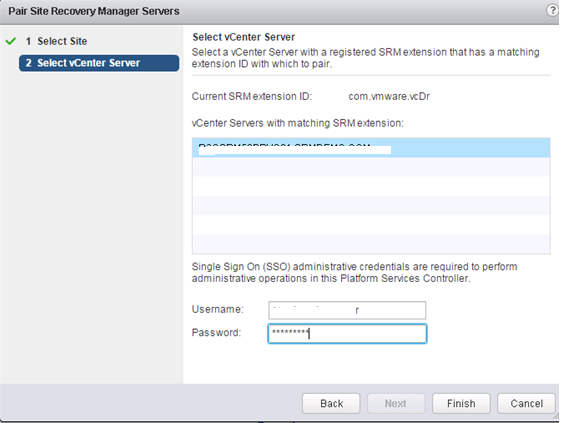
As we are pairing the sites by login to DR vCenter, give Production PSC address (it is embedded in this case so give production vCenter IP address).
Click on Next.

Put down the credentials having access to PSC server.
Click on Finish.
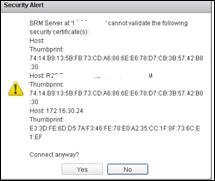
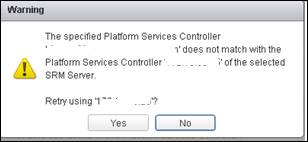
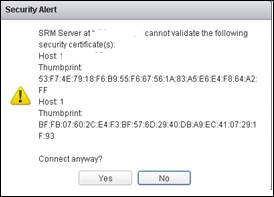
After finishing the wizard you will get 4 different warning popup one by one for certificates, click on Yes for all of them.

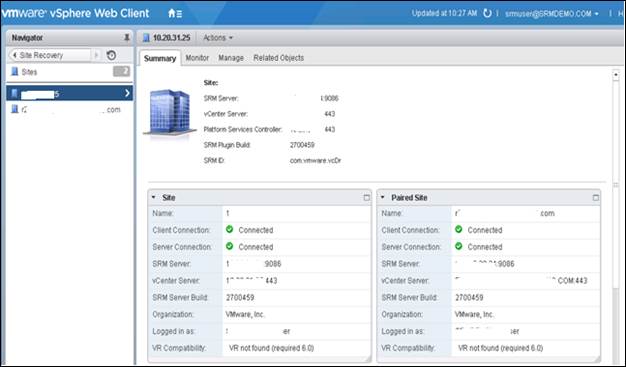
As soon as Site pairing is completed you will be asked to Login to the Site. Enter the credentials to complete the step.

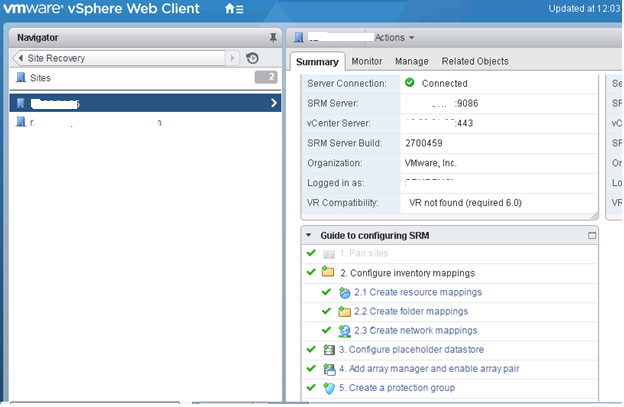
Now you should be able to see both the sites on Summary.
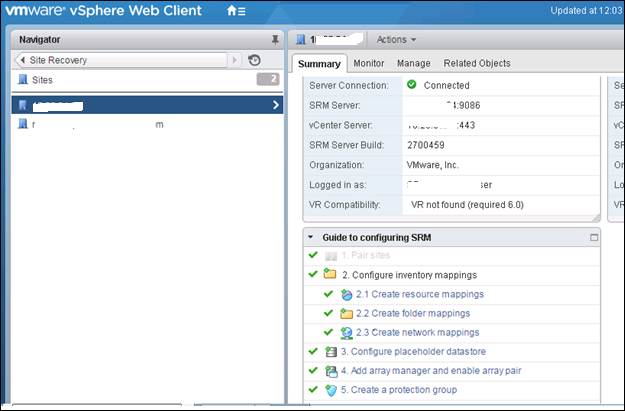
Creating Resource Mapping
In this Step we will be mapping various resources (Cluster, Resource pool) of Production and DR Sites.
Go to Sites, click on one of the sites,
Under Summary, click on Create Resource mapping.
Select the Cluster and resource pool to be mapped between Production and DR.
Click on Add Mapping.
Click on Next.
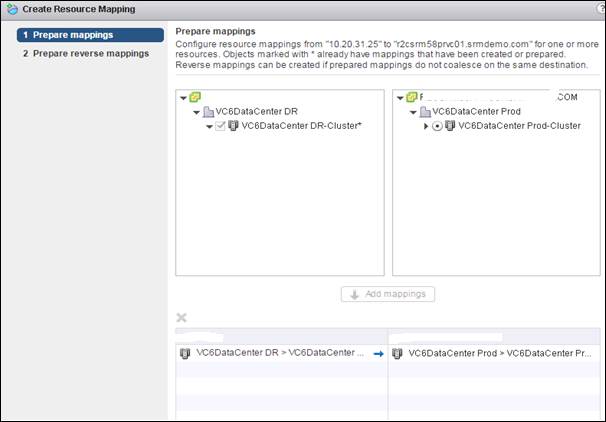
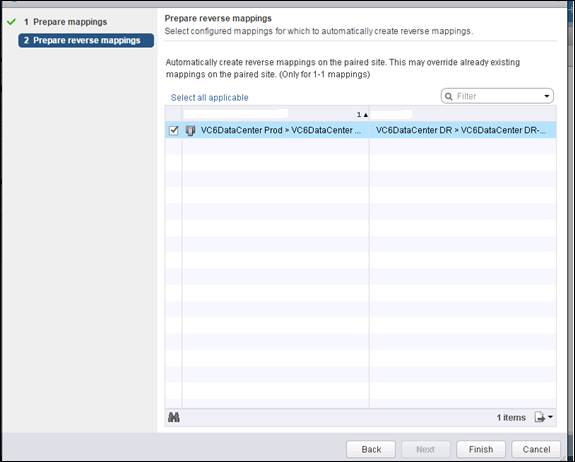
If reverse mapping has to be configured select the mapping.
Click on Finish.
Creating Folder Mapping
In this Step we will be mapping Folder structure (Folders under VM and Templates View) of Production and DR Sites.
Go to Sites, click on one of the sites,
Under Summary, click on Create folder mapping.
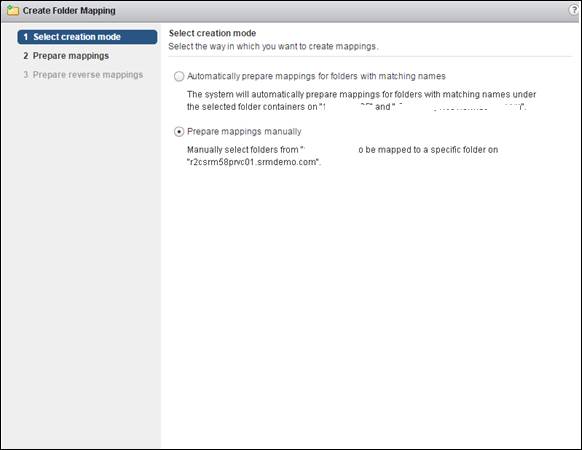
Select Prepare mapping manually.
Click on Next.
Select the folder to be mapped between Production and DR.
Click on Add Mapping.
Click on Next.

If reverse mapping has to be configured select the mapping.
Click on Finish.

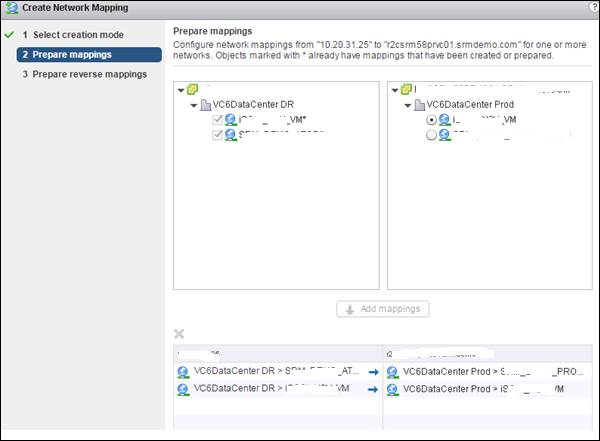
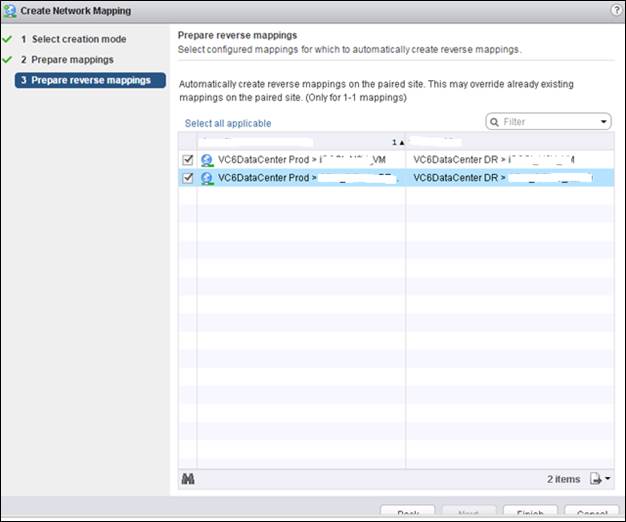
Creating Network Mapping
In this Step we will be mapping Network Port Group of Production and DR Sites.
Go to Sites, click on one of the sites,
Under Summary, click on Create Network mapping.

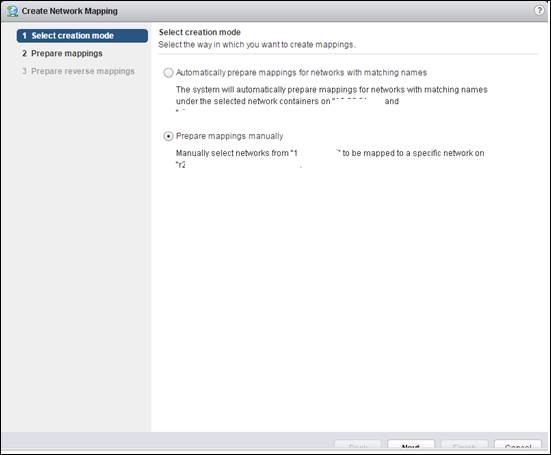
Select Prepare mapping manually.
Click on Next.
Select the Port Groups to be mapped between Production and DR.
Click on Add Mapping.
Click on Next.
If reverse mapping has to be configured select the mapping.
Click on Finish.
Configuring Placeholder Datastore
In this Step we will be Configuring Placeholder datastors on the sites. This step has to be repeated on both the sites individually.
Go to Sites, click on one of the sites,
Under Summary, click on Configure placeholder datastore.
Select the datastore.
Click on ok.

Next Part will include
Configuring and Enabling Array Manager.
Creating Protection Group and Recovery Plan