This is Part 2 of Configuration of VMware Site Recovery Manager 6.0
Adding Array Manager and Enable array pair
In this Step we will be adding Storage appliance IP address as per their respective sites.
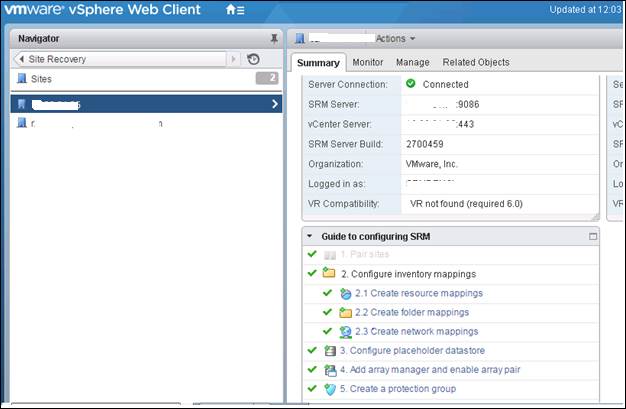
Go to Sites, click on one of the sites,
Under Summary, click on Add array manager and enable array pair.
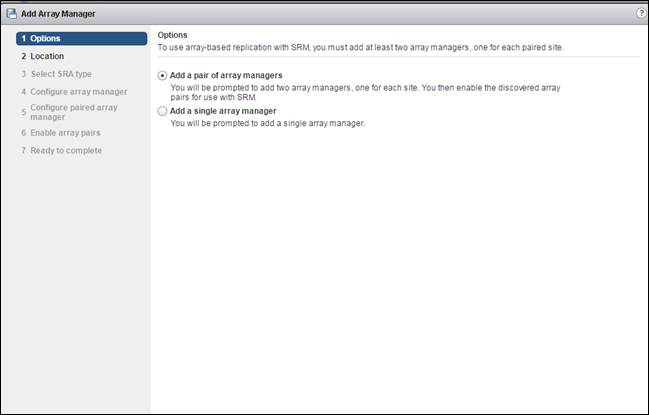
Select Add a pair of array.
Click on Next.
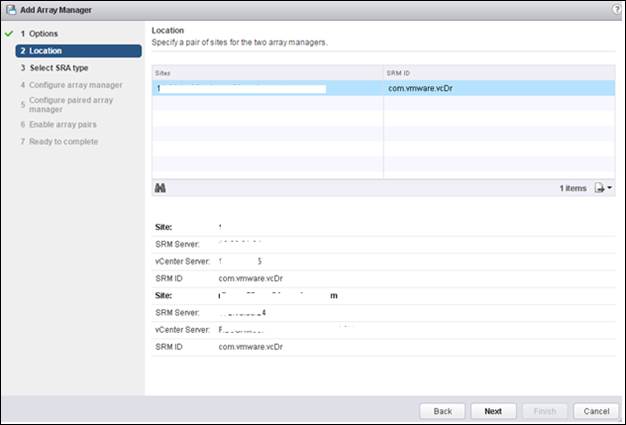
Select the Site.
Click on next.
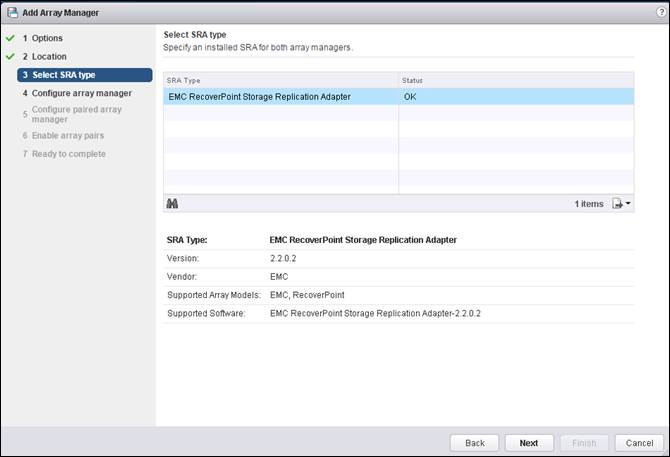
Select the SRA from the List, if we have 2 or more SRA installed on the SRM server. In our case we just have 1
Click on Next.
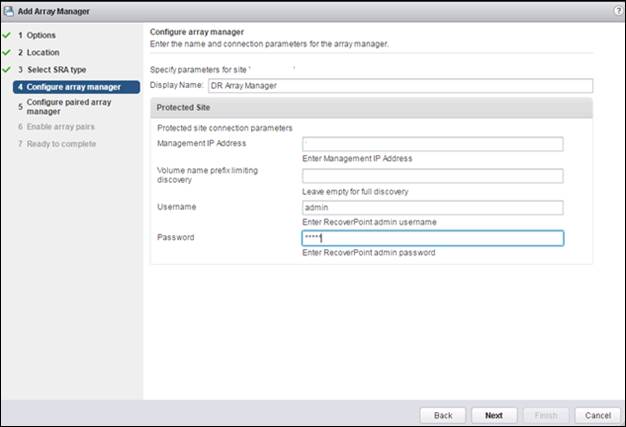
Give a name to the array manager in Display name.
Enter EMC RPA Management IP.
Admin Username and password.
Click on Next.
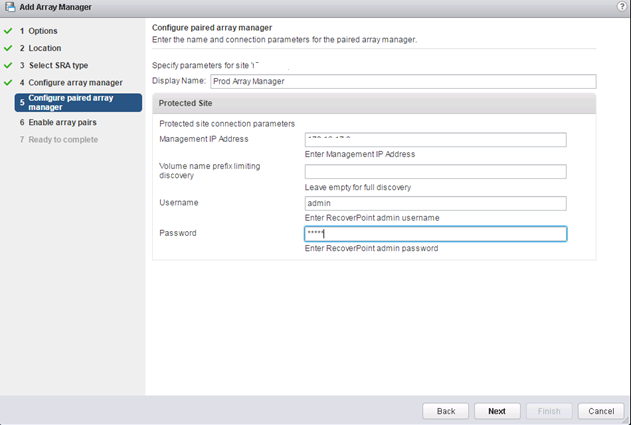
Now give the other Site information below
Give a name to the array manager in Display name.
Enter EMC RPA Management IP.
Admin Username and password.
Click on Next.
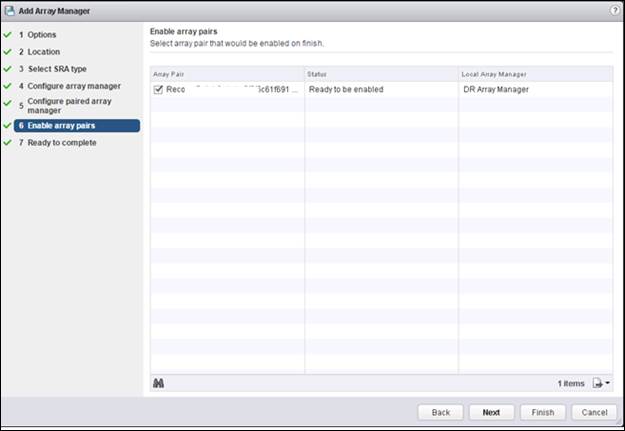
Check the box to enable the array pair.
Click on Next.
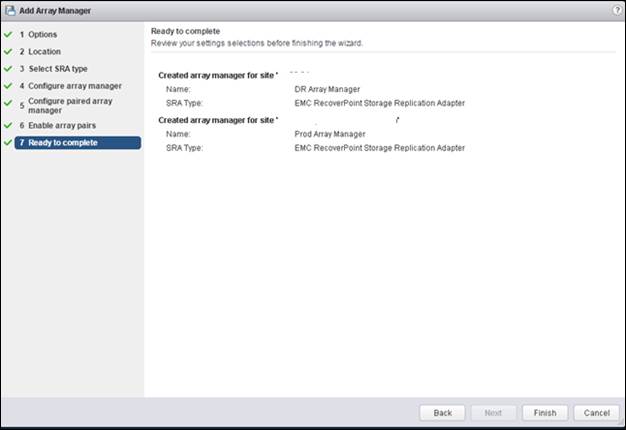
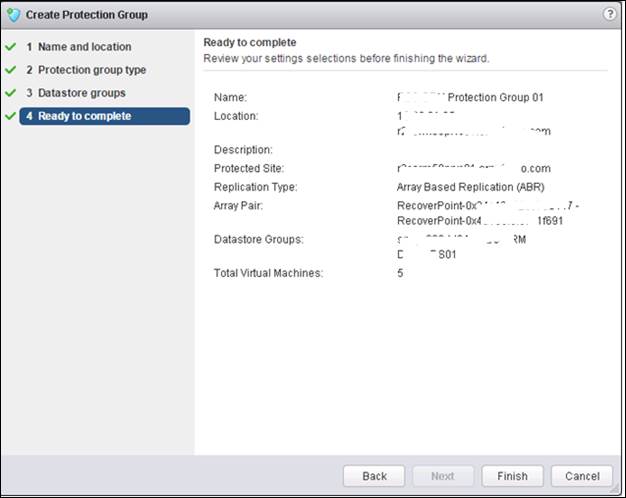
Check all the information under ready to complete.
Click on Finish.
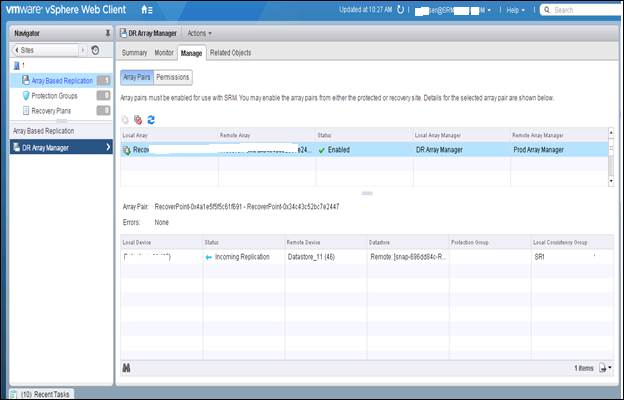
Go to Sites and select array based replication.
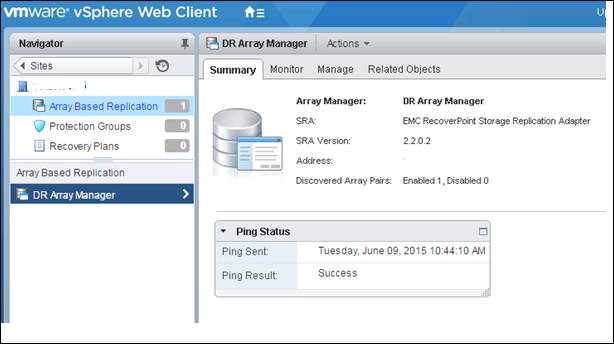
On Selecting the array manager, under manage you should be able to see the array pair and the volumes replicating from Prod to DR.
Creating Protection Group
In this Step we will be Creating Protection Groups
Go to Sites, click on one of the sites,
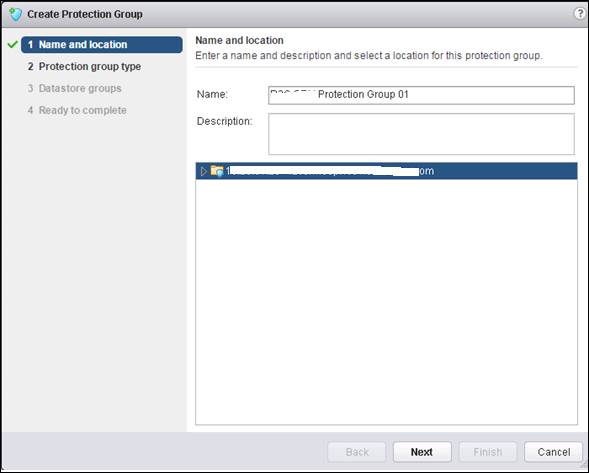
Under Summary, click on Create protection group
Give a name to the Protection Group.
Select the Sites
Click on next.
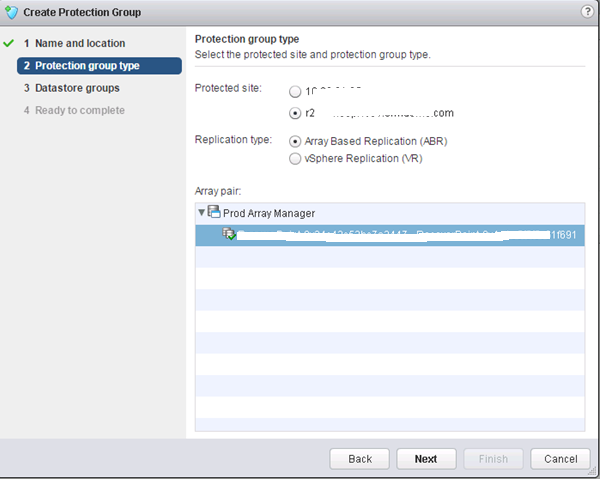
Under Protected Site select the DR site.
In Replication type Select array based replication.
Under array pair select the Recover Point.
Click on Next.
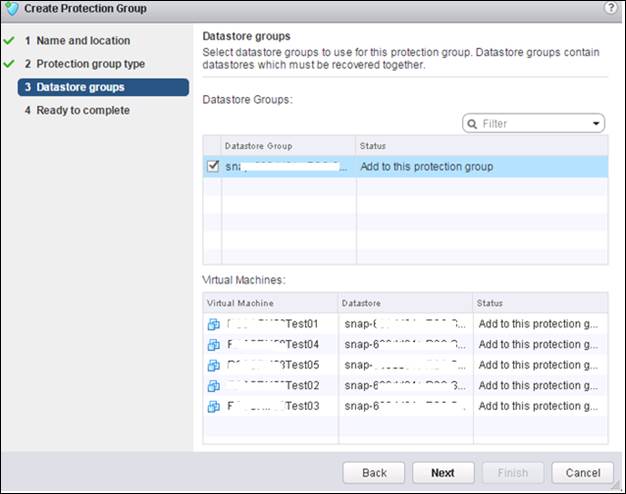
Here you will find the list of all replicated group of datastore.
If you want to create only one protection group select all at once or you can create one protection group for each datastore groups getting replicated.
Select the check box and click on next.
Click on the Finish.
Now under Protection group à related objects à Virtual machine tab you should be able to see all the protected VM and its status.

Creating Recovery Plan
In this step we configure a recovery plan according to which VM gets recovered at DR at the time of Disaster or test.
Go to Sites, click on one of the sites,
Under Summary, click on Create a recovery plan.
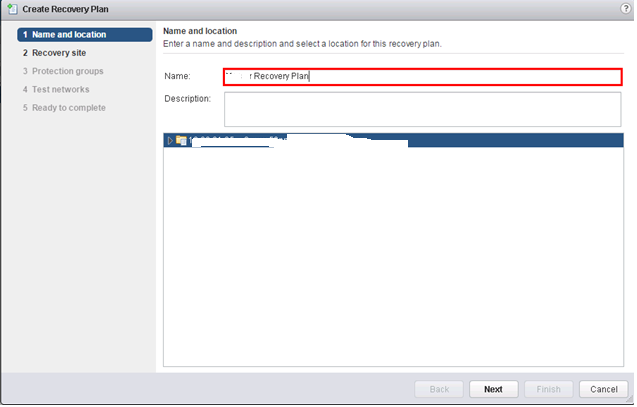
Give a name to the Recovery Plan.
Select the Sites
Click on next.
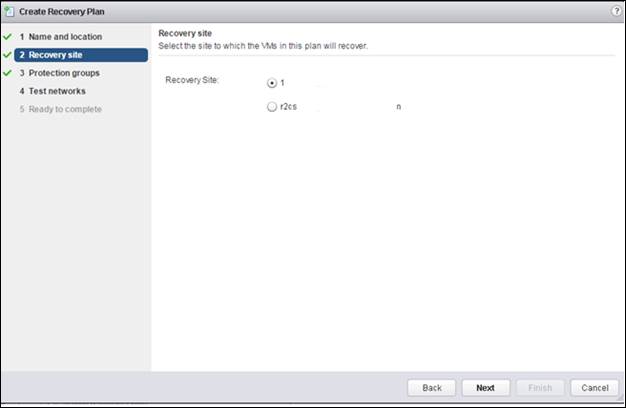
Select the recovery Site.
Click on Next.
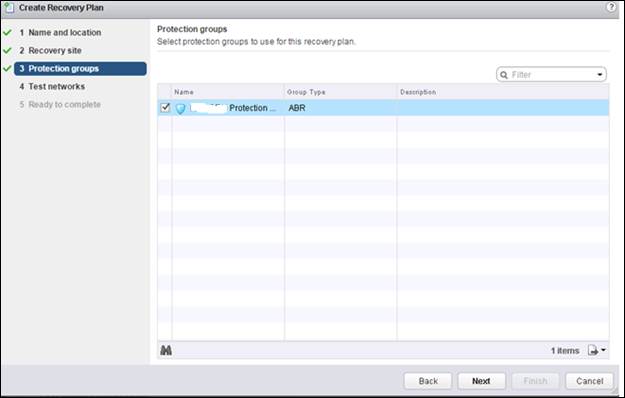
Select the Protection Group from the List to be recovered. It can be one or more depending on the requirement.
Click on Next.
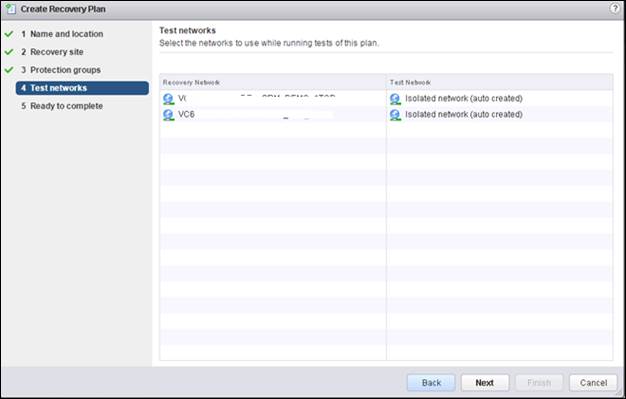
Select the networks from the drop down under Test network.
Click on Next.
Check the Ready to complete details
Click on Finish.

Now SRM is fully configured and ready to execute Test Failover / Disaster Recovery. Always perform Test failover after initial configuration so ensure it is working as expected