Creating System DSN Connection
Following screen shots illustrates Creation of System DSN Connection to connect with remote Microsoft SQL Database which is already created by SQL admins.
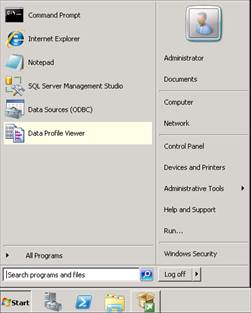
Ø Go to Start à Administrative Tools à Select Data Sources (ODBC)
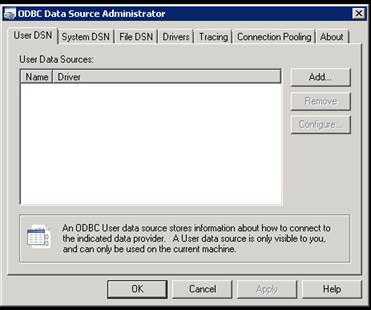
Ø Select System DSN Tab.
Ø Click on Add
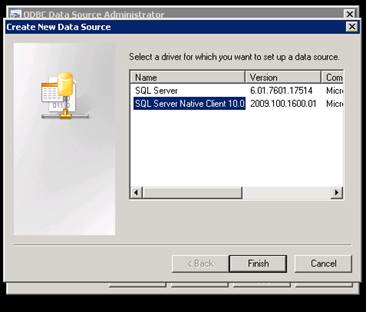
Ø Select SQL Server Native Client.
;Ø ;Click on Finish
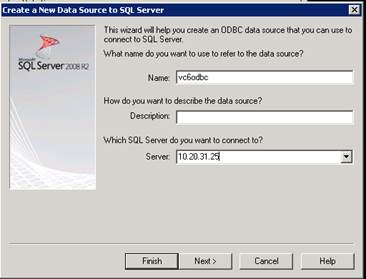
Ø Give a name for crating ODBC Connection, MS SQL Instance name in Server Field.
Ø Click on Next.
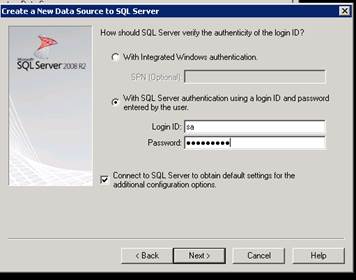
;Ø Give the SQL credential created for the vCenter database.
Ø Click on next.
Ø Select the database created for vCenter installation.
Ø Click on Next

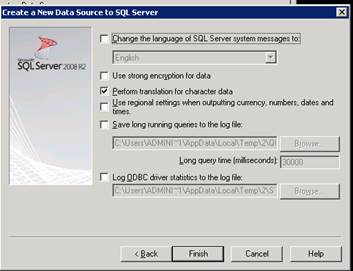
Ø Click on Finish leaving all the values default.
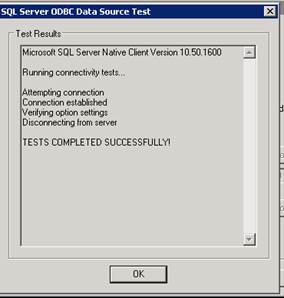
Ø Now Click on Test Data Source to check the connectivity.
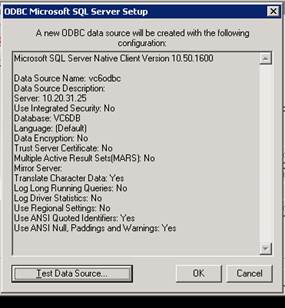
Ø If it says Tests Completed successfully, which means ODBC connection to vCenter database has been created and is able to reach the SQL server without any issue.
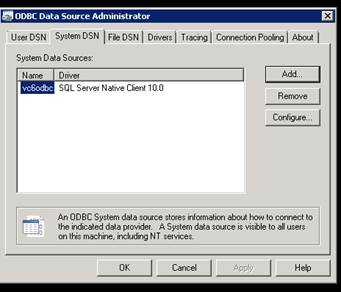
;Ø Now on System DSN we should be able to see newly created ODBC connection.
Installation of VMware vCenter 6.0
Following screen shots illustrates installation of VMware vCenter 6.0 on a windows 2008 R2 VM with an external Microsoft SQL 200r R2 database.
Note: MS SQL 2008 R2 SP1 is the minimum external database requirement for the installing vCenter 6.0.
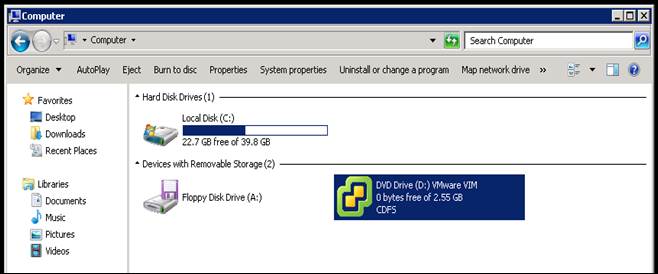
;Ø Mount the VMware vCenter installable ISO on the Windows VM.
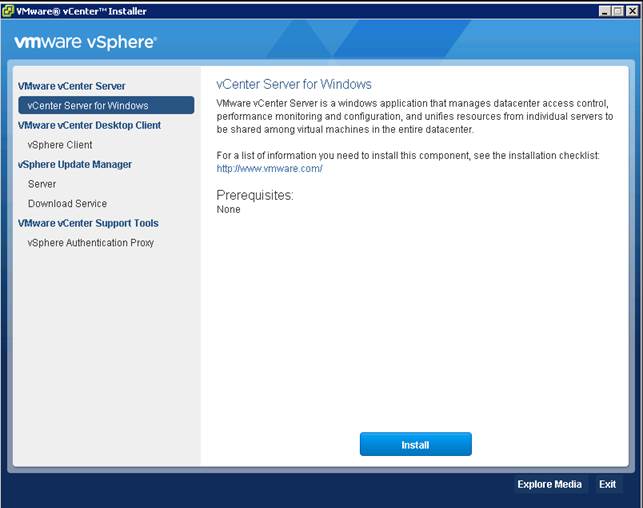
On opening the installable, we will see very less option for installation when compared to older version of vCenter 5.0/5.1/5.5. Now by default most of the components get installed (if we check in services we will find 30 odd VMware related services, very few are disabled by default).
Note: Hardware requirement for vCenter 6.0 has been increased to minimum 8 GB RAM.
;Ø To continue with the installation, Select vCenter Server for Windows.
Ø Click on Install

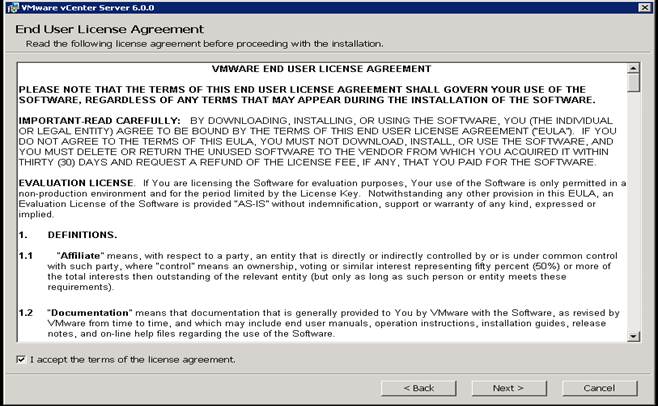
Ø You will see a welcome Wizard.
Ø Click on Next.

Ø Check the box for accepting the license agreement
Ø Click on Next
There is a significant Architecture change in SSO process in vCenter 6.0. The new version SSO is called as Platform Service Controller. Please check the VMware documentation for more details.
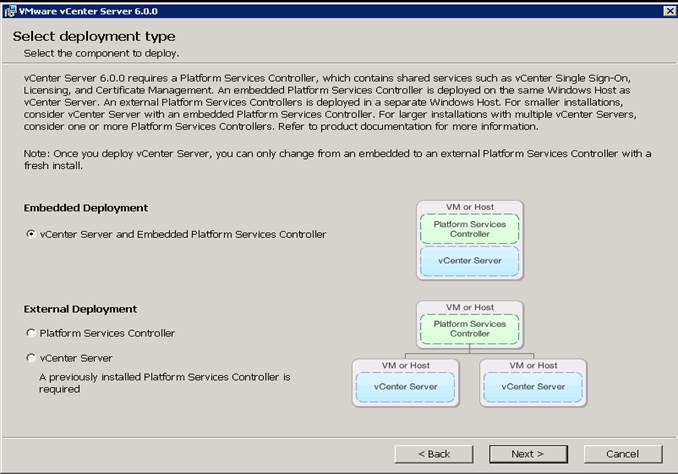
In below screenshot we have 2 different options of installing vCenter.
I. Embedded Deployment: Installing Platform Services Controller and vCenter on the same Windows Server.
II. External Deployment: Installing Platform Services Controller and vCenter on 2 different windows Server.
Ø For our installation scenario select Embedded Deployment.
Ø Click on Next.
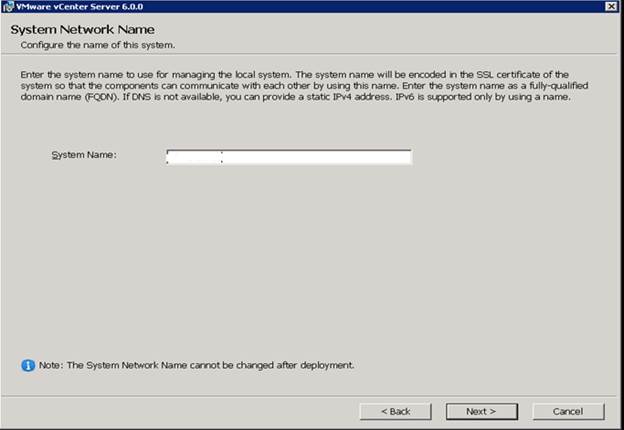
Ø As we are installing vCenter on a workgroup Windows VM which will be added to domain afterwards, give IP address of the VM under System Name.
Ø Click on Next
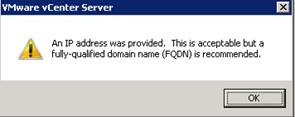
Ø Click on OK to ignore this message as it is not applicable in our scenario.
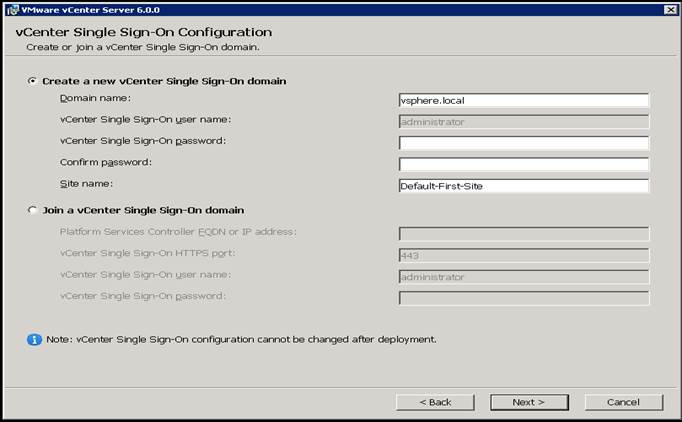
Ø Select Create a new vCenter SSO domain, leave the default values.
Ø Click on Next.
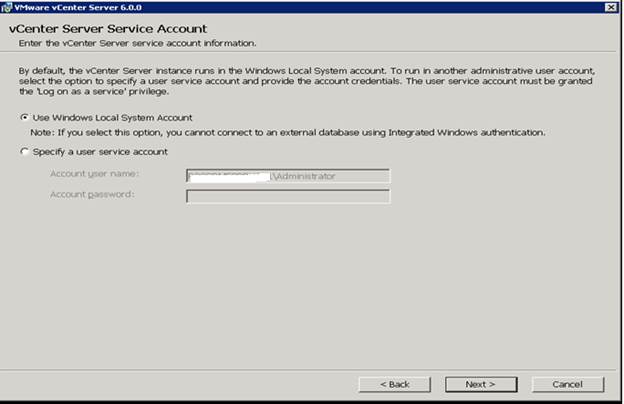
Ø Use Windows Local system account for installation.
Ø Click on Next
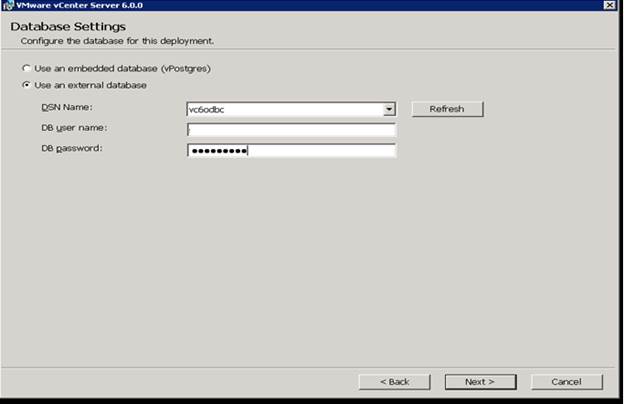
Ø Select Use an external database, select the ODBC connection name we created before and the SQL credentials for authentication.
Ø Click on Next
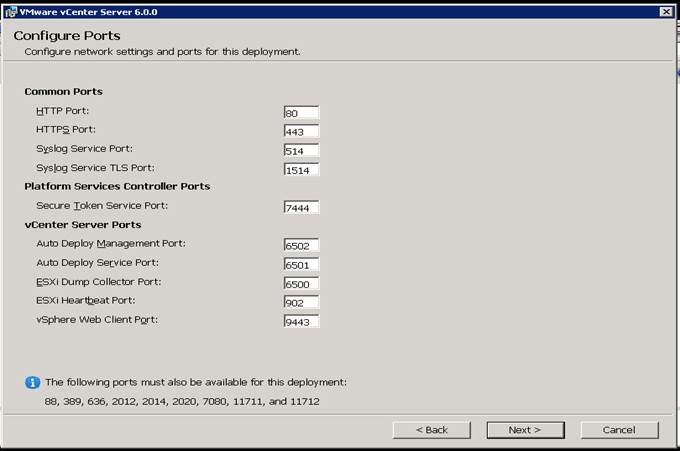
Ø Leave all the ports value to default.
Ø Click on Next
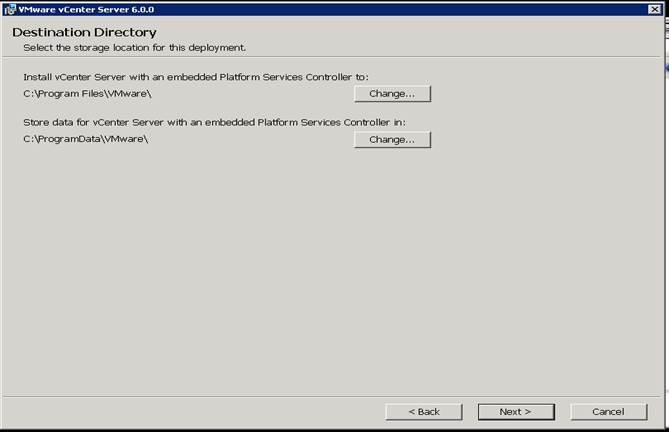
Ø Leave all the value to default.
Ø Click on Next
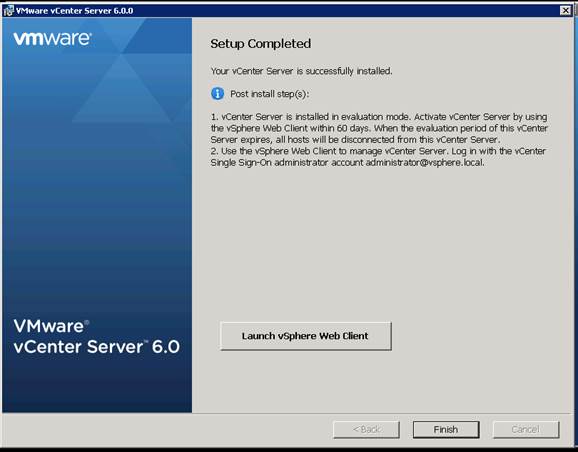
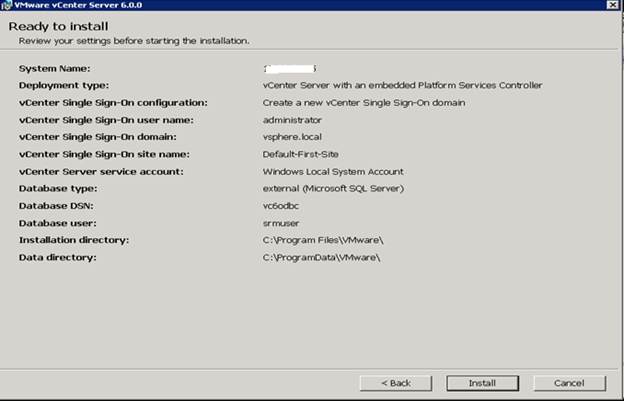
Ø Click on Install.
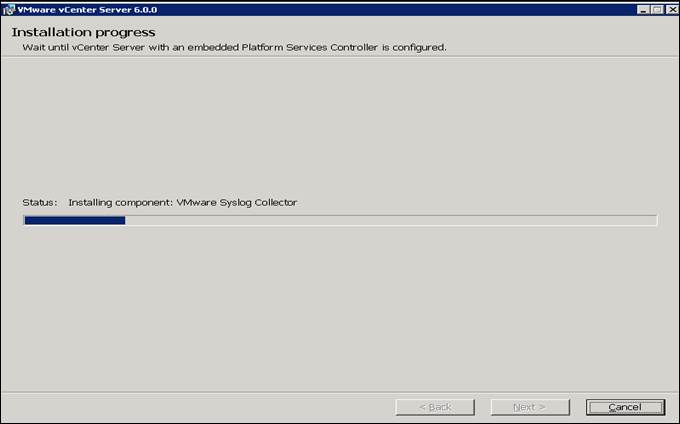
Ø Installation of VMware vCenter 6.0 is complete now.