Access the web client http://ipaddress:9443/vsphere-client and Navigate to the Distributed Switches and Click Add Button(Green Plus Sign)
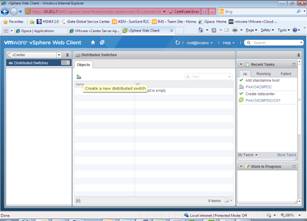
It will open up the new DVSwitch Wizard

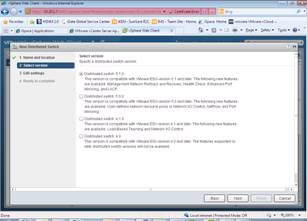
Select the version of DVSwitch. We have ESXi 5.0 so we selected the second option which is version 5.0.0
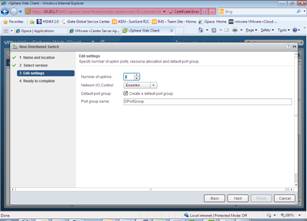
Select the Number of Uplinks. Default is 4 and Whether Default Port Group should be created or not
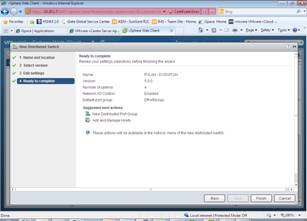
Confirm the settings on the Ready to Complete Screen
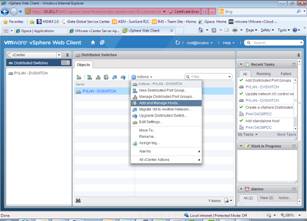
Now we have to Add and Manage Hosts from the Actions Menu
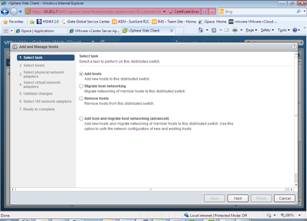
It will open up the Add Host Wizard
Click Add Button (Green Plus Sign) and select the Host
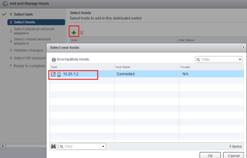
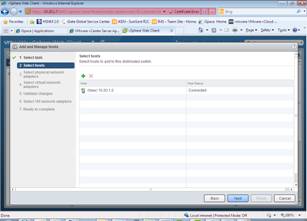
Select the Host and Click Next
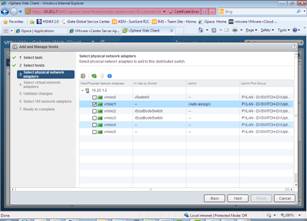
Select the NIC to be used as uplink for DVSwitch
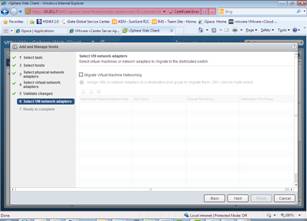
Optionally you can migrate the existing Virtual Adapter to the DVSwitch. In our case we will skip it

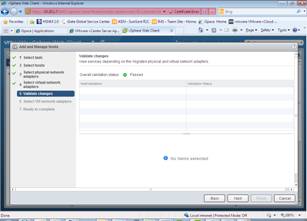
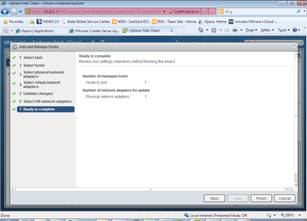
Confirm Settings on Ready to Complete Screen
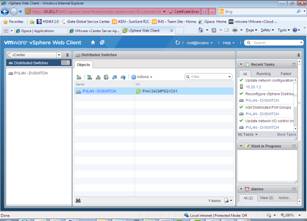
You should see the newly created DVSwitch. For our case we created the switch for testing PVLAN
Keep an eye on the next post it will be for PVLANs
I gather more information through this article, so please keep me informed of any update in this regard. For more relevant articles click on: how to recover deleted datacustom filedisk image softwareretrieve deleted files windowsdiskdiggerdiskdigger prousb drivedownload diskdigger