
September 2026 Update: This guide was originally published in June 2025 using Tanzu Hub 10.2. It has now been updated for Tanzu Hub 10.4.5
In this blog, I will walk through the following
- Architecture Diagram of the new Tile-Based Installation of VMware Tanzu Hub
- Installation requirements
- Download VMware Tanzu Hub Tile
- Configure VMware Tanzu Hub Tile Settings
- Deploy VMware Tanzu Hub
What is VMware Tanzu Hub
VMware Tanzu Hub provides a unified management experience for Tanzu environments, applications, development environments and the infrastructure supporting them. It is designed to provide centralized visibility and management across multiple Tanzu Foundations rather than requiring administrators and platform teams to work independently with each individual environment.
This becomes particularly useful when an organization operates multiple Tanzu Foundations and wants a common operational view across those environments. With Tanzu Hub, platform teams can discover, monitor and manage resources across their Tanzu environment from a centralized interface.
VMware Tanzu Hub Tile Architecture
Tanzu Hub installation is a tile-based installation on Tanzu Operations Manager/ Foundation Core
This provides a much simpler zero-touch experience and has very few prerequisites
It deploys the following component VMs
|
|
Component |
Type | Description |
| 1 |
Control |
Stateless |
Hosts all stateless services and orchestrators |
| 2 | System | Stateless | Runs core platform services that are stateless by design |
| 3 | Registry | Stateless | Hosts an OCI-compliant registry that stores and serves packaged service components |
| 4 | Database | Stateful |
Maintains structured data required for the platform to function |
| 5 | Messaging | Stateful |
Often includes message queues or brokers that buffer or route messages between services |
| 6 | Metric Store | Stateful | Collects and persists time-series data for performance monitoring |
| 7 | Monitoring |
Stateful |
Runs agents and backend components for observability dashboards and alerting |
| 8 | Blob Store | Stateful |
Stores binary artifacts that must persist independently of the container or app lifecycle |
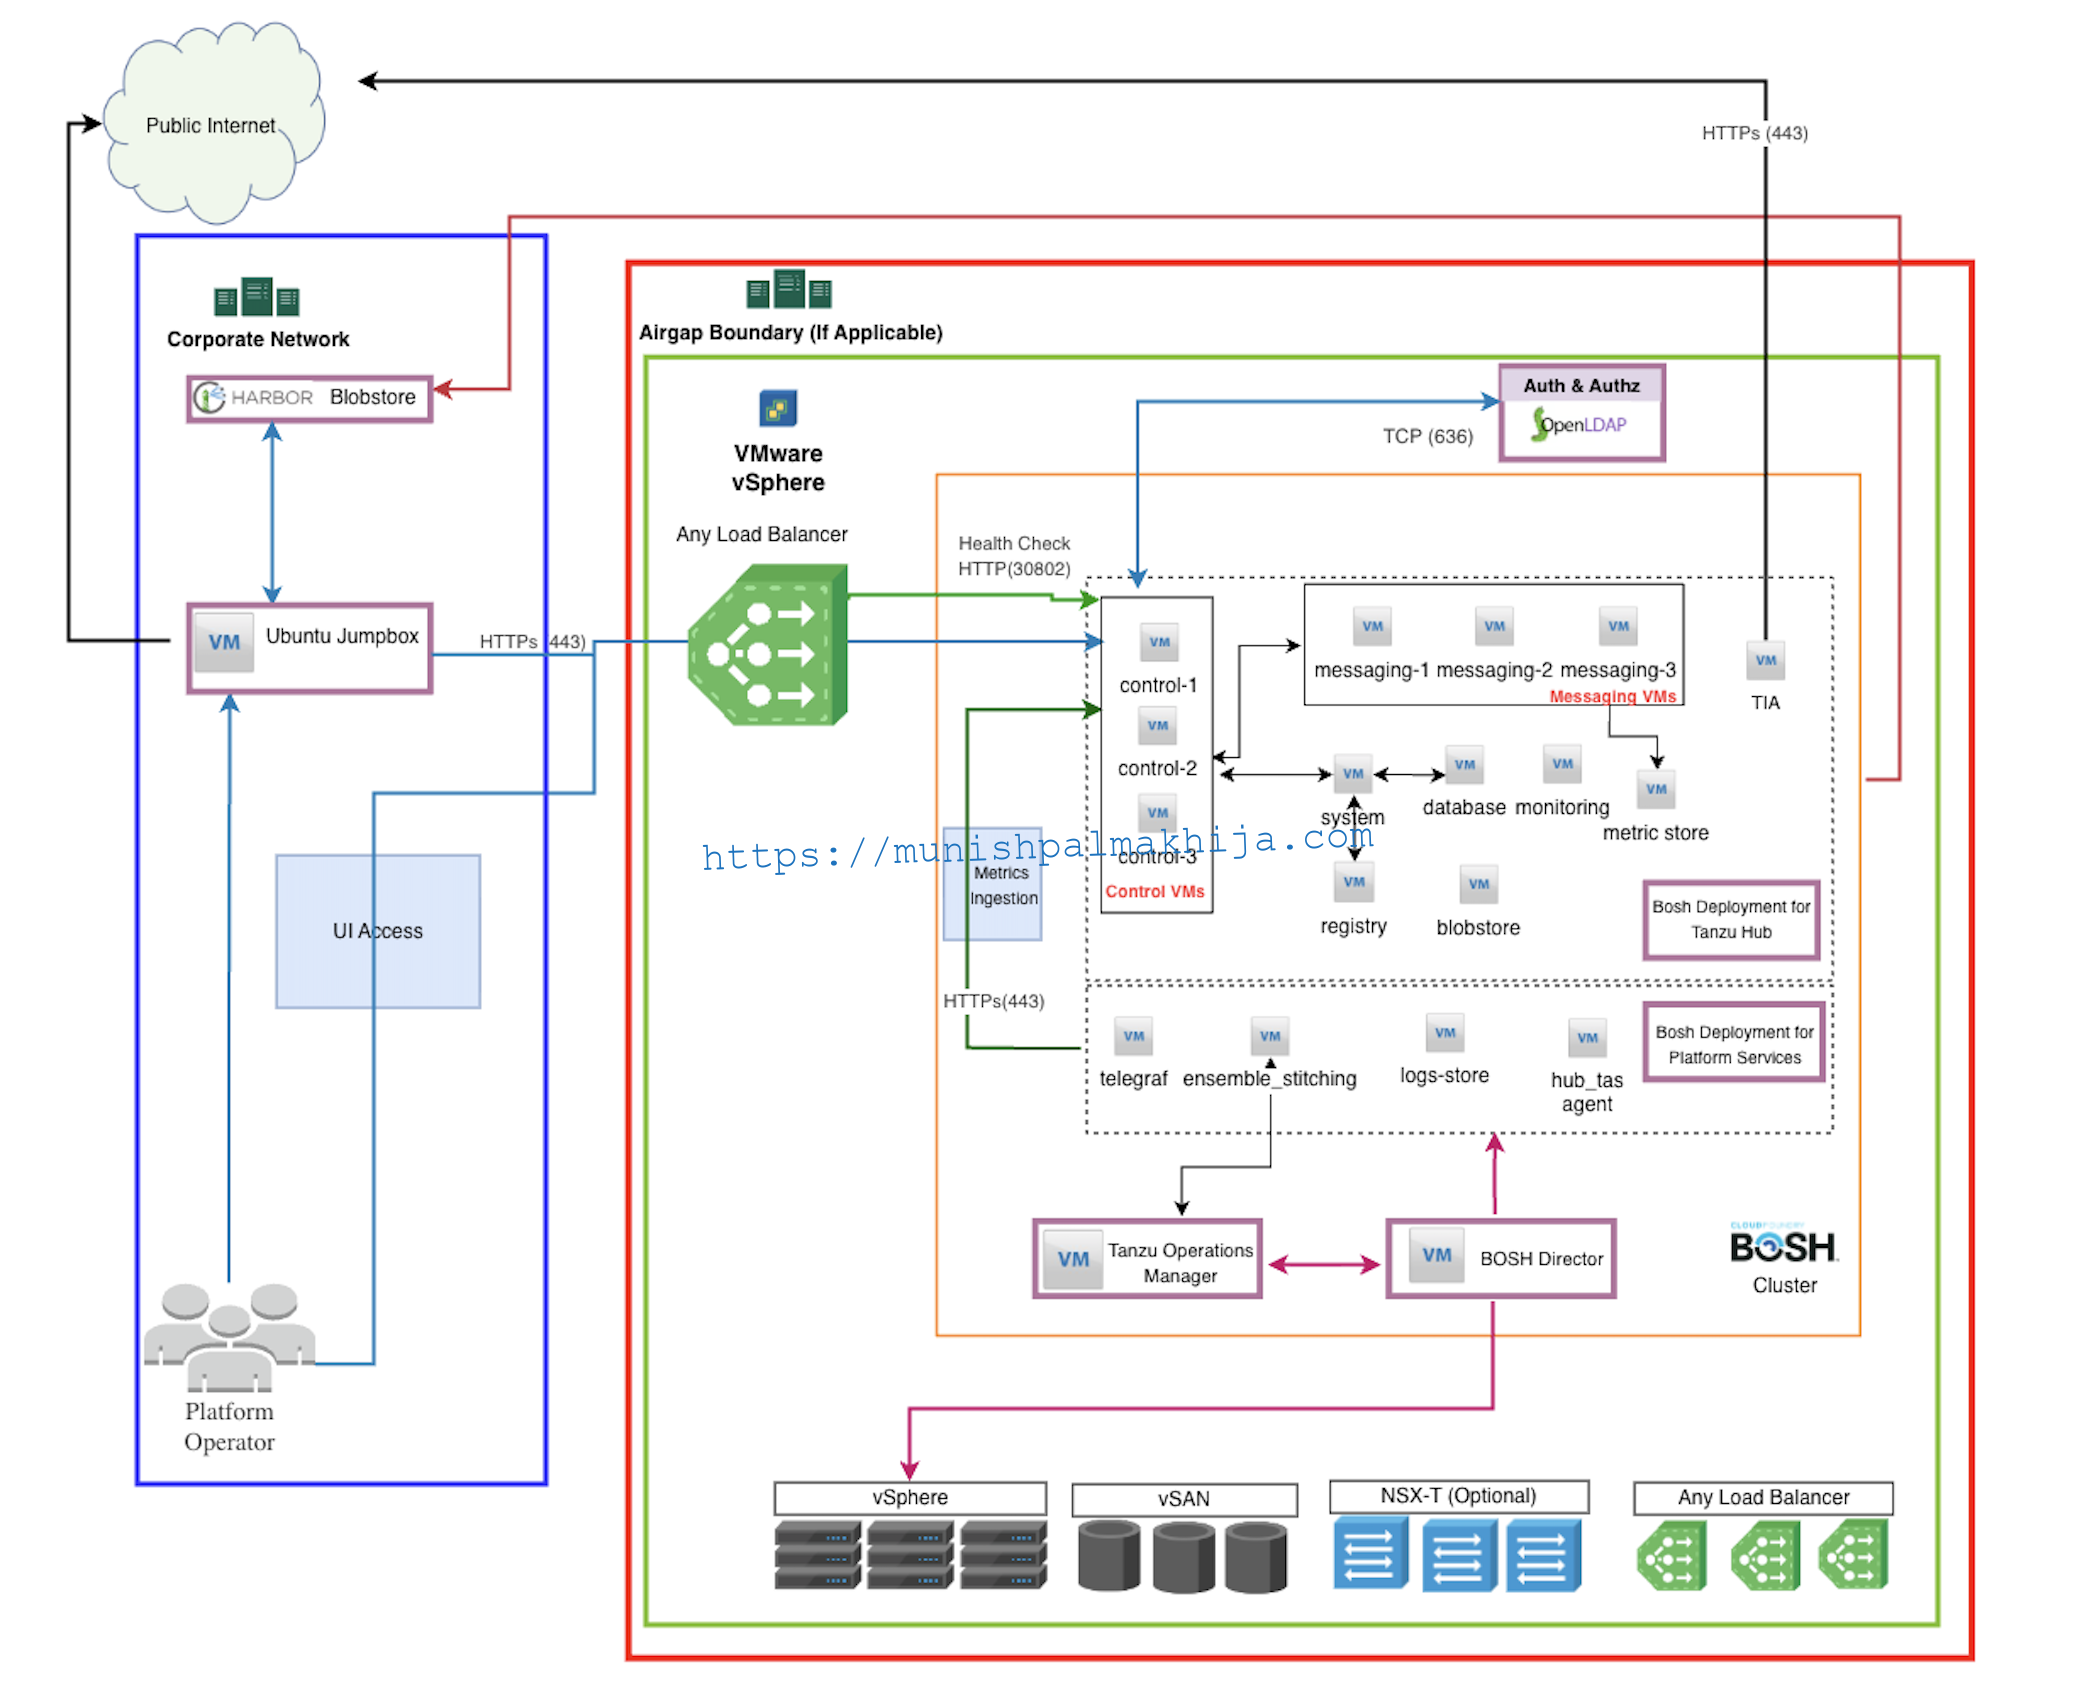
Planning your VMware Tanzu Hub deployment
The first step is to plan your deployment size based on your requirements. You will need to select from the following installation sizes
Installation Sizes
VMware Tanzu Hub provides four initial “T-Shirt Sizes” as a starting point for your deployment. This enables you to have the flexibility to start with a small evaluation-size deployment and scale up to a large enterprise as you grow the environment you manage.
The size determines the performance tuning and scaling parameters applied to the system to best match the environment you intend to manage with VMware Tanzu Hub
|
Installation Size |
Description | Sizing Guidelines |
| Evaluation (Default) |
The evaluation size is the default config that comes with the Tile. It is recommended for evaluation and demo purposes. |
Attached Foundations: 4 vSphere Objects: 10000 Application Instances: 2000 Applications: 400 Concurrent Git Analysis: 5 |
| Small |
The small size is recommended as a starting config for all Production foundations and gradually increase to Medium/Enterprise |
Attached Foundations: 5
vSphere Objects: 20000 Application Instances: 16000 Applications: 2500 Concurrent Git Analysis: 50 |
| Medium |
The medium size provides a good balance between supported resources and resources required. This provides flexibility to have some buffer in case the environment grows. |
Attached Foundations: 15
vSphere Objects: 40000 Application Instances: 50000 Applications: 7500 Concurrent Git: 100 |
| Enterprise |
The Enterprise size is the largest supported config, which is recommended for a really large environment |
Attached Foundations: 30 vSphere Objects: 100000 Application Instances: 60000 Applications: 12000 Concurrent assessments: 200 |
Resource Requirements
The resource requirements may vary depending on what Installation size you select, as mentioned in table below
|
Profile |
Resource Requirements |
| Evaluation (Default) | Cores – 32
RAM – 96 GB System/Ephemeral Storage – 768 GB Persistent Storage – 700 GB |
| Small |
Cores – 48 RAM – 180 GB System/Ephemeral Storage – 800 GB Persistent Storage – 1500 GB |
| Medium |
Cores – 104 RAM – 268 GB System/Ephemeral Storage – 2016 GB Persistent Storage – 1700 GB |
|
Enterprise |
Cores – 166 RAM – 436 GB System/Ephemeral Storage – 3200 GB Persistent Storage – 2350 GB |
VMware Tanzu Hub Pre-Requisites
The following table describes the prerequisites for VMware Tanzu Hub
|
Component |
Requirement | My Lab Environment |
|
Tanzu Operations Manager |
3.3 or greater with 60 GB of free space |
3.3 I would recommend at least 100 GB free space |
| BOSH Director with IaaS |
Any Supported |
vCenter 8.0.3 with Build (24322831) |
| Load Balancer |
Any External LB with TLS Pass-through |
I have tested with External LB with dvPort Groups NSXT LB with NSXT segments |
|
BOSH Network Static IPs |
Evaluation – 13 |
Ingress FQDN
FQDN for VMware Tanzu Hub Ingress, which is resolvable within the network, especially from the Tanzu Operations Manager, where tile-based installation will be performed. This is required to access the web console. You have 2 options
- DNS pointing to any External Load Balancer listener.
- In my lab, I have tested with NSX-T Load Balancer; however, you can use any other, such as AVI / F5
- DNS pointing to control VMs directly
Port Requirements
This table assumes a couple of things
1 – All Tanzu Hub component VMs are deployed within the same network, and they can communicate between themselves on all ports
2 – All the communication between Tanzu Operations Manager VM and Bosh Director is already taken care of as mentioned in the documentation
|
Source |
Destination |
Port / Service |
Purpose |
| Bootstrap Machine | Broadcom Support Portal | 443 (HTTPs) | To download the Tanzu Hub Tile |
| Tanzu Hub Control VMs | Broadcom Support Portal | 443 (HTTPs) | To send telemetry data (If applicable) |
| Bootstrap Machine | Tanzu Hub FQDN | 80/443 (HTTPs) |
To access the console UI to access Tanzu Hub |
| Tanzu Operations Manager | Tanzu Hub FQDN |
80/443 (HTTPs) |
To access the console UI to access Tanzu Hub and ensure Health checks performed by the Tile installer are successful |
| Tanzu Hub Control VMs |
LDAP Server |
636 (TCP) |
LDAP authentication to LDAP Server (If Applicable) |
| Tanzu Hub Control VMs | OIDC/SAMP Endpoint | 443 (HTTPs) | OIDC/Okta authentication to Okta endpoint (If Applicable) |
| Tanzu Hub Control VMs |
ghcr.io/public.ecr.aws or Corporate OCI registry |
443 (HTTPs) |
To Trivy’s databases for vulnerability scanning If you are in an air-gapped environment, you can point it to your private registry as well. Registry port is configurable as well |
| Tanzu Hub Control VMs |
VCF (vSphere) |
443 (HTTPs) |
Collect data from vSphere (used by the VCF remote collector service) |
| Loadbalancer |
Tanzu Hub Component VMs |
30802 (HTTP) |
Health check endpoint for control nodes |
| Blobstore VMs |
External Blobstore |
443 (HTTPs) |
To communicate with an external S3 blobstore (If applicable) |
1 – All Tanzu Hub component VMs are deployed within the same network, and they can communicate between themselves on all ports
2 – All the communication between Tanzu Operations Manager VM and Bosh Director is already taken care of as mentioned in the documentation
Deployment Procedure
Step 1 – Download Tanzu Hub Tile
UI
Step 1 – Log in to https://support.broadcom.com/
Step 2 – Navigate to Tanzu Hub 10.4.0
If you are unable to check the box for I agree, then probably you haven’t clicked on the Terms and Conditions link (This is a new check which has been added recently)
CLI
Step 1 – Generate Token
https://support.broadcom.com/group/ecx/tanzu-token
Step 2 – Install om cli
https://github.com/pivotal-cf/om
Step 3 – Download the Tanzu Hub tile using
om download-product -p tanzu-hub -o /tmp –file-glob tanzu-hub-10.4.5.pivotal –product-version 10.4.5 –pivnet-api-token <token>
Upload Tanzu Hub Tile to Tanzu Operations Manager
UI
Step 1 – Log in to Tanzu Operations Manager UI
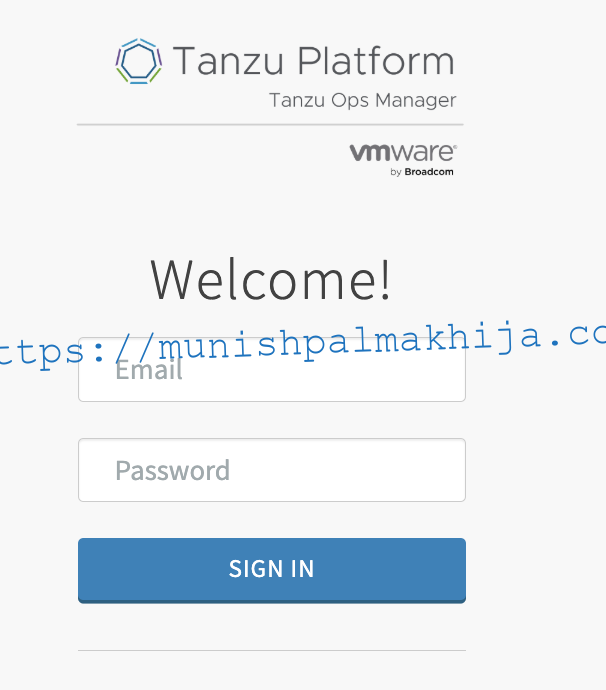
Step 2 – Click on Import a Product

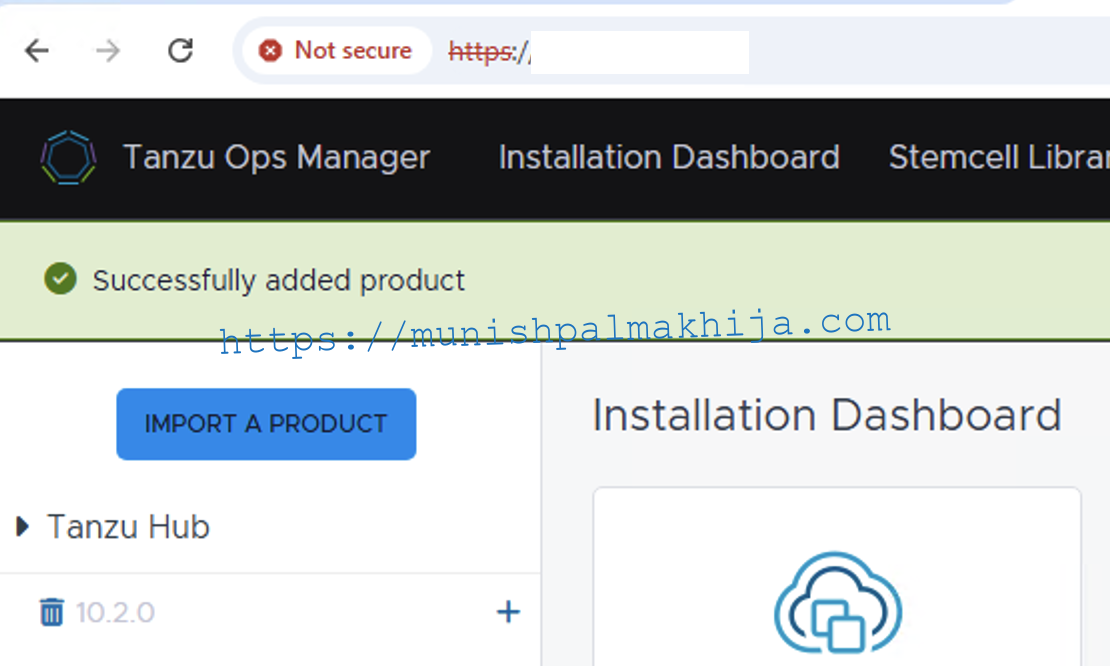
Step 3 – Verify
Once imported, you will be able to view the product on the left navigation
Step 4 – Stage
Click on the + sign to stage the product
CLI
Step 1 – Configure om cli
export OM_ENV=ops_manager_env.yml
alias omv=’om –env=$OM_ENV’
Step 2 – Upload Tile to Ops Manager
omv upload-product –product tanzu-hub-10.4.5.pivotal
Step 3 – Verify
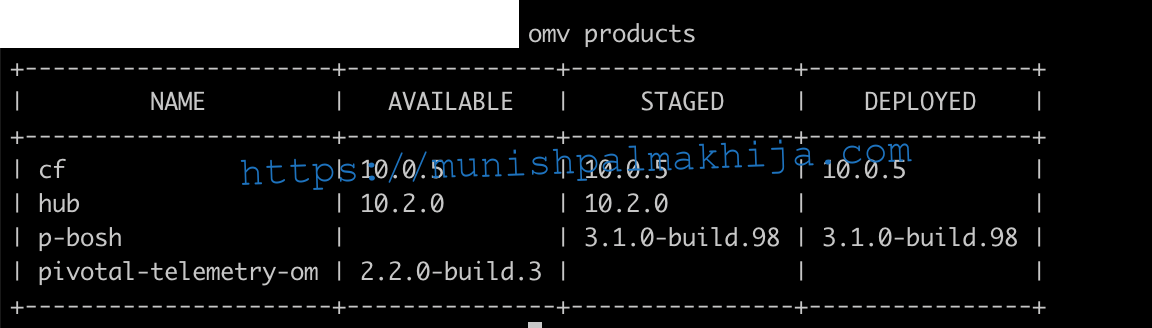
Once imported, you will be able to view the product(s)
omv products
Step 4 – Stage
omv stage-product –product-name hub –product-version 10.4.5
Configure Tanzu Hub details
VMware Tanzu Hub tile deploys the VMs required to run Tanzu Hub. The following sections describe the configuration that can be done
Mandatory Configuration
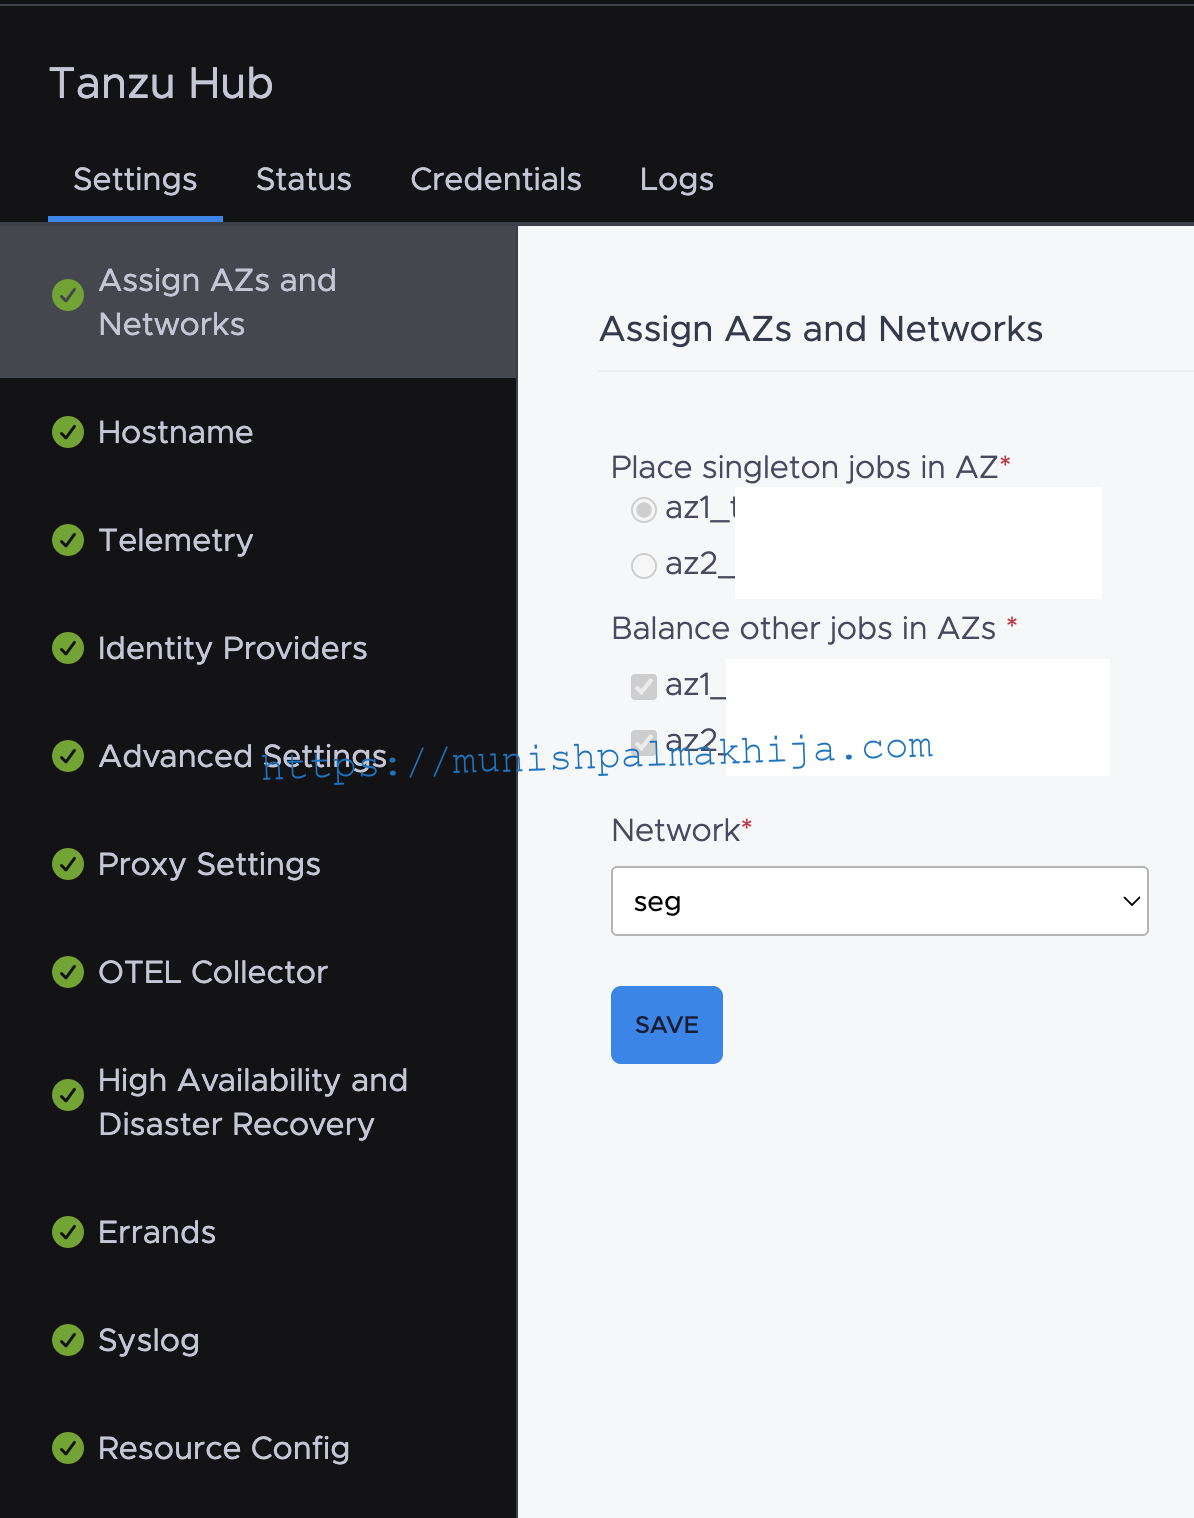
There are only 2 mandatory configurations. Yeah, that’s it and you will have a running VMware Tanzu Hub deployment
| Configure availability zones and networks |
This is the vSphere Cluster and the Port groups for the Tanzu Hub component VMs. This can be DVPort Groups or NSX-T backed segments. It is not mandatory to have NSXT.
This simplifies the requirement drastically. I am not saying it is not beneficial to have NSXT, but the Admin gets flexibility based on their environment
|
|
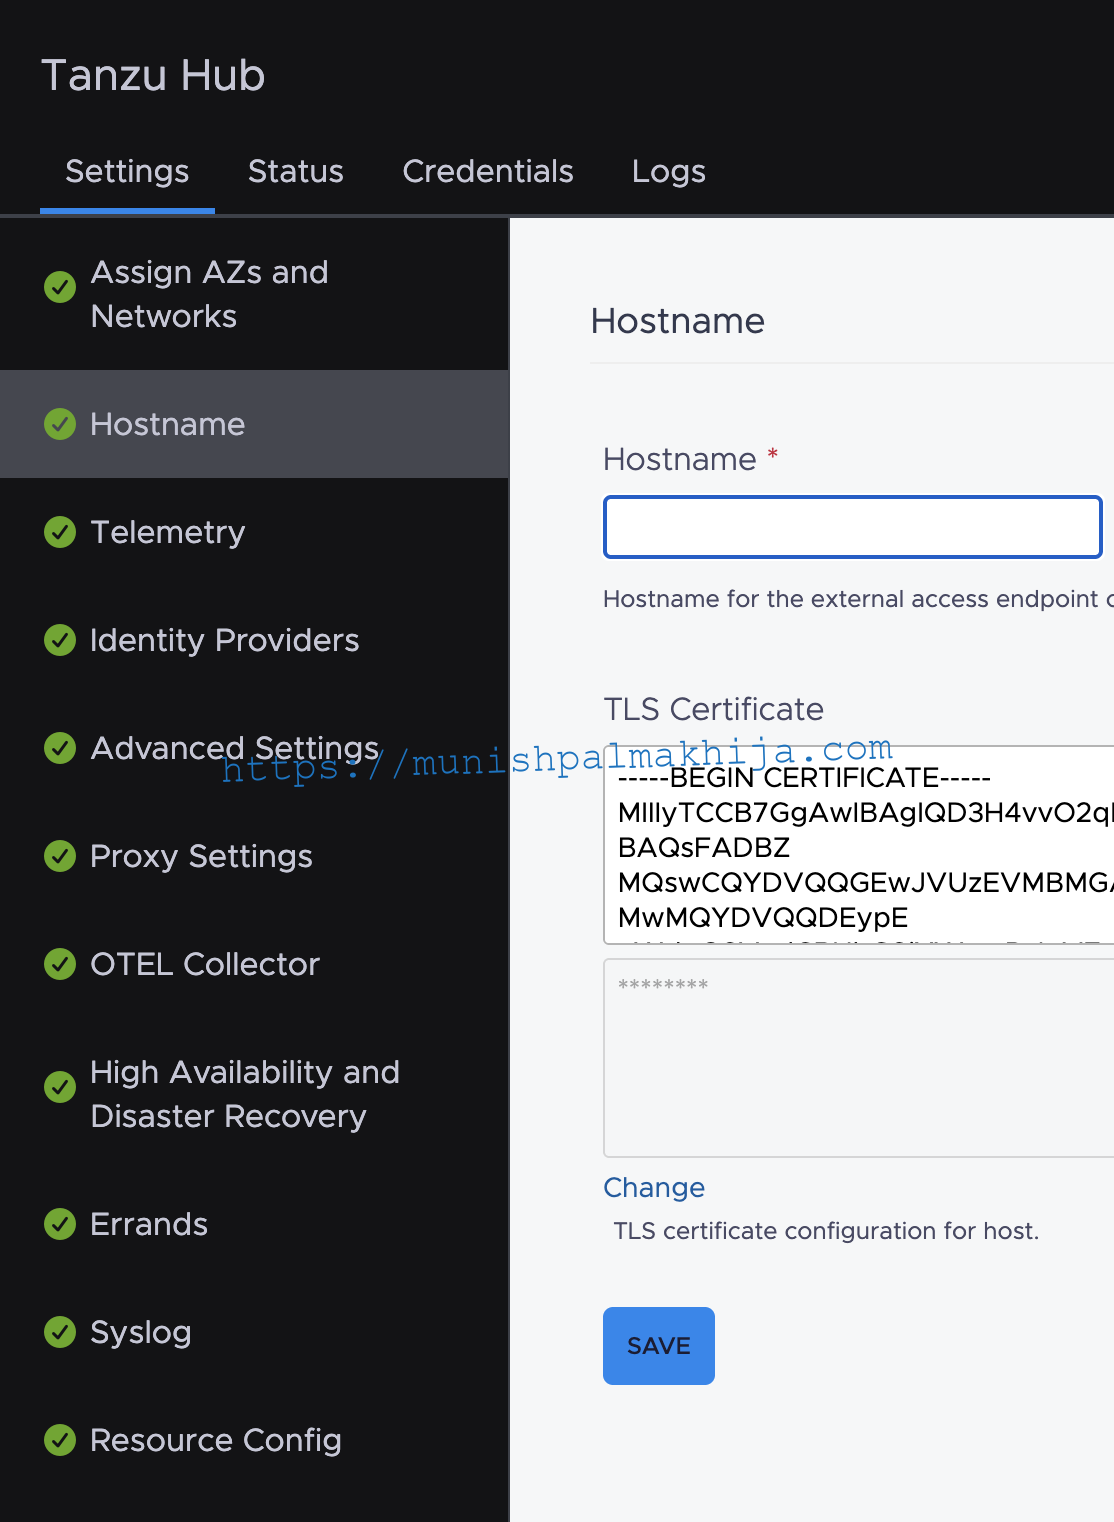
Configure the hostname and certificate |
This would be the FQDN for Tanzu Hub Ingress, as mentioned above If you want to use a self-signed certificate, then you can leave it empty, and the installer will generate the certificate for the required ingress
|
Optional Configuration
There are optional configurations that you can decide based on your requirements
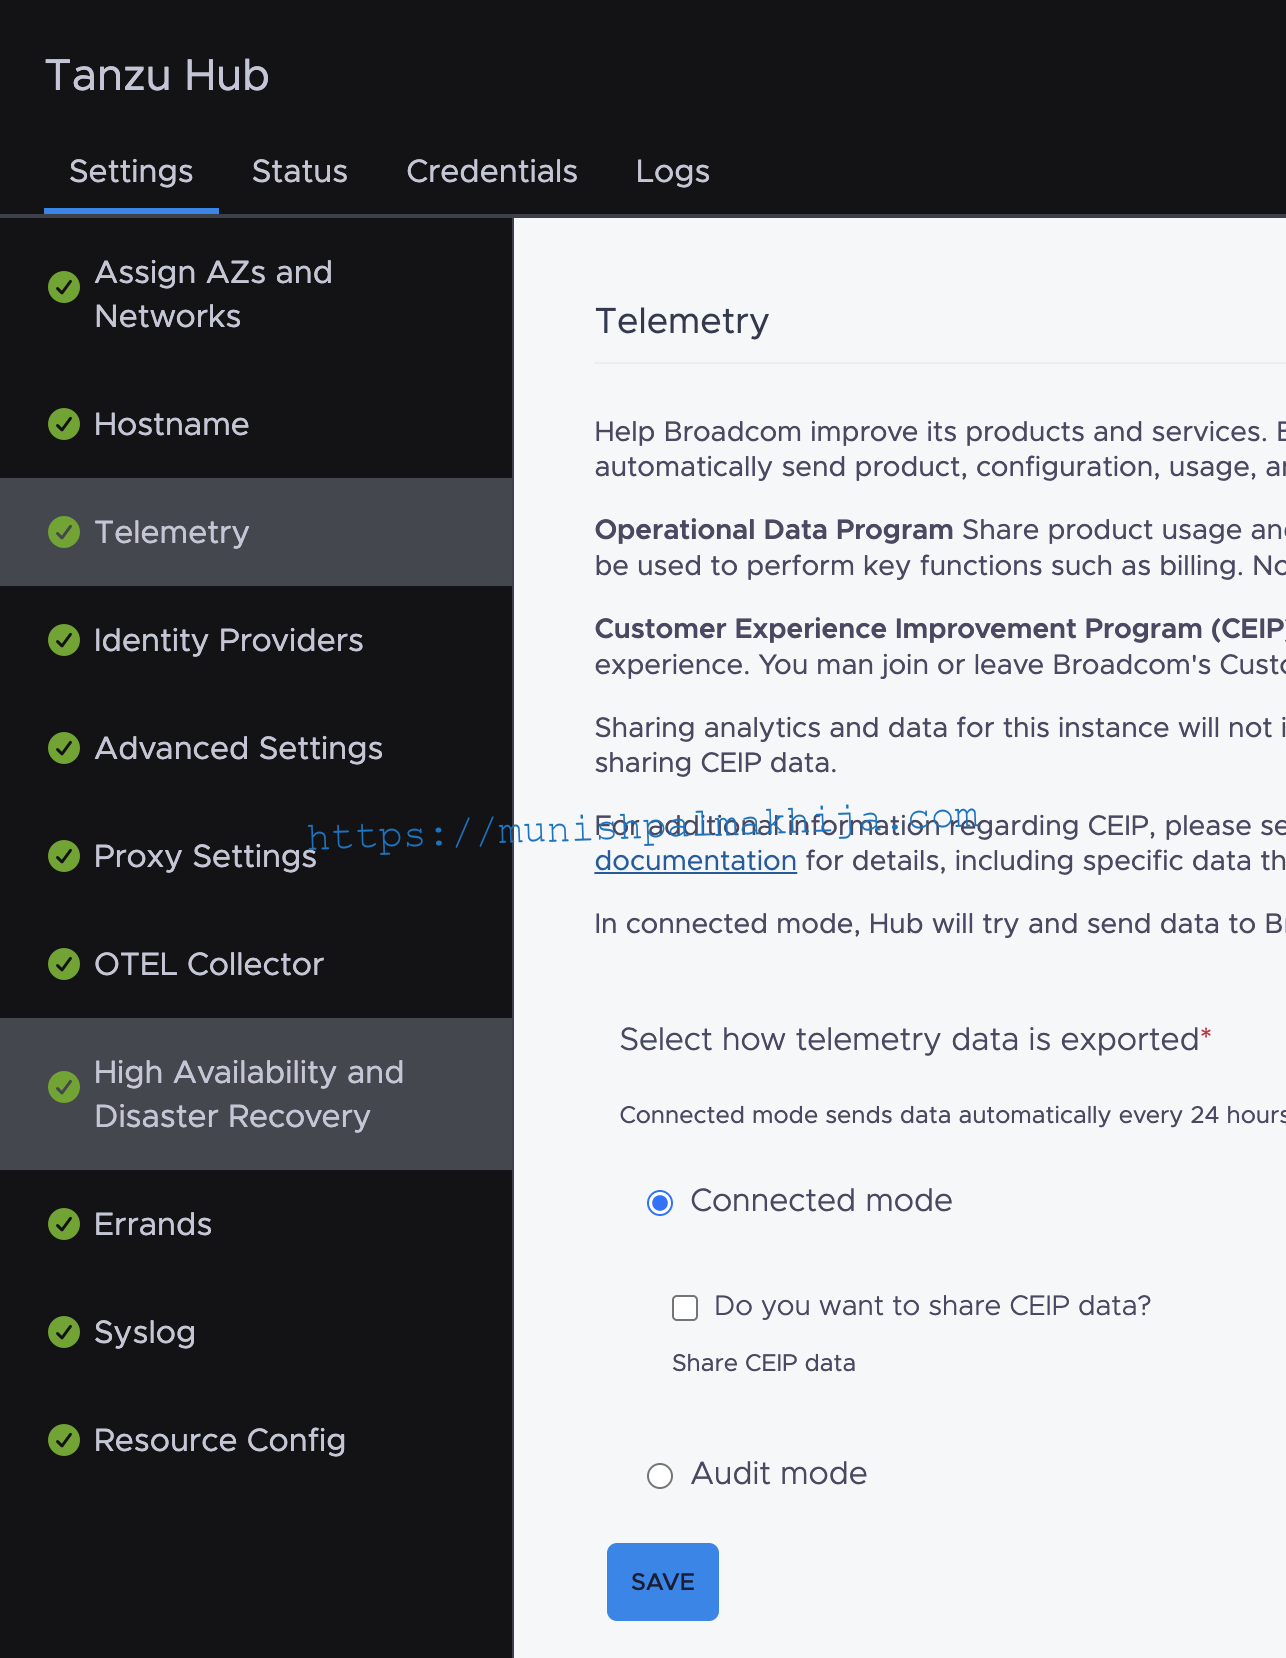
| Configure Telemetry |
You can configure telemetry if you would like. It is optional
|
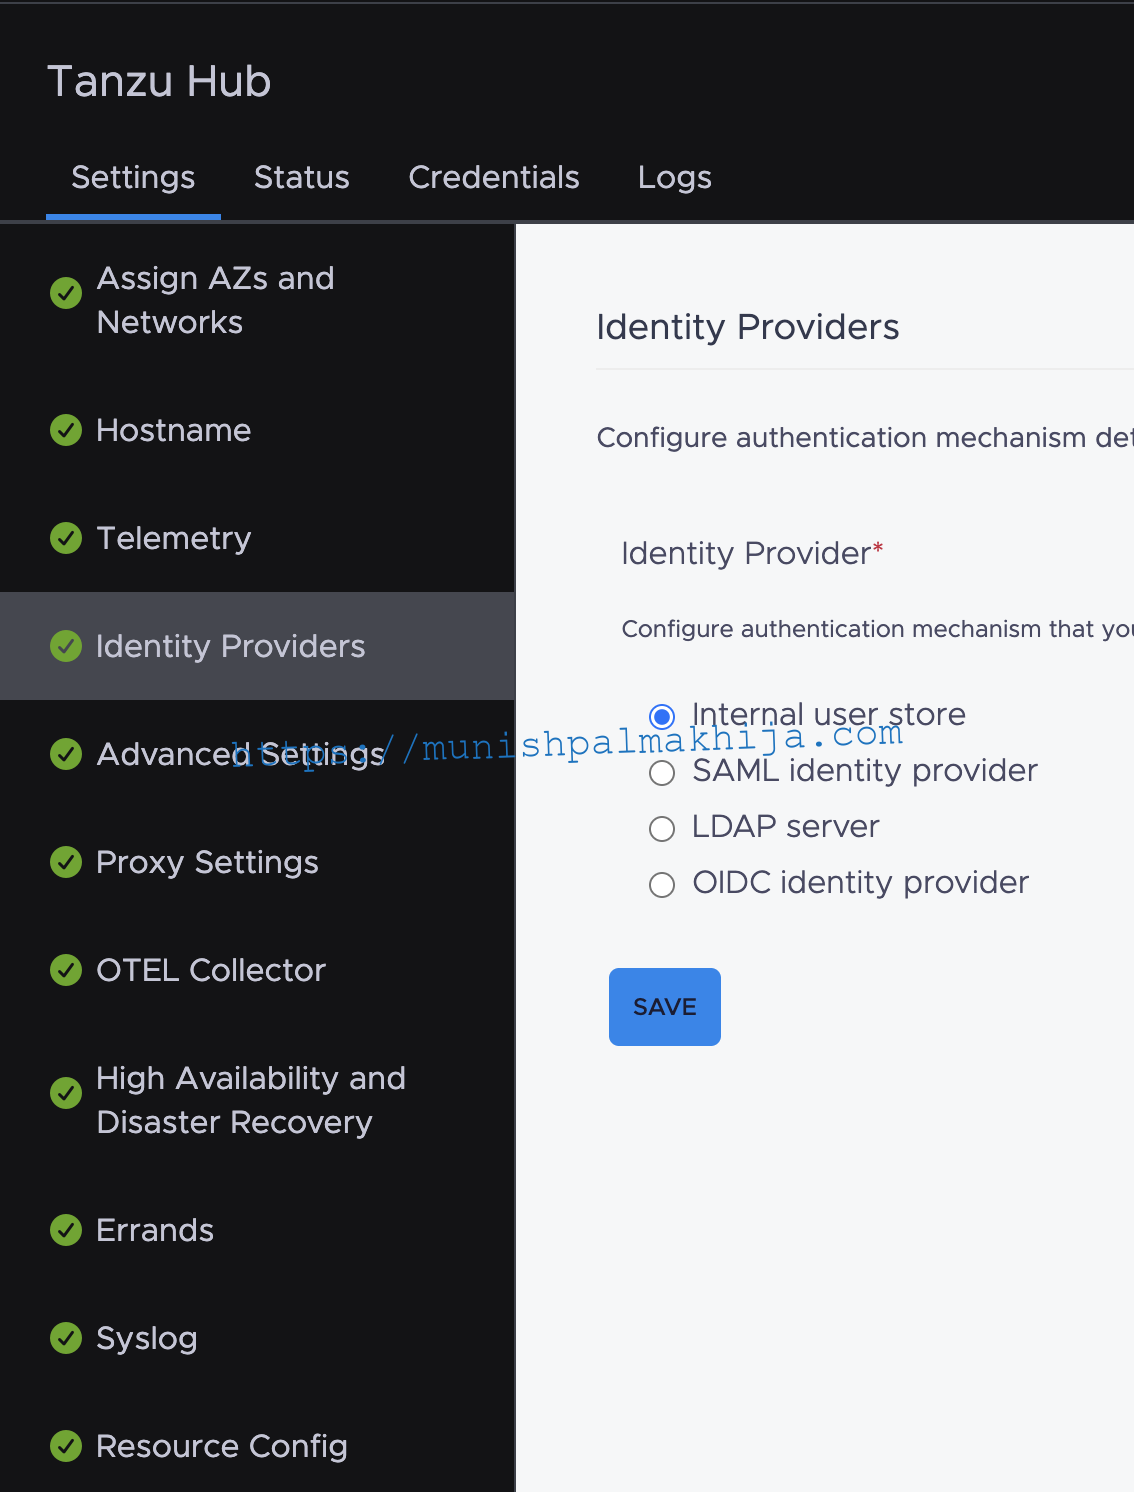
| Configure an Identity Provider |
You can configure the authentication mechanism details to log in into the VMware Tanzu Hub. Doc Tanzu Hub provides an internal user store with a single user (tanzu_platform_admin) that can be used to bring up the environment quickly; however recommendation is to configure using OIDC(Okta) or LDAP or SAML for providing access to Tanzu Hub
|
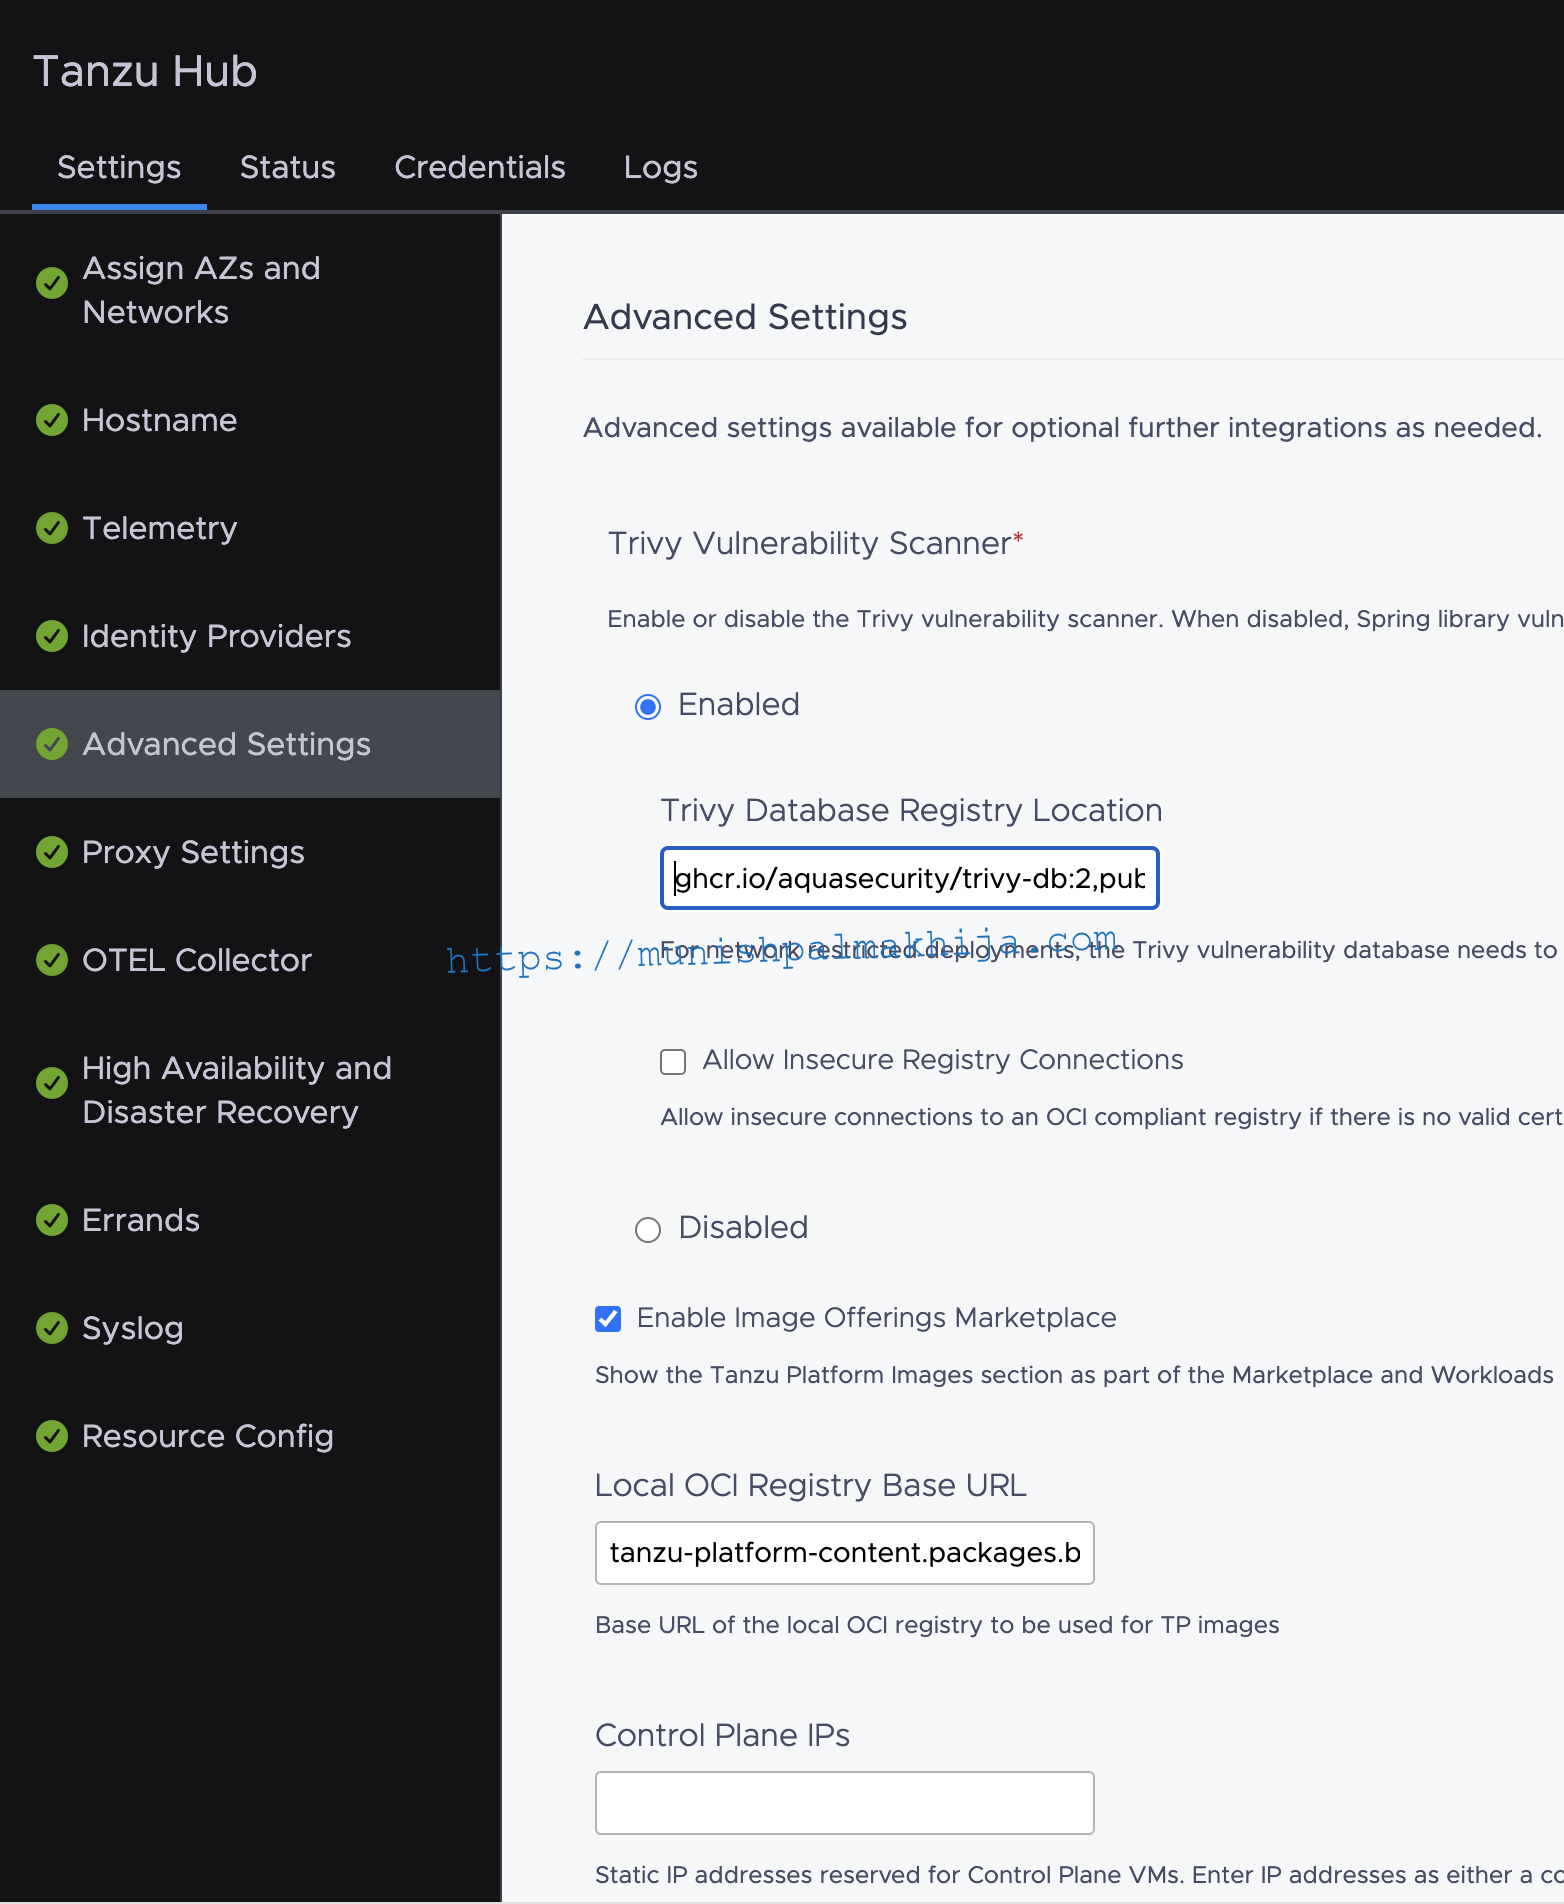
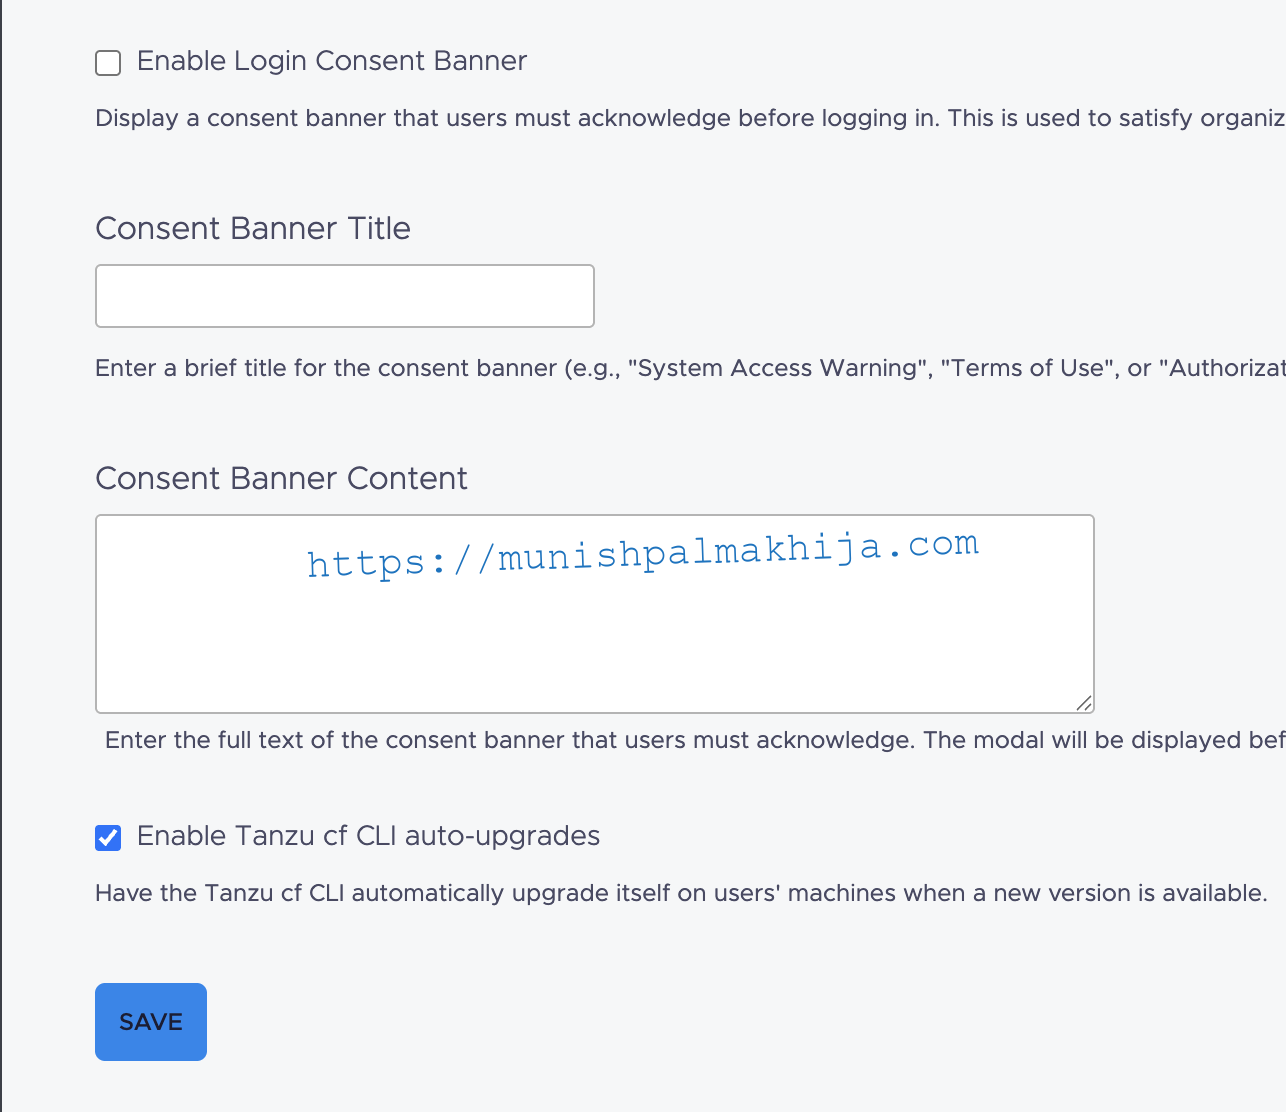
| Advanced Settings |
You can configure multiple advanced settings
|
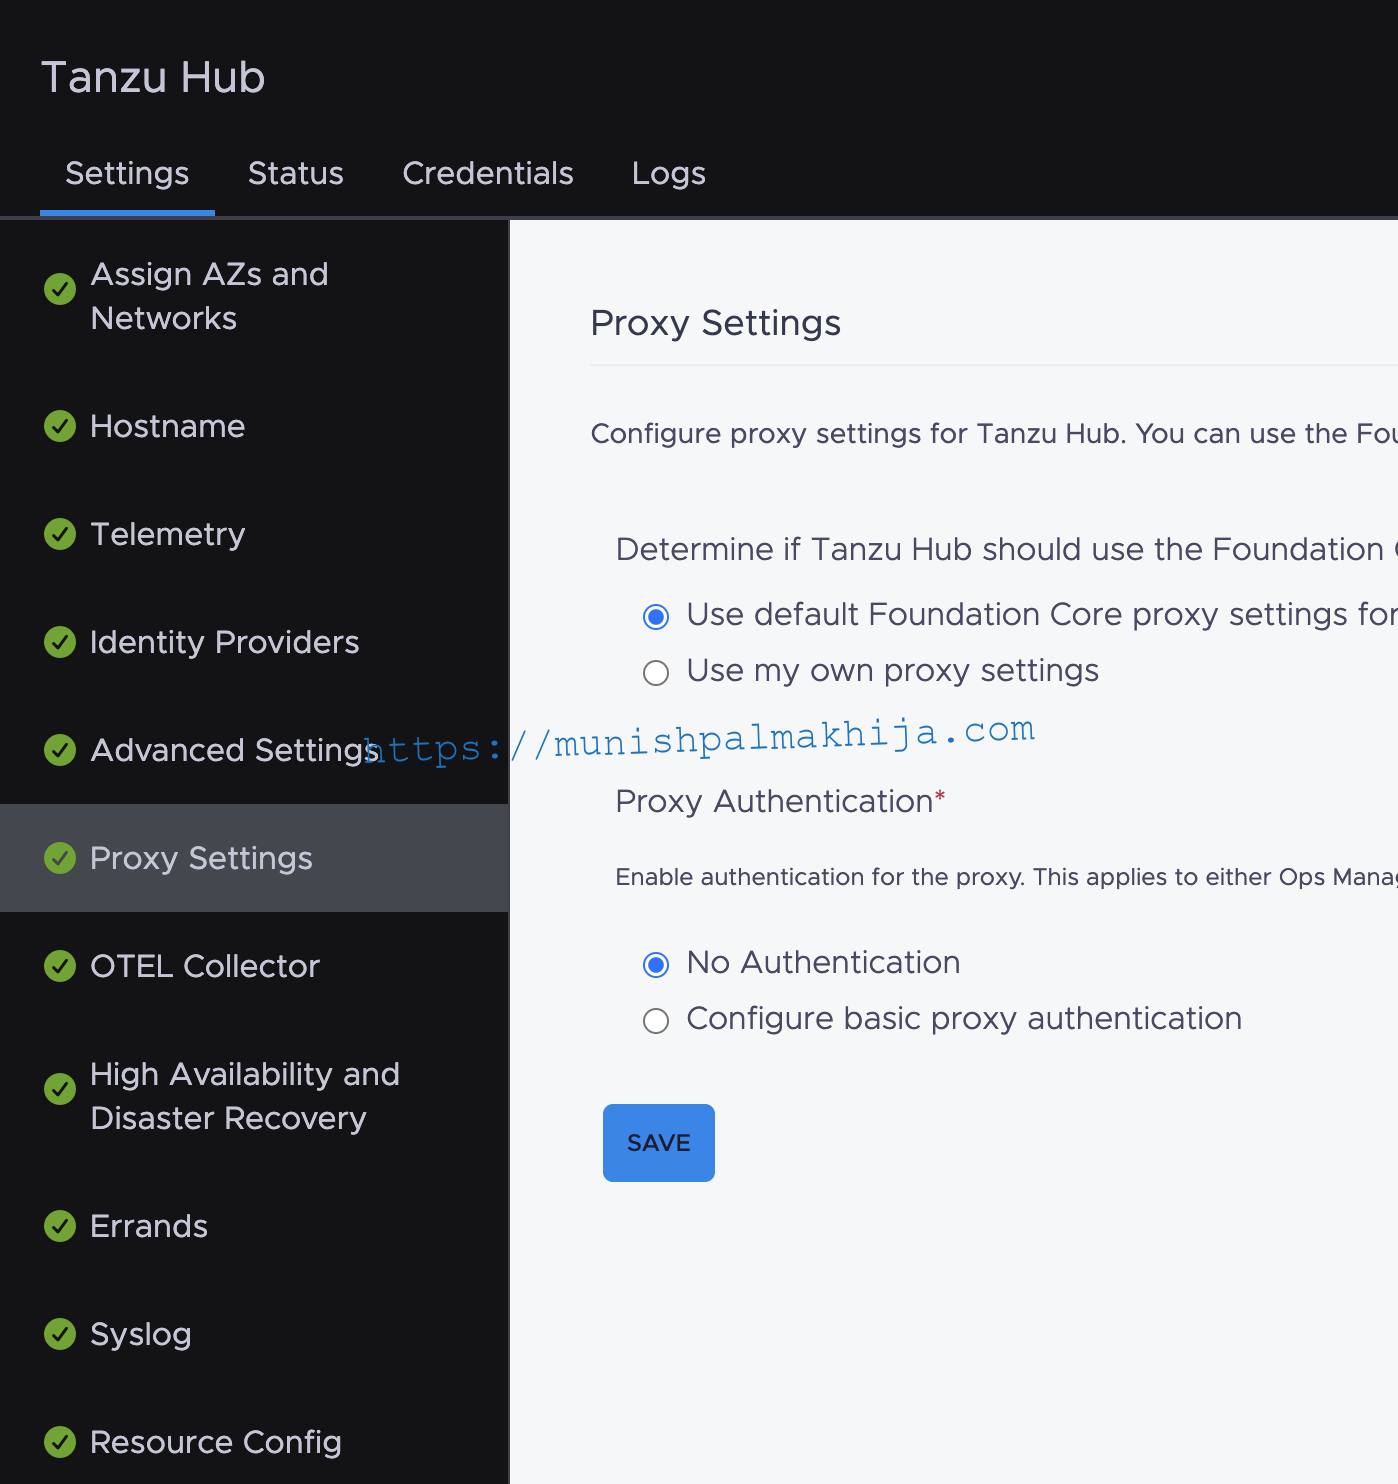
| Configure Proxy Settings |
You can configure Proxy Settings if required in your environment
|
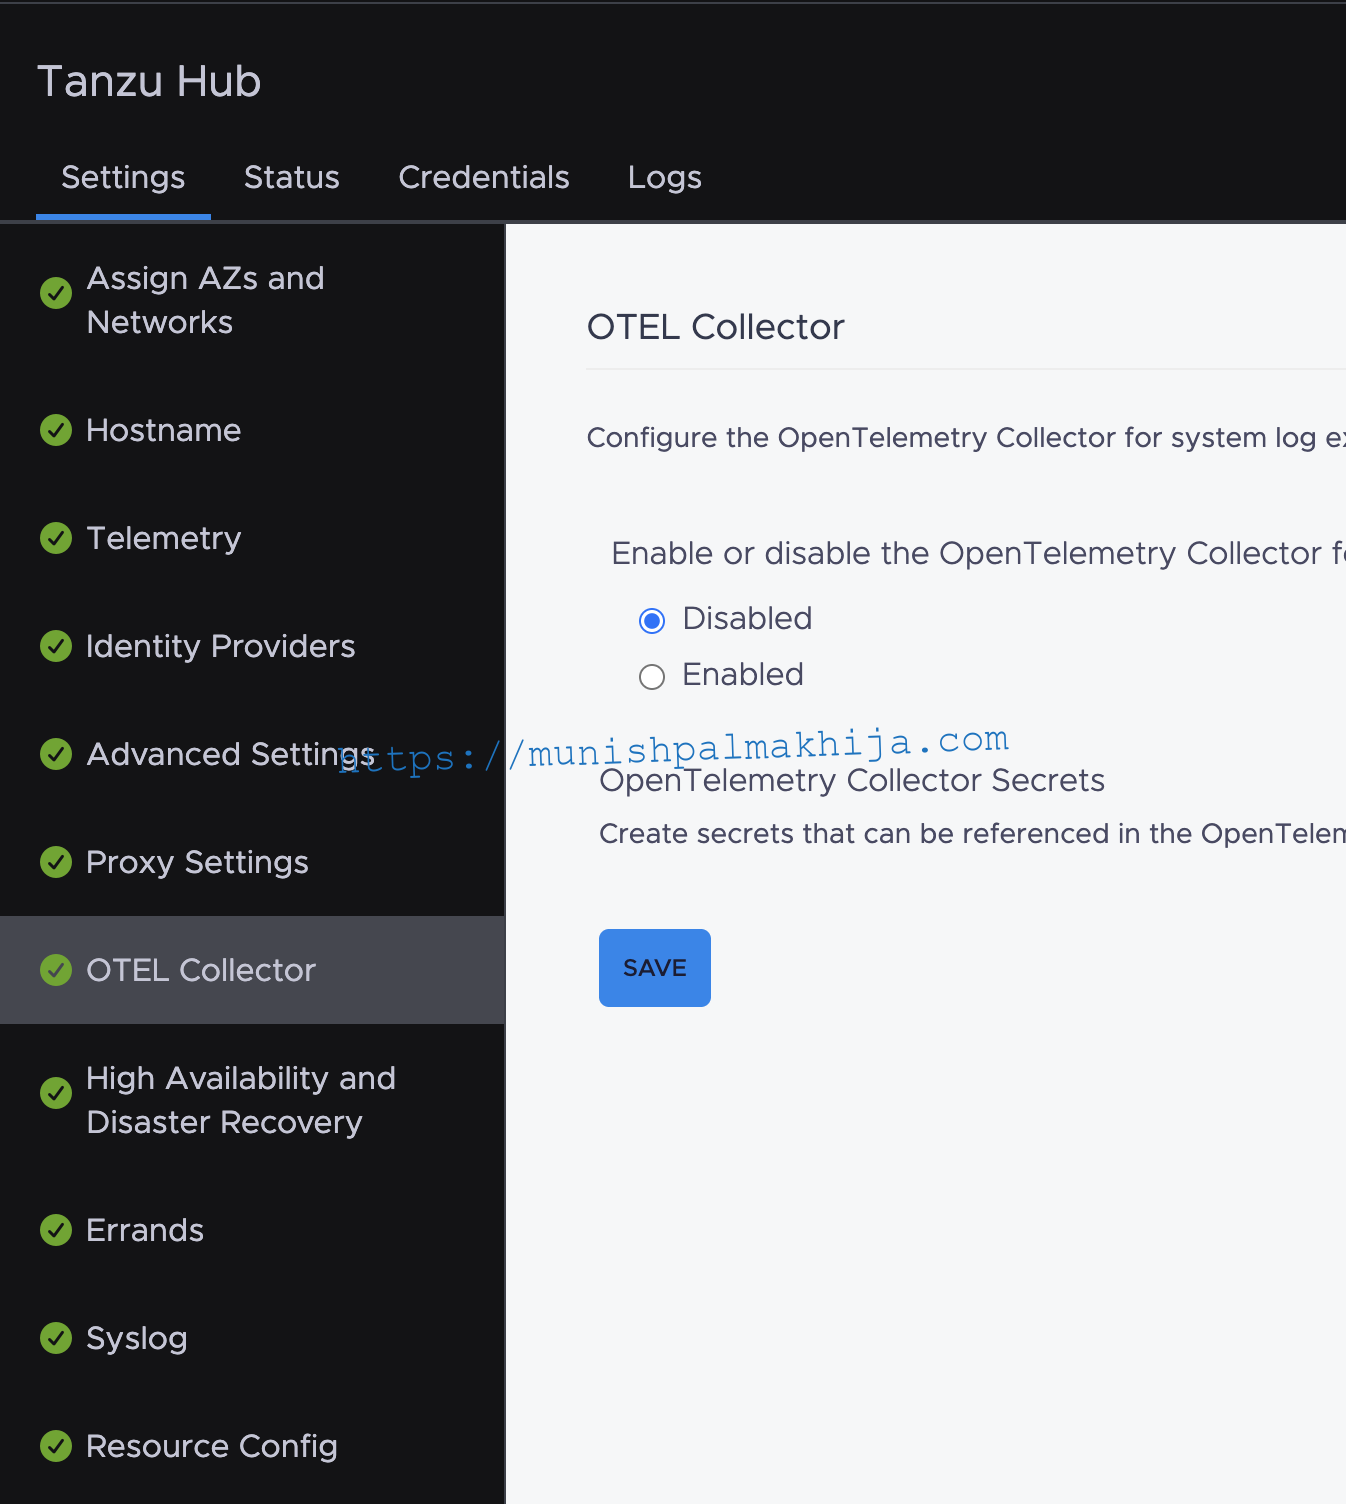
| Configure OTEL Collector |
You can configure OTEL collector for System Logs
|
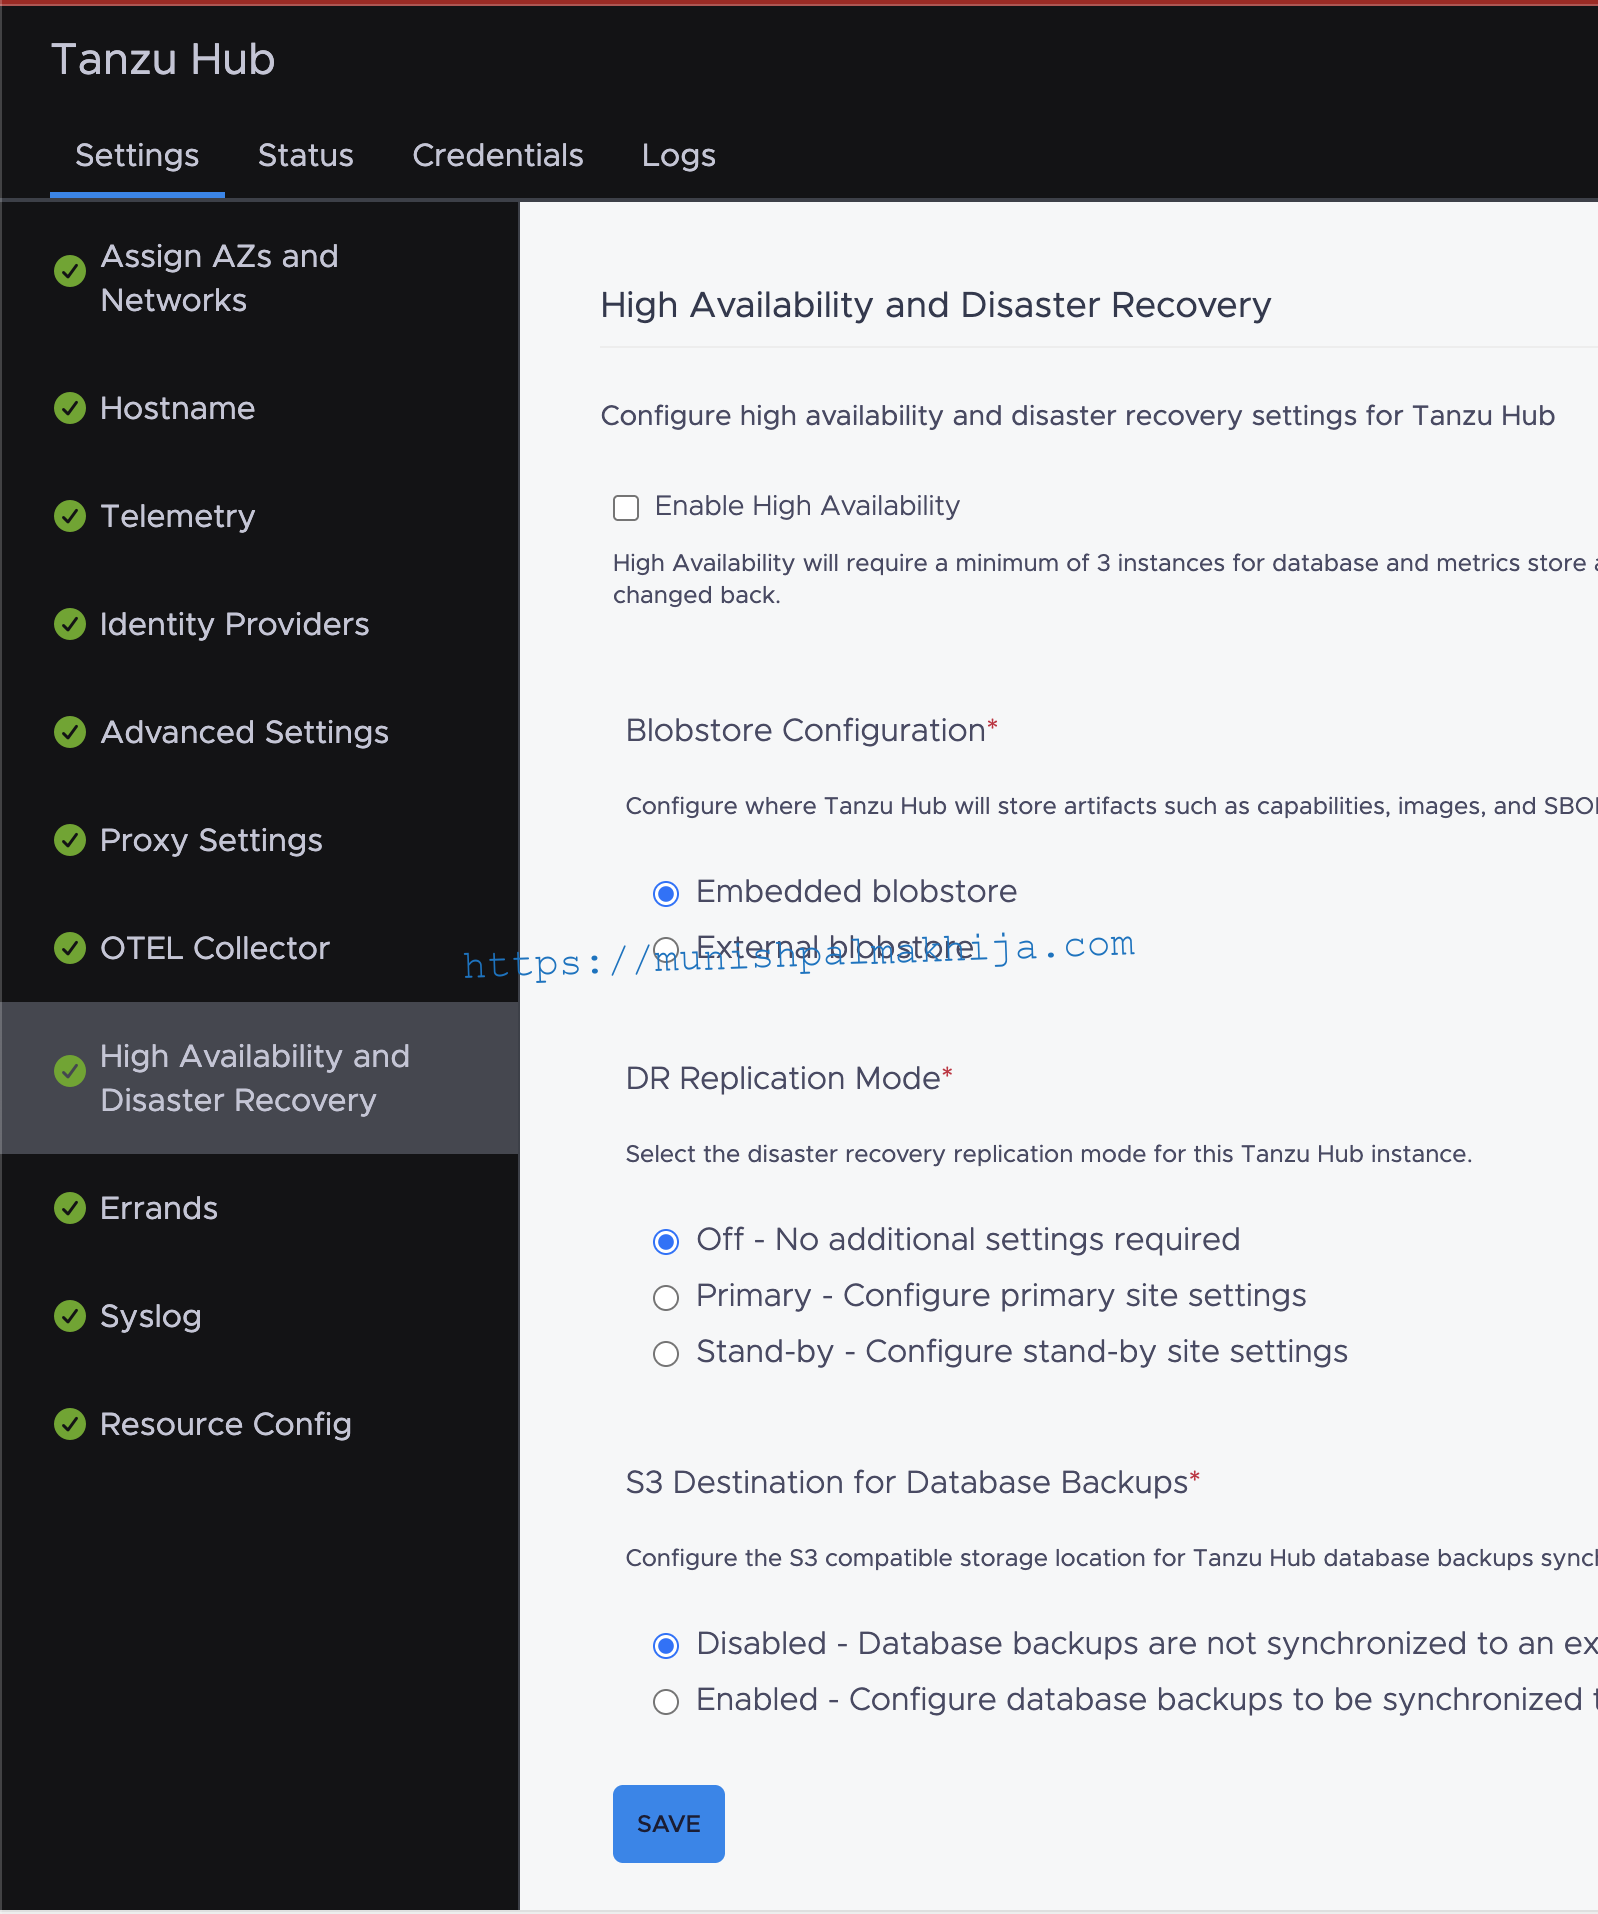
| Configure HA/DR |
Hub now supports HA/DR by setting up Active-Passive mode. You can configure varous settings like
|
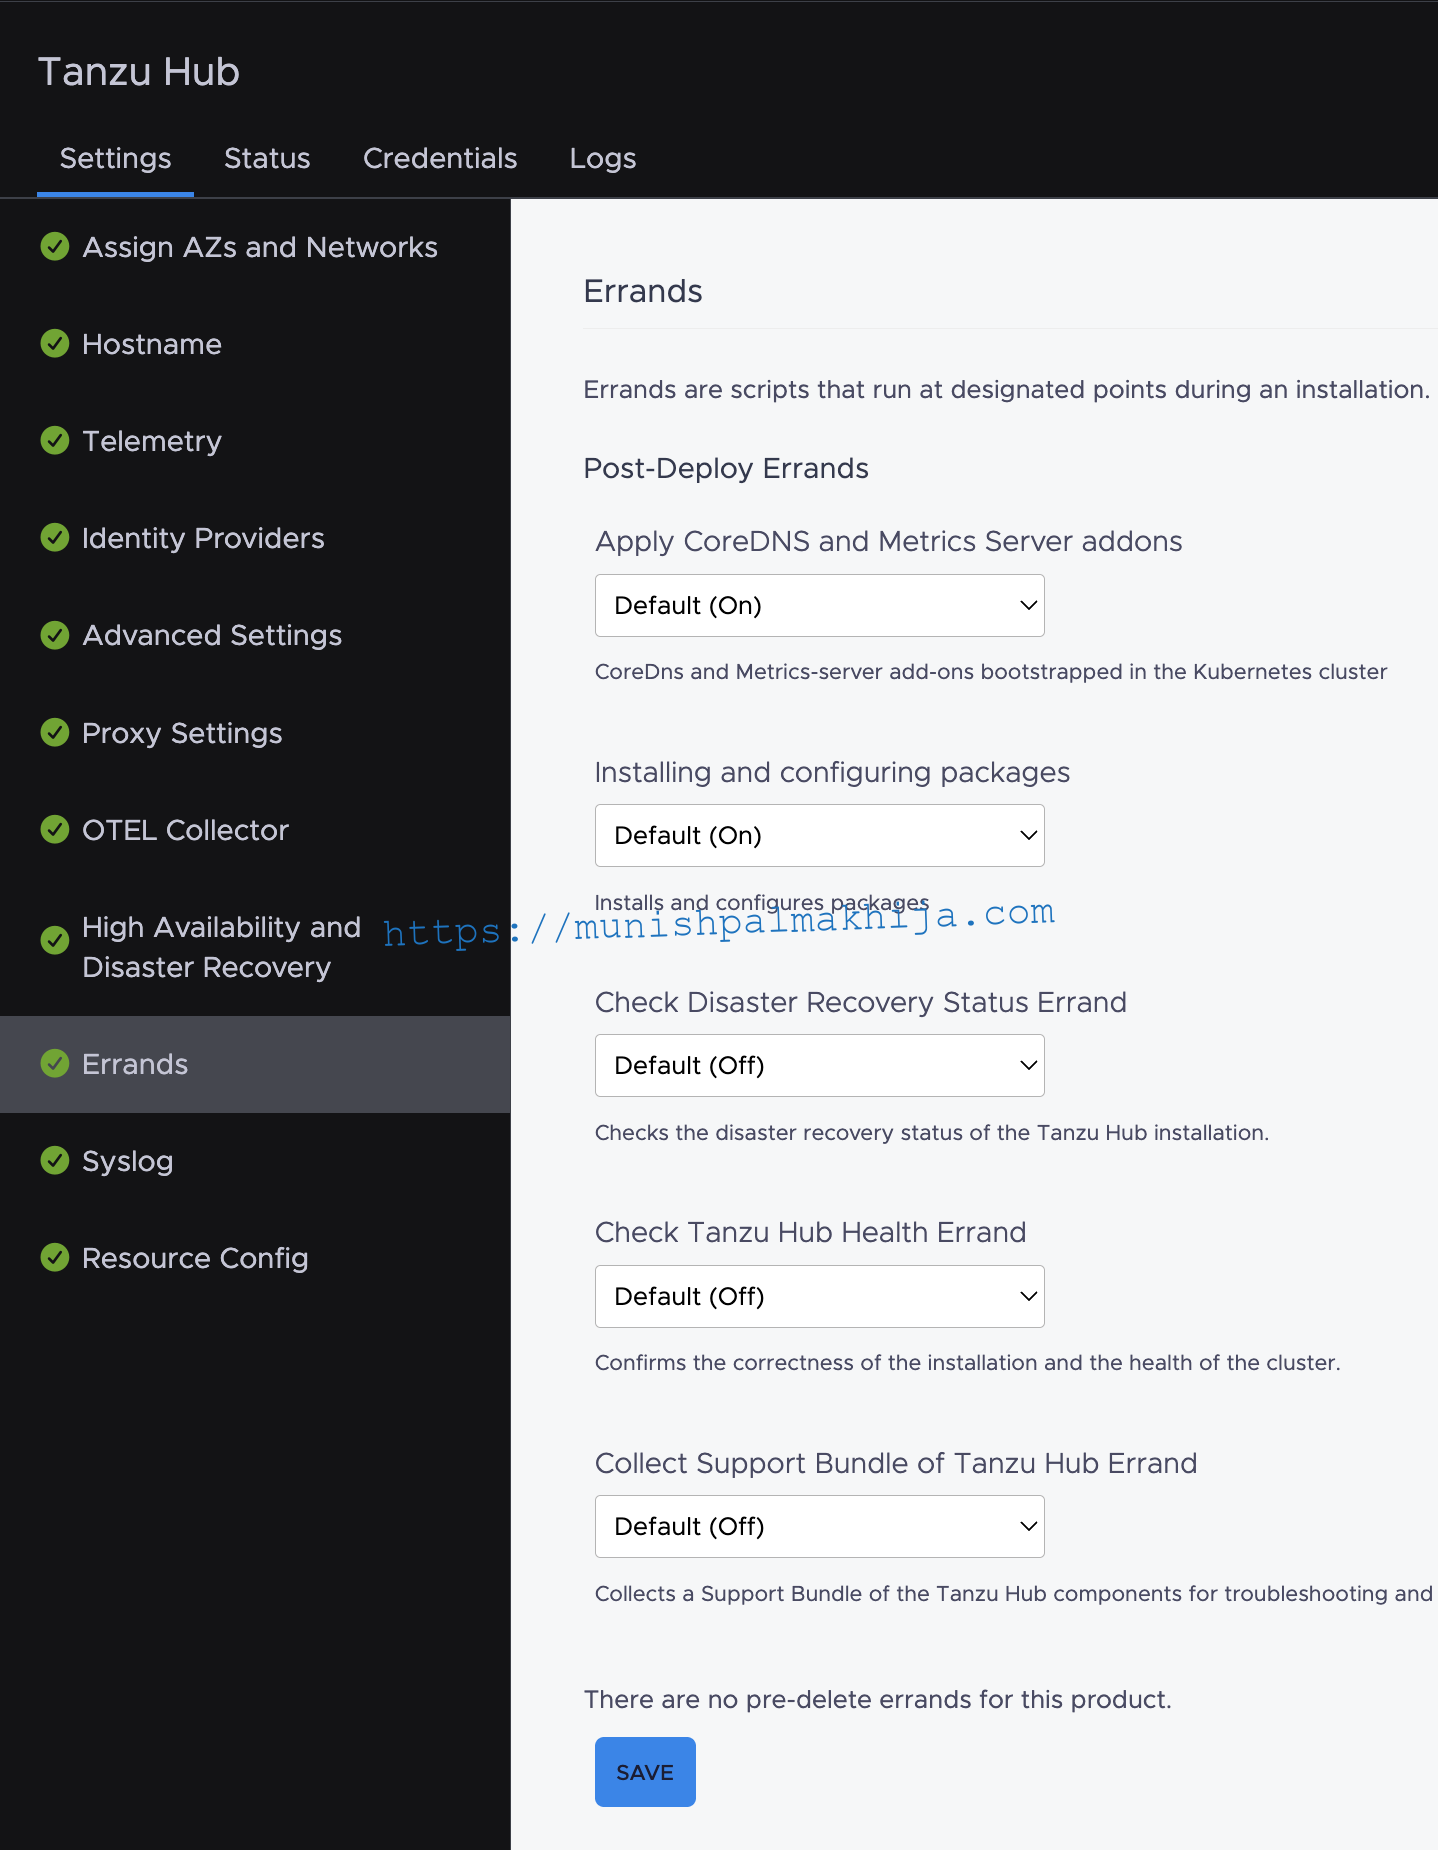
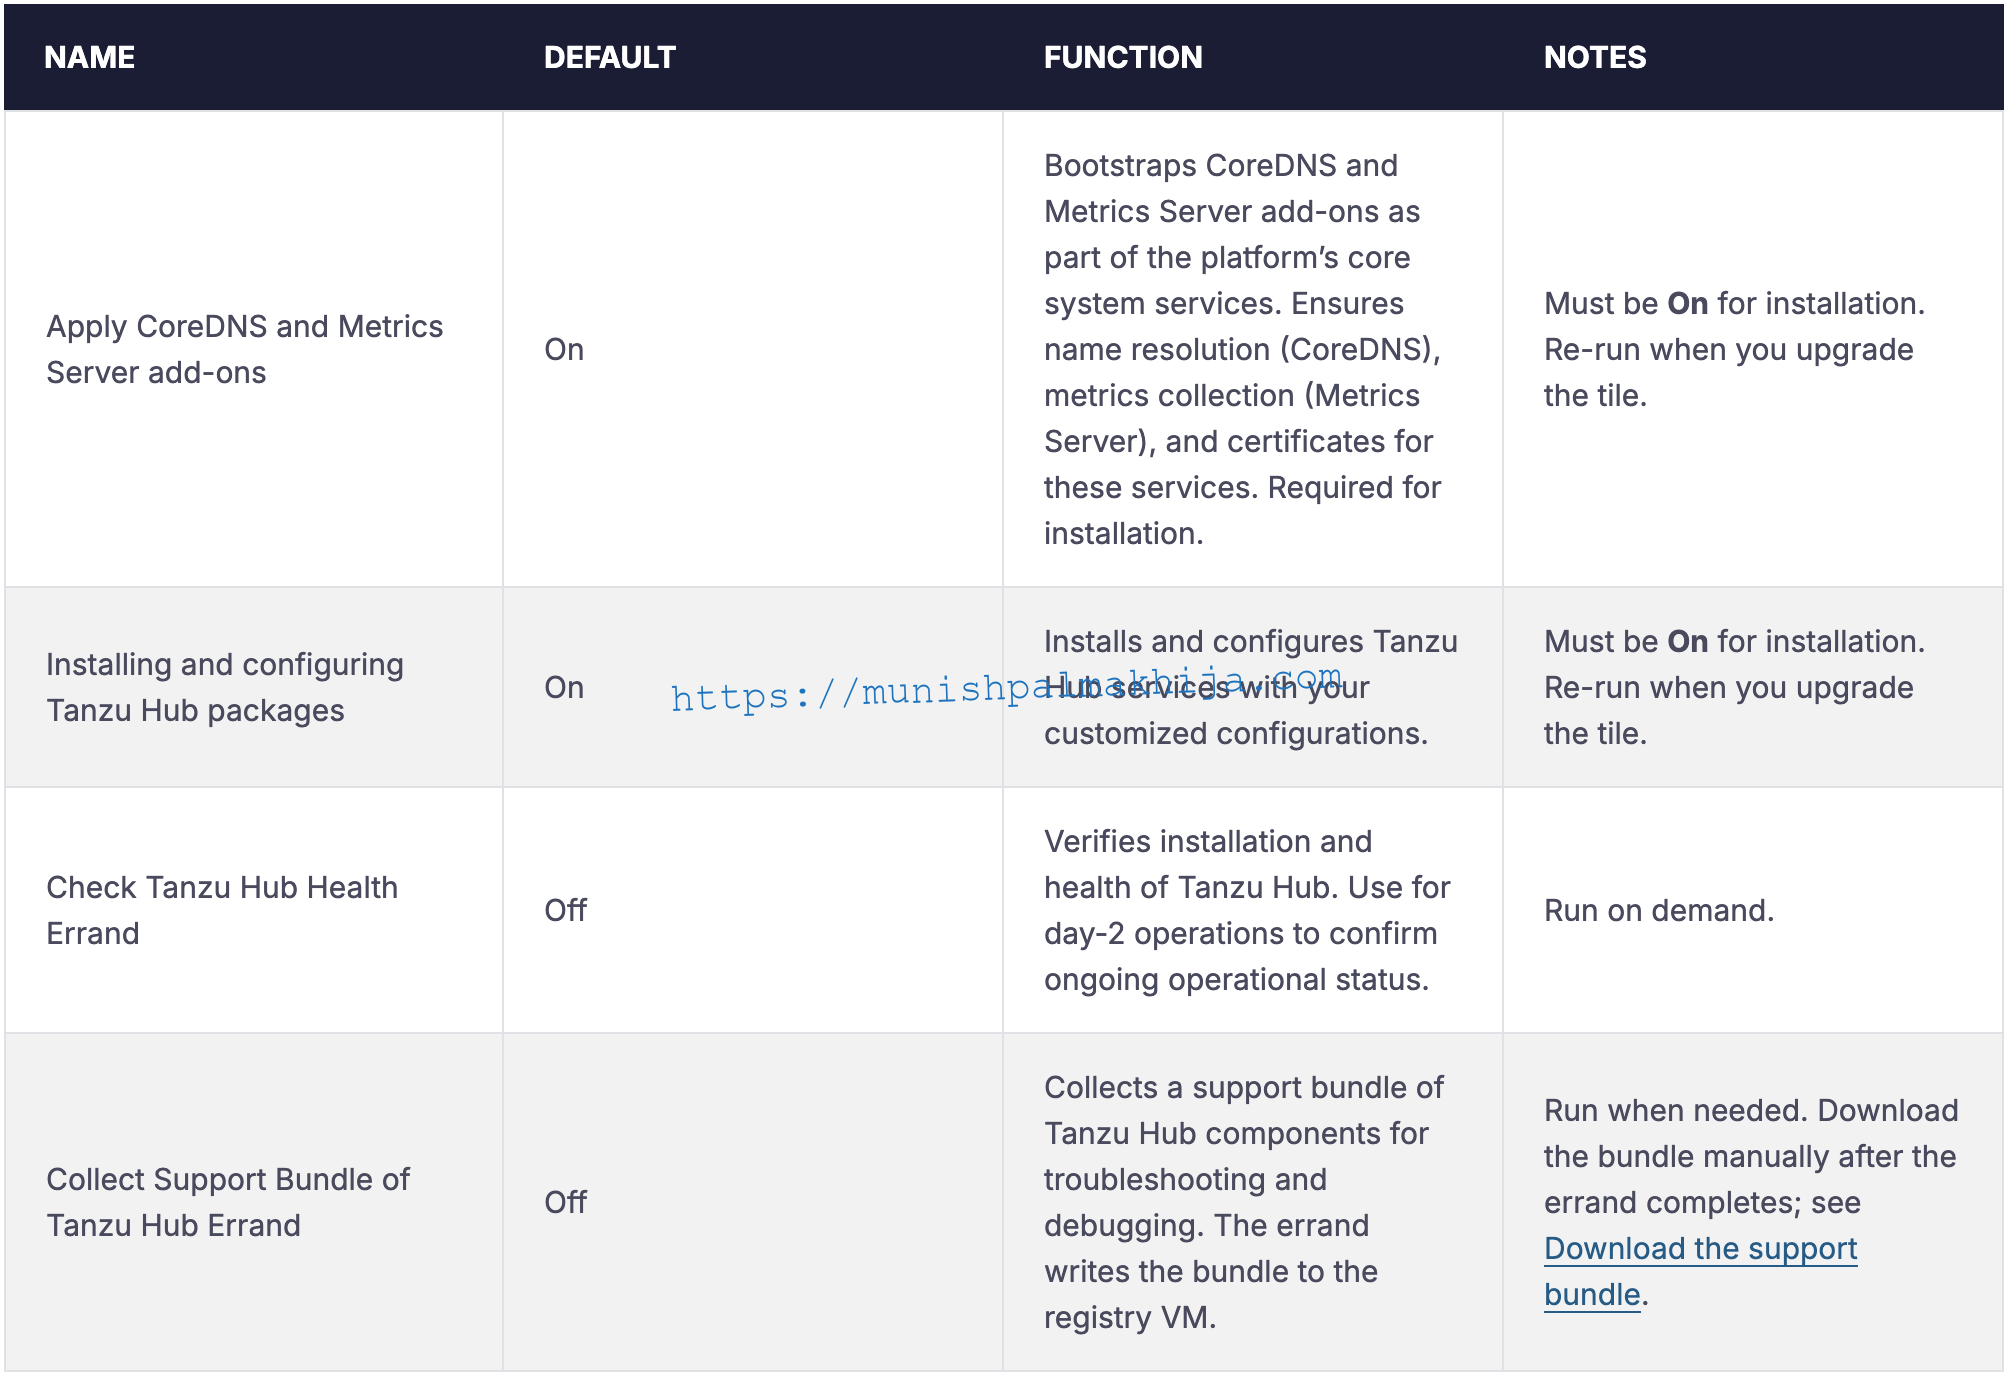
| Errands |
Errands are scripts that can run at the beginning and at the end of an installed product’s availability time. When deploying Tanzu Hub, Tanzu Ops Manager can run 5 post-deploy errands.
|
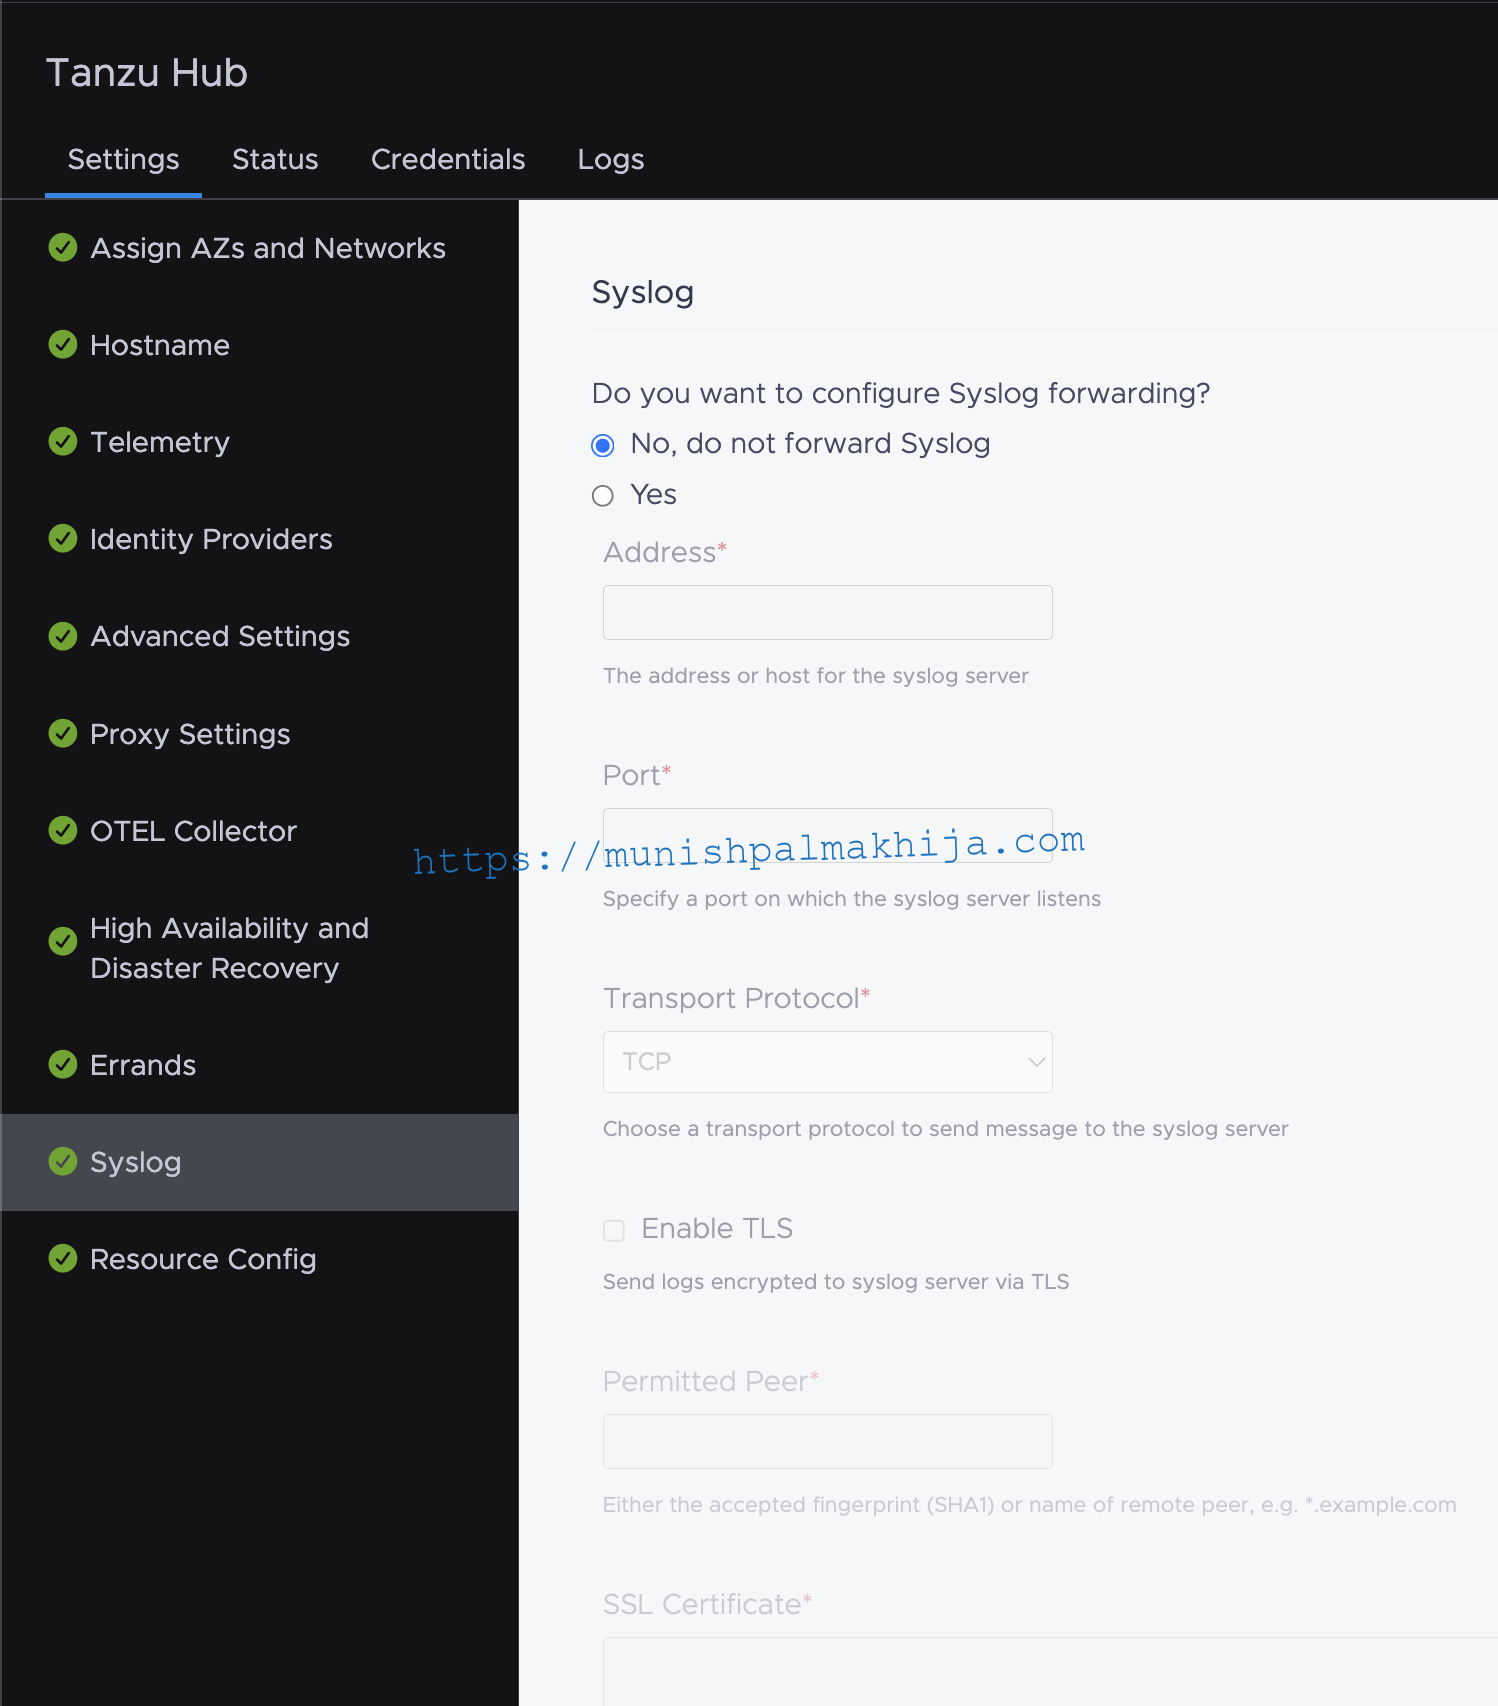
| Configure Syslog |
You can optionally configure to forward syslogs to external destination like Log Insight
|
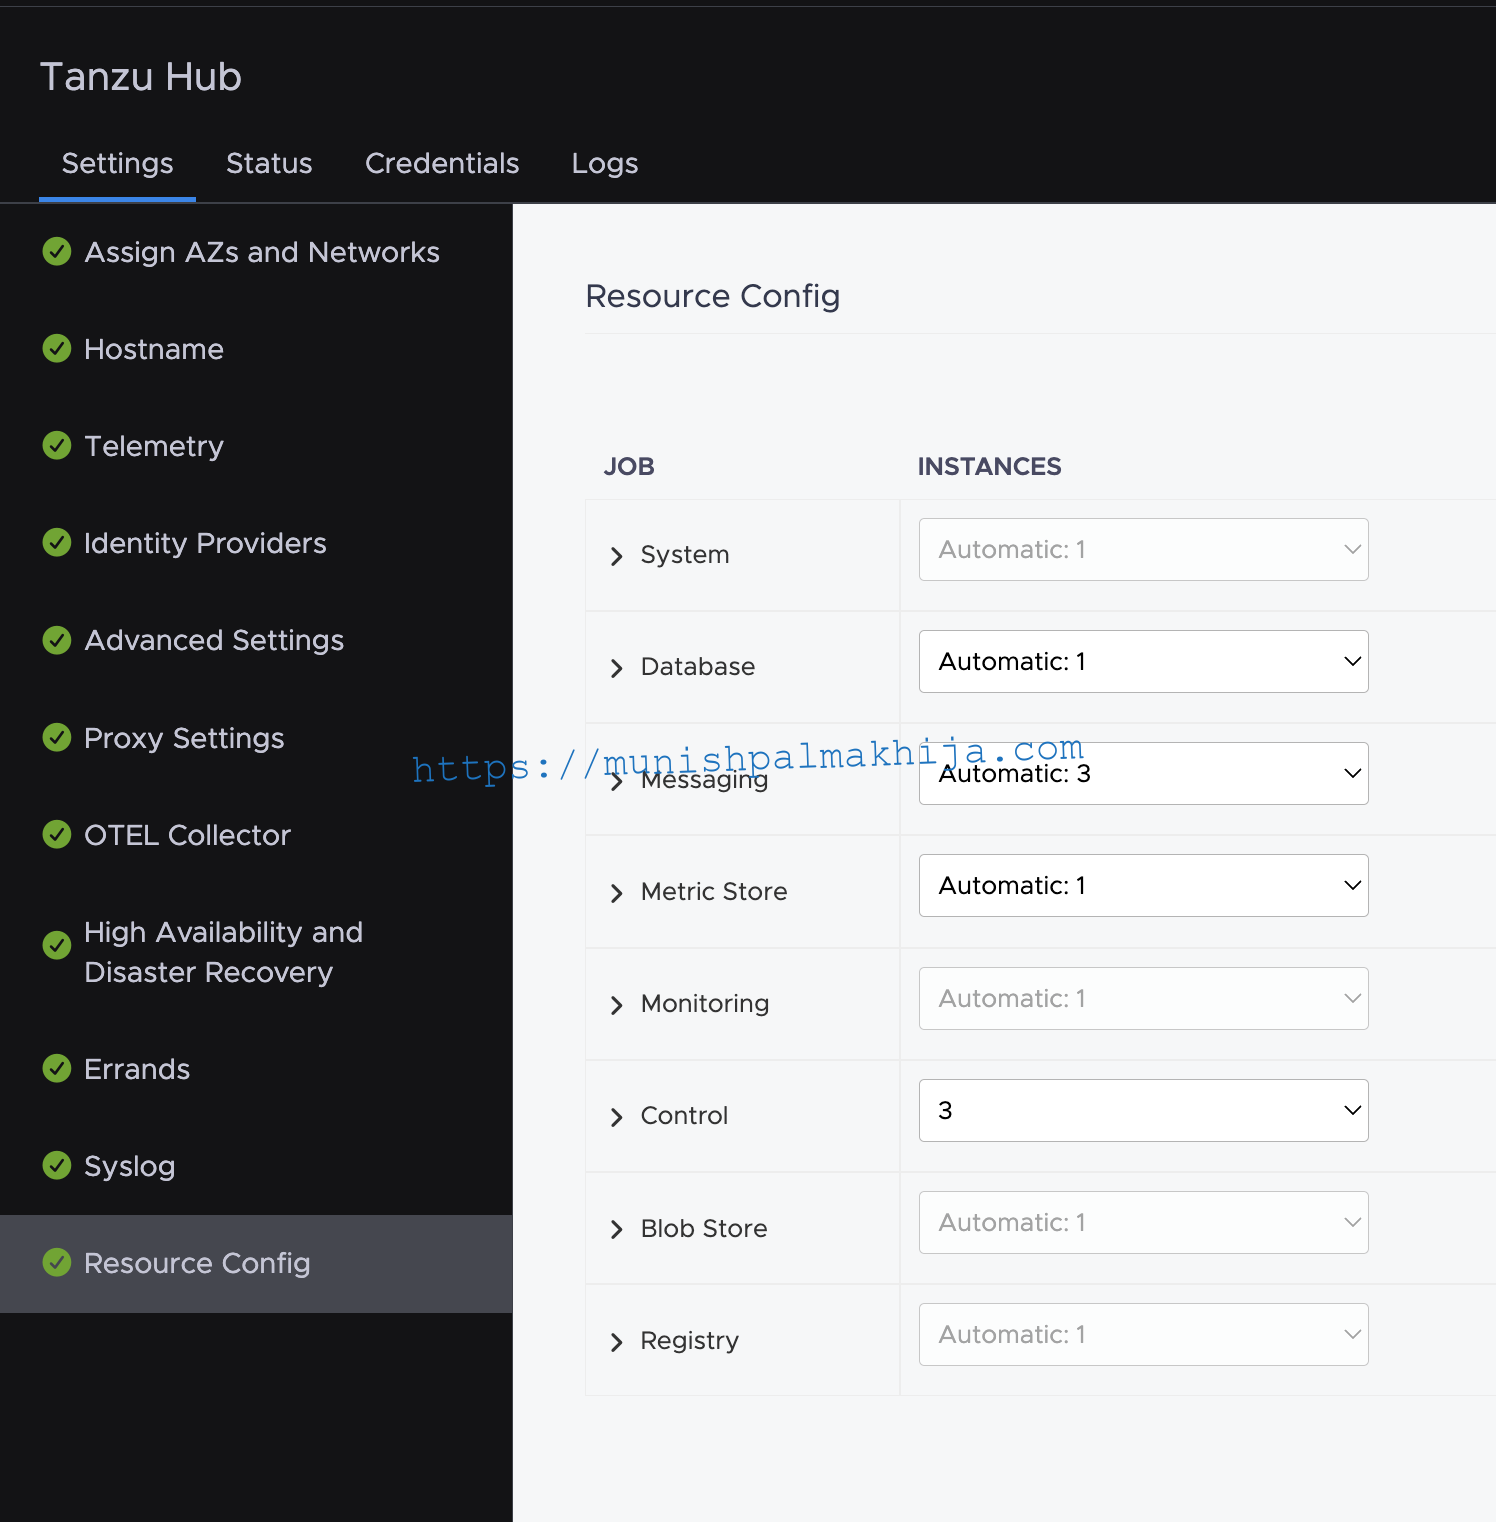
| Resources |
You can configure the resources for Tanzu Hub component VMs based on the sizing as mentioned above
|
Apply changes for VMware Tanzu Hub Configuration
Your installation is not complete until you apply your configuration changes.
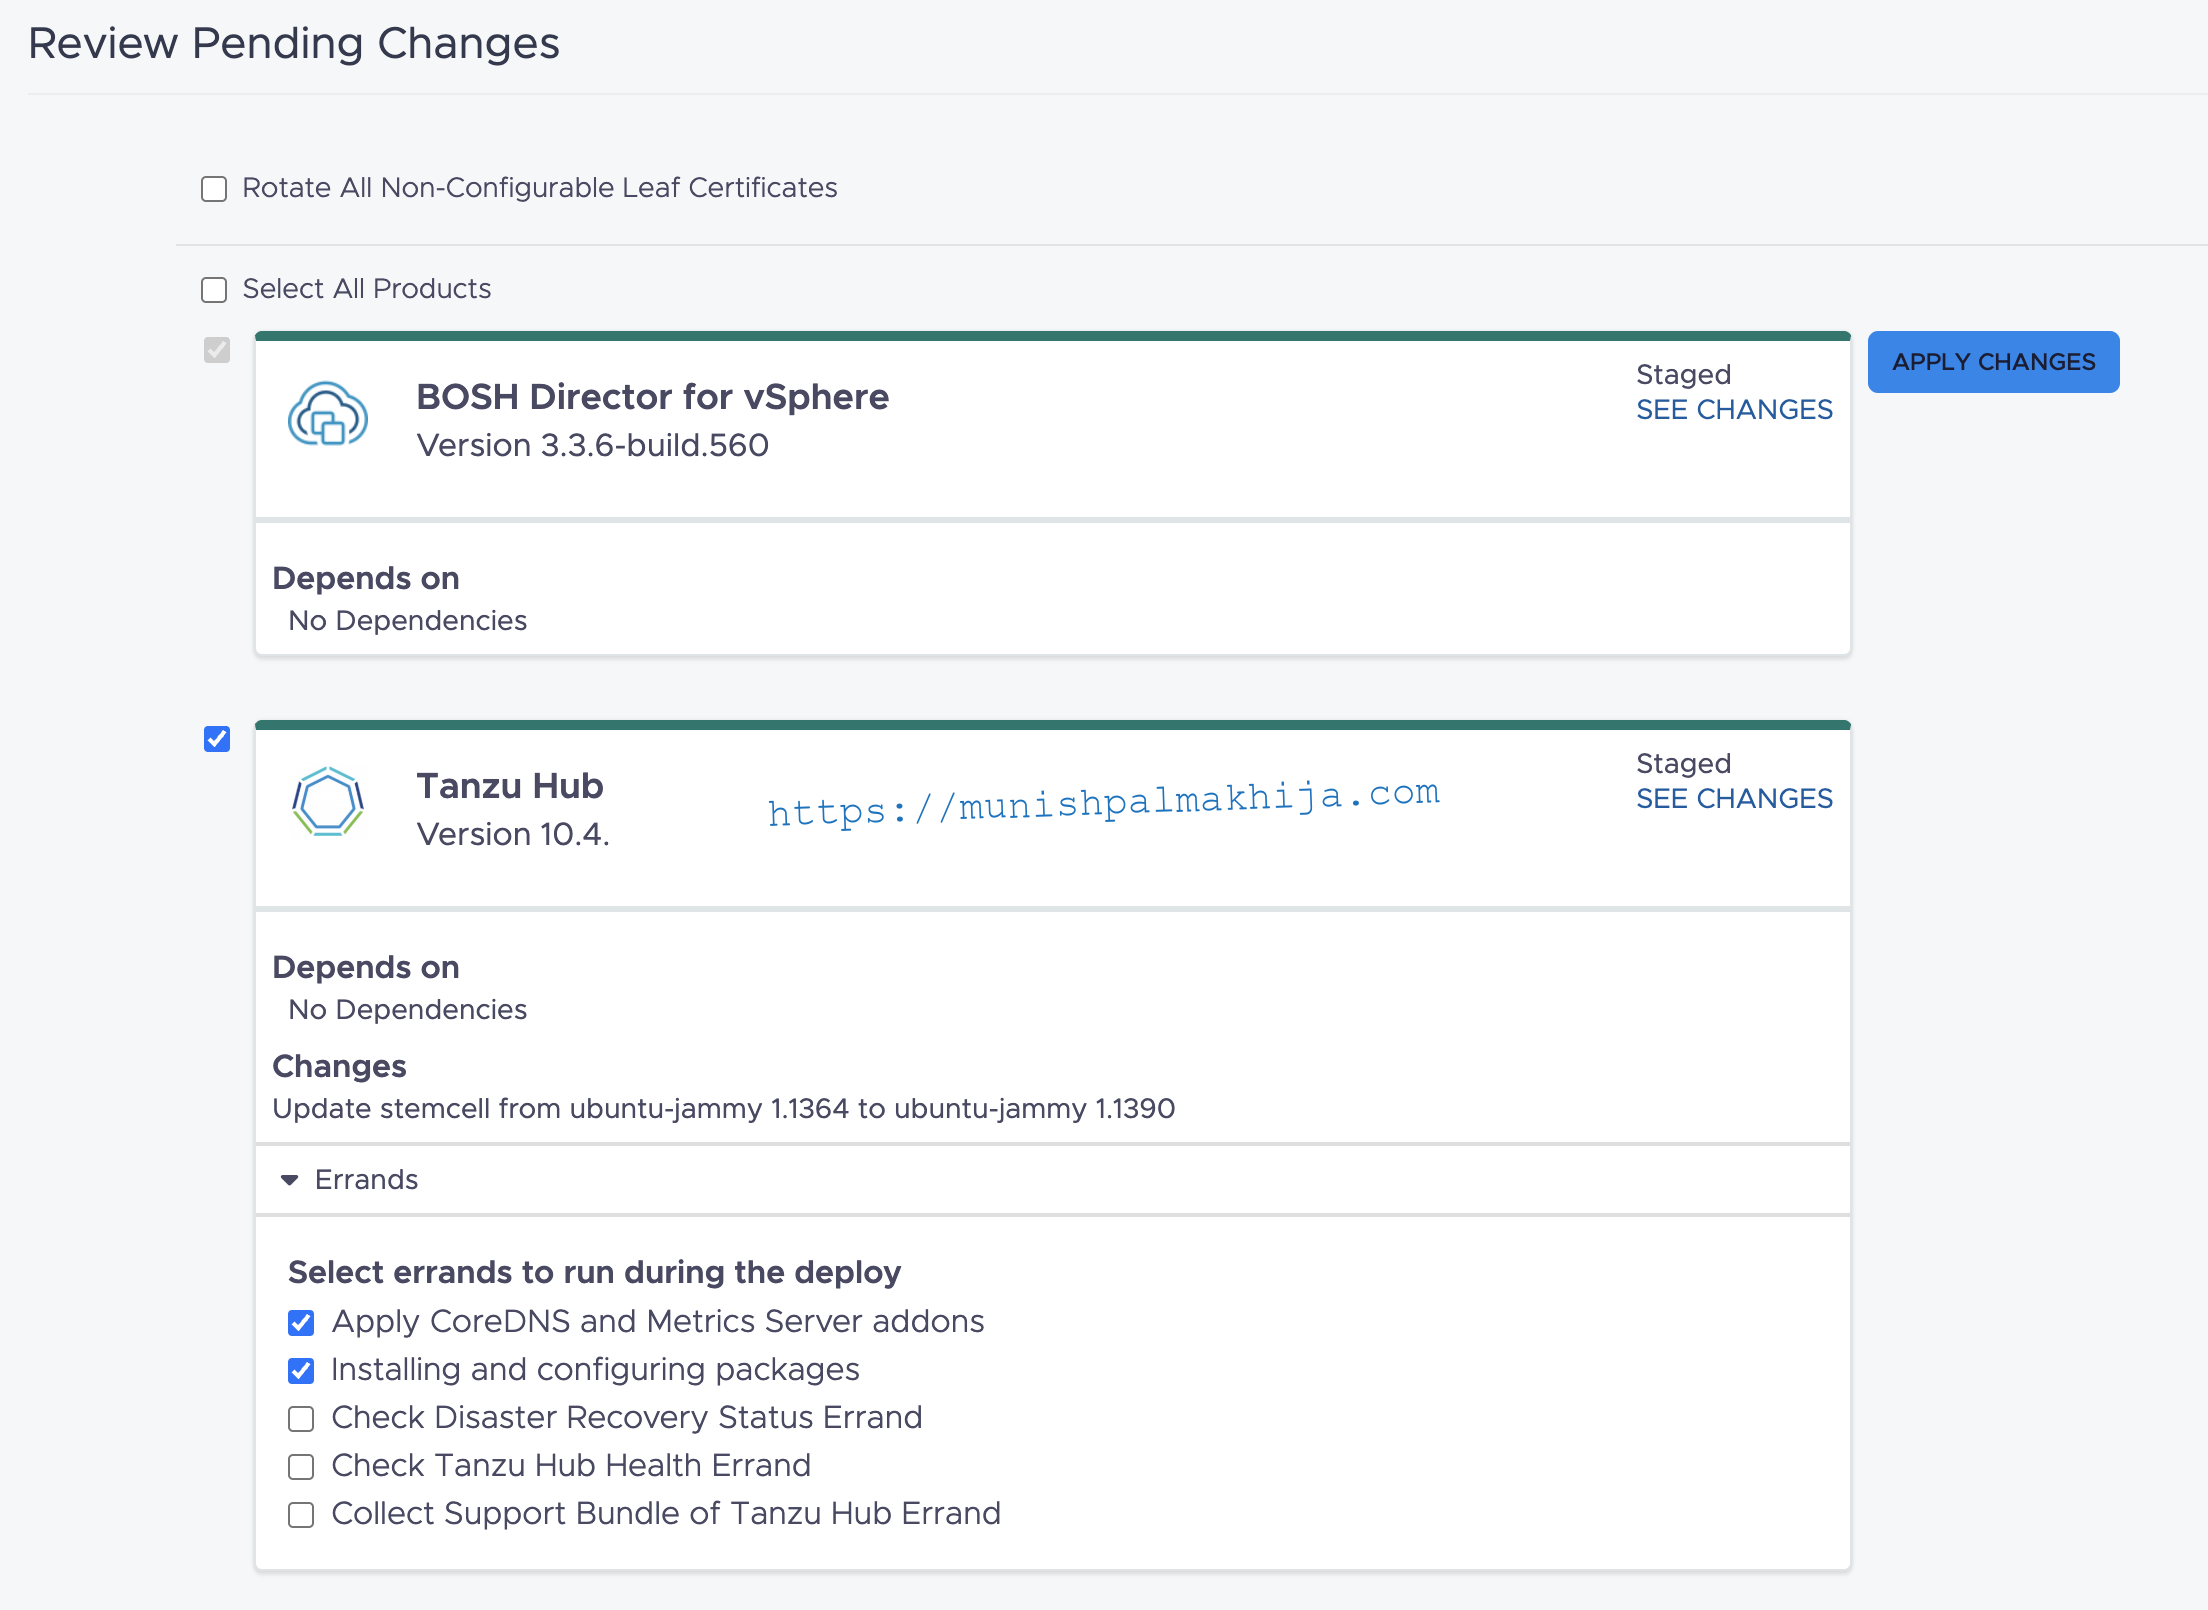
To apply the changes, navigate to Tanzu Operations Manager Installation Dashboard and click on Review Pending Changes in the upper right corner
Select the check box next to the Tanzu Hub product and click Apply Changes to trigger the deployment of VMware Tanzu Hub
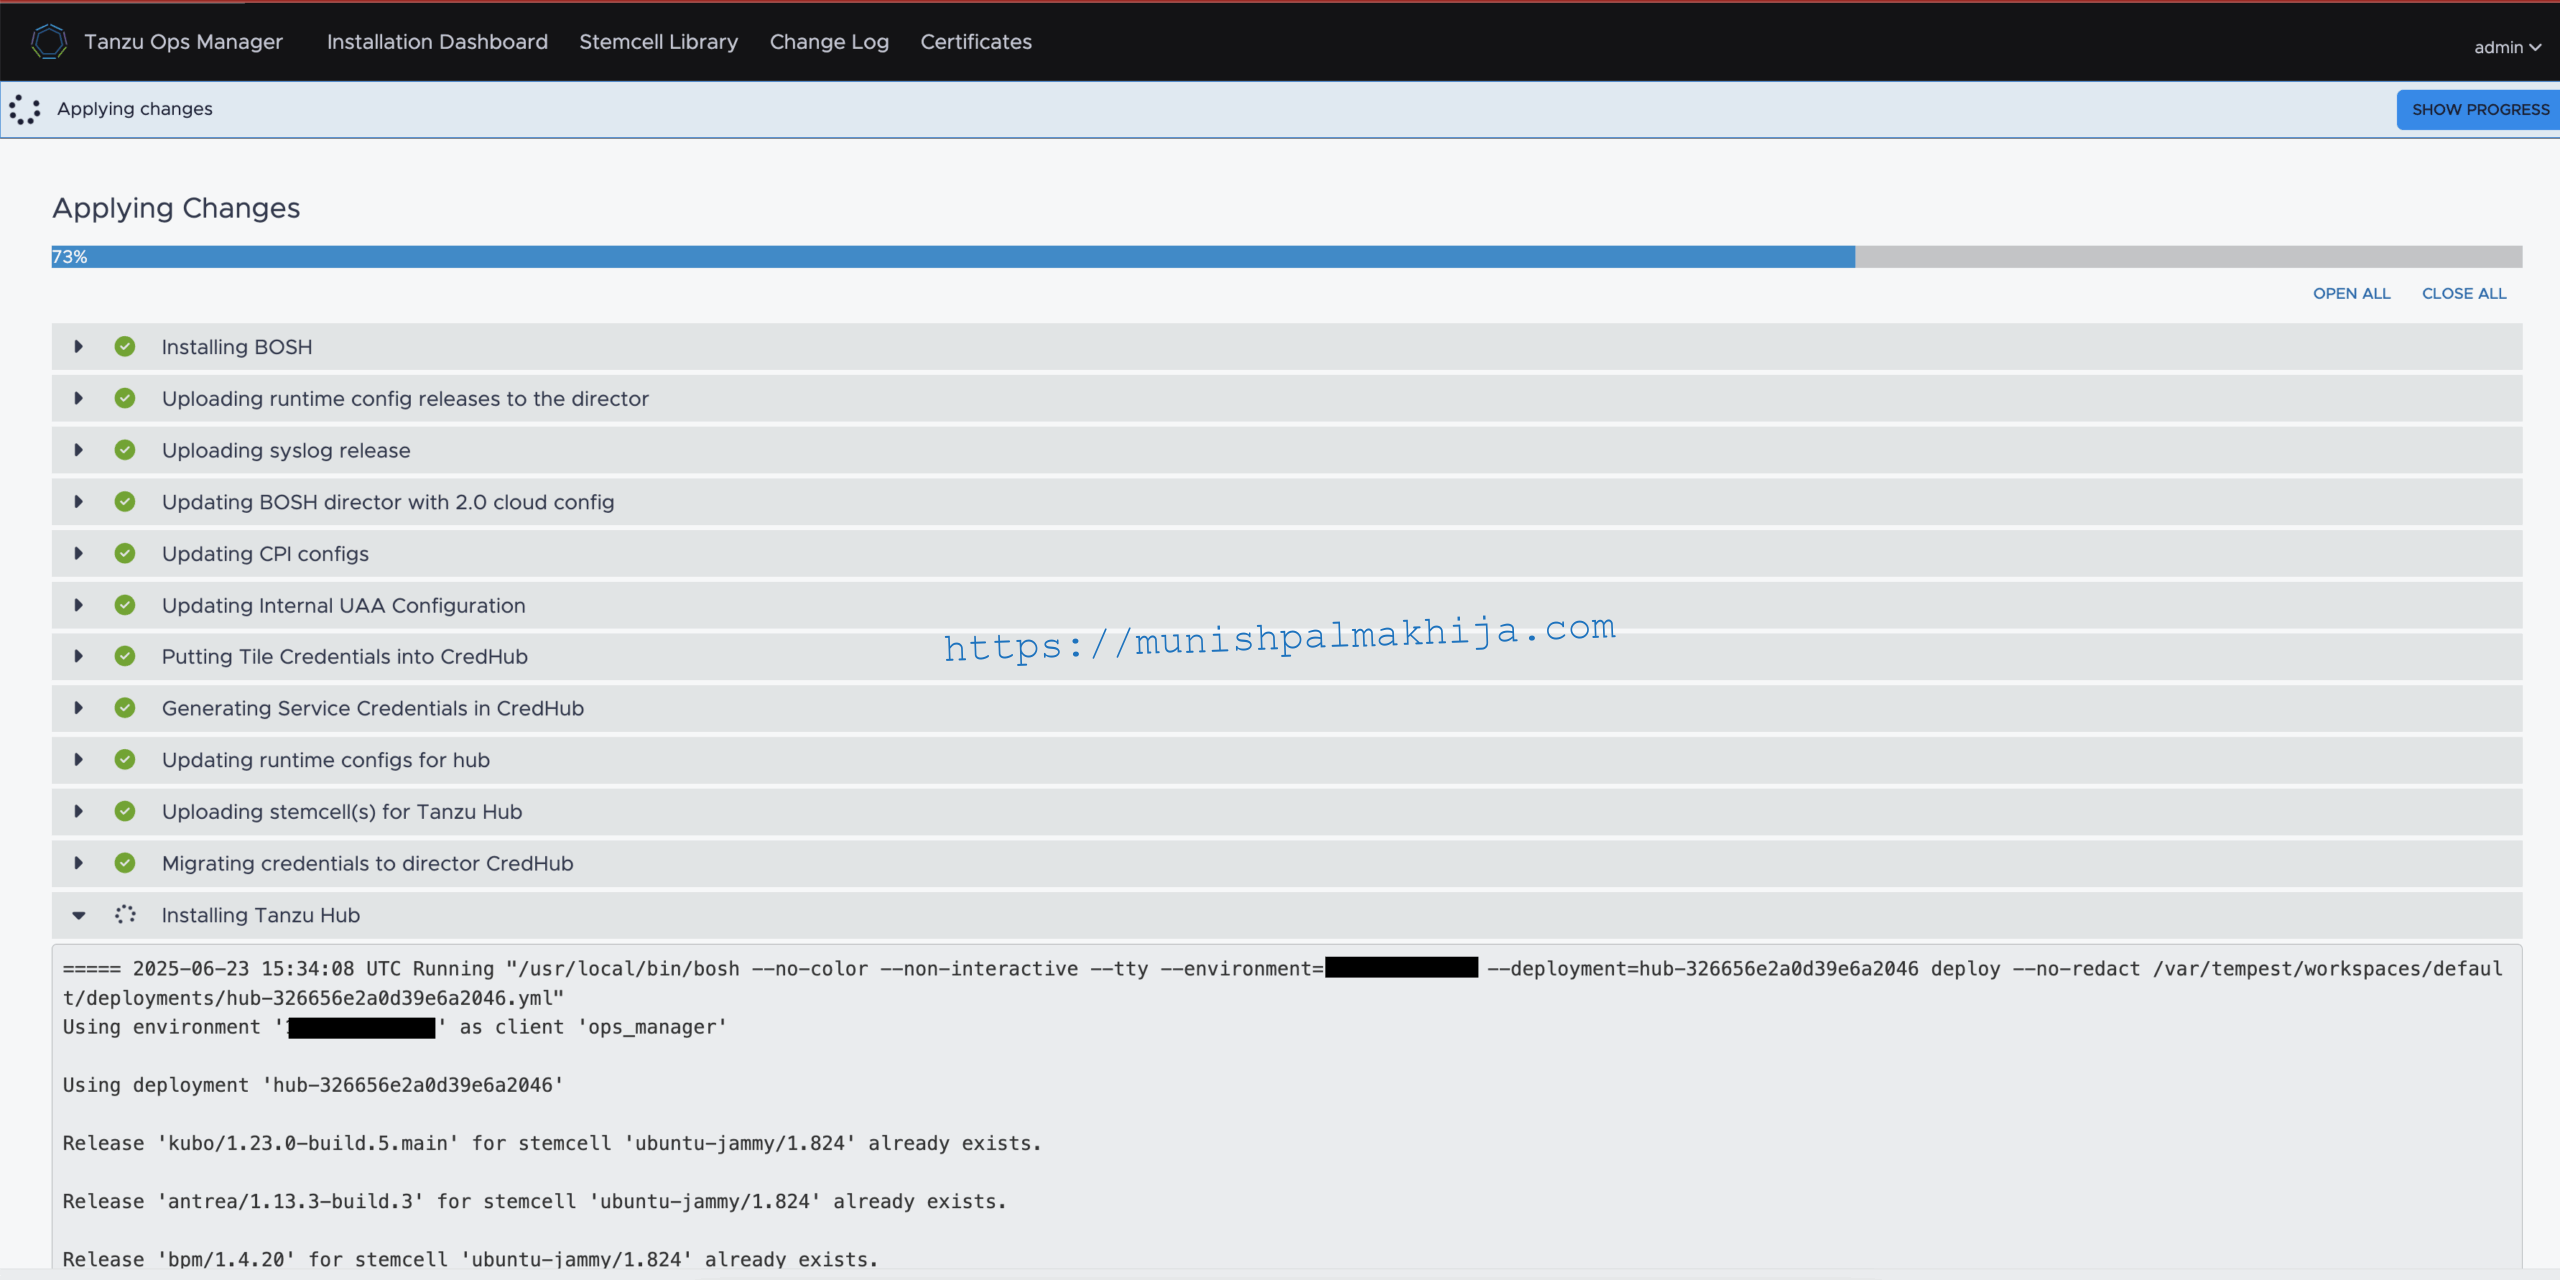
Installation can take up to 60-90 minutes, depending on the environment. The current timeout is configured for 120 minutes. In case it get’s timed out, then you can always re-run and it will validate and start from where it stopped.
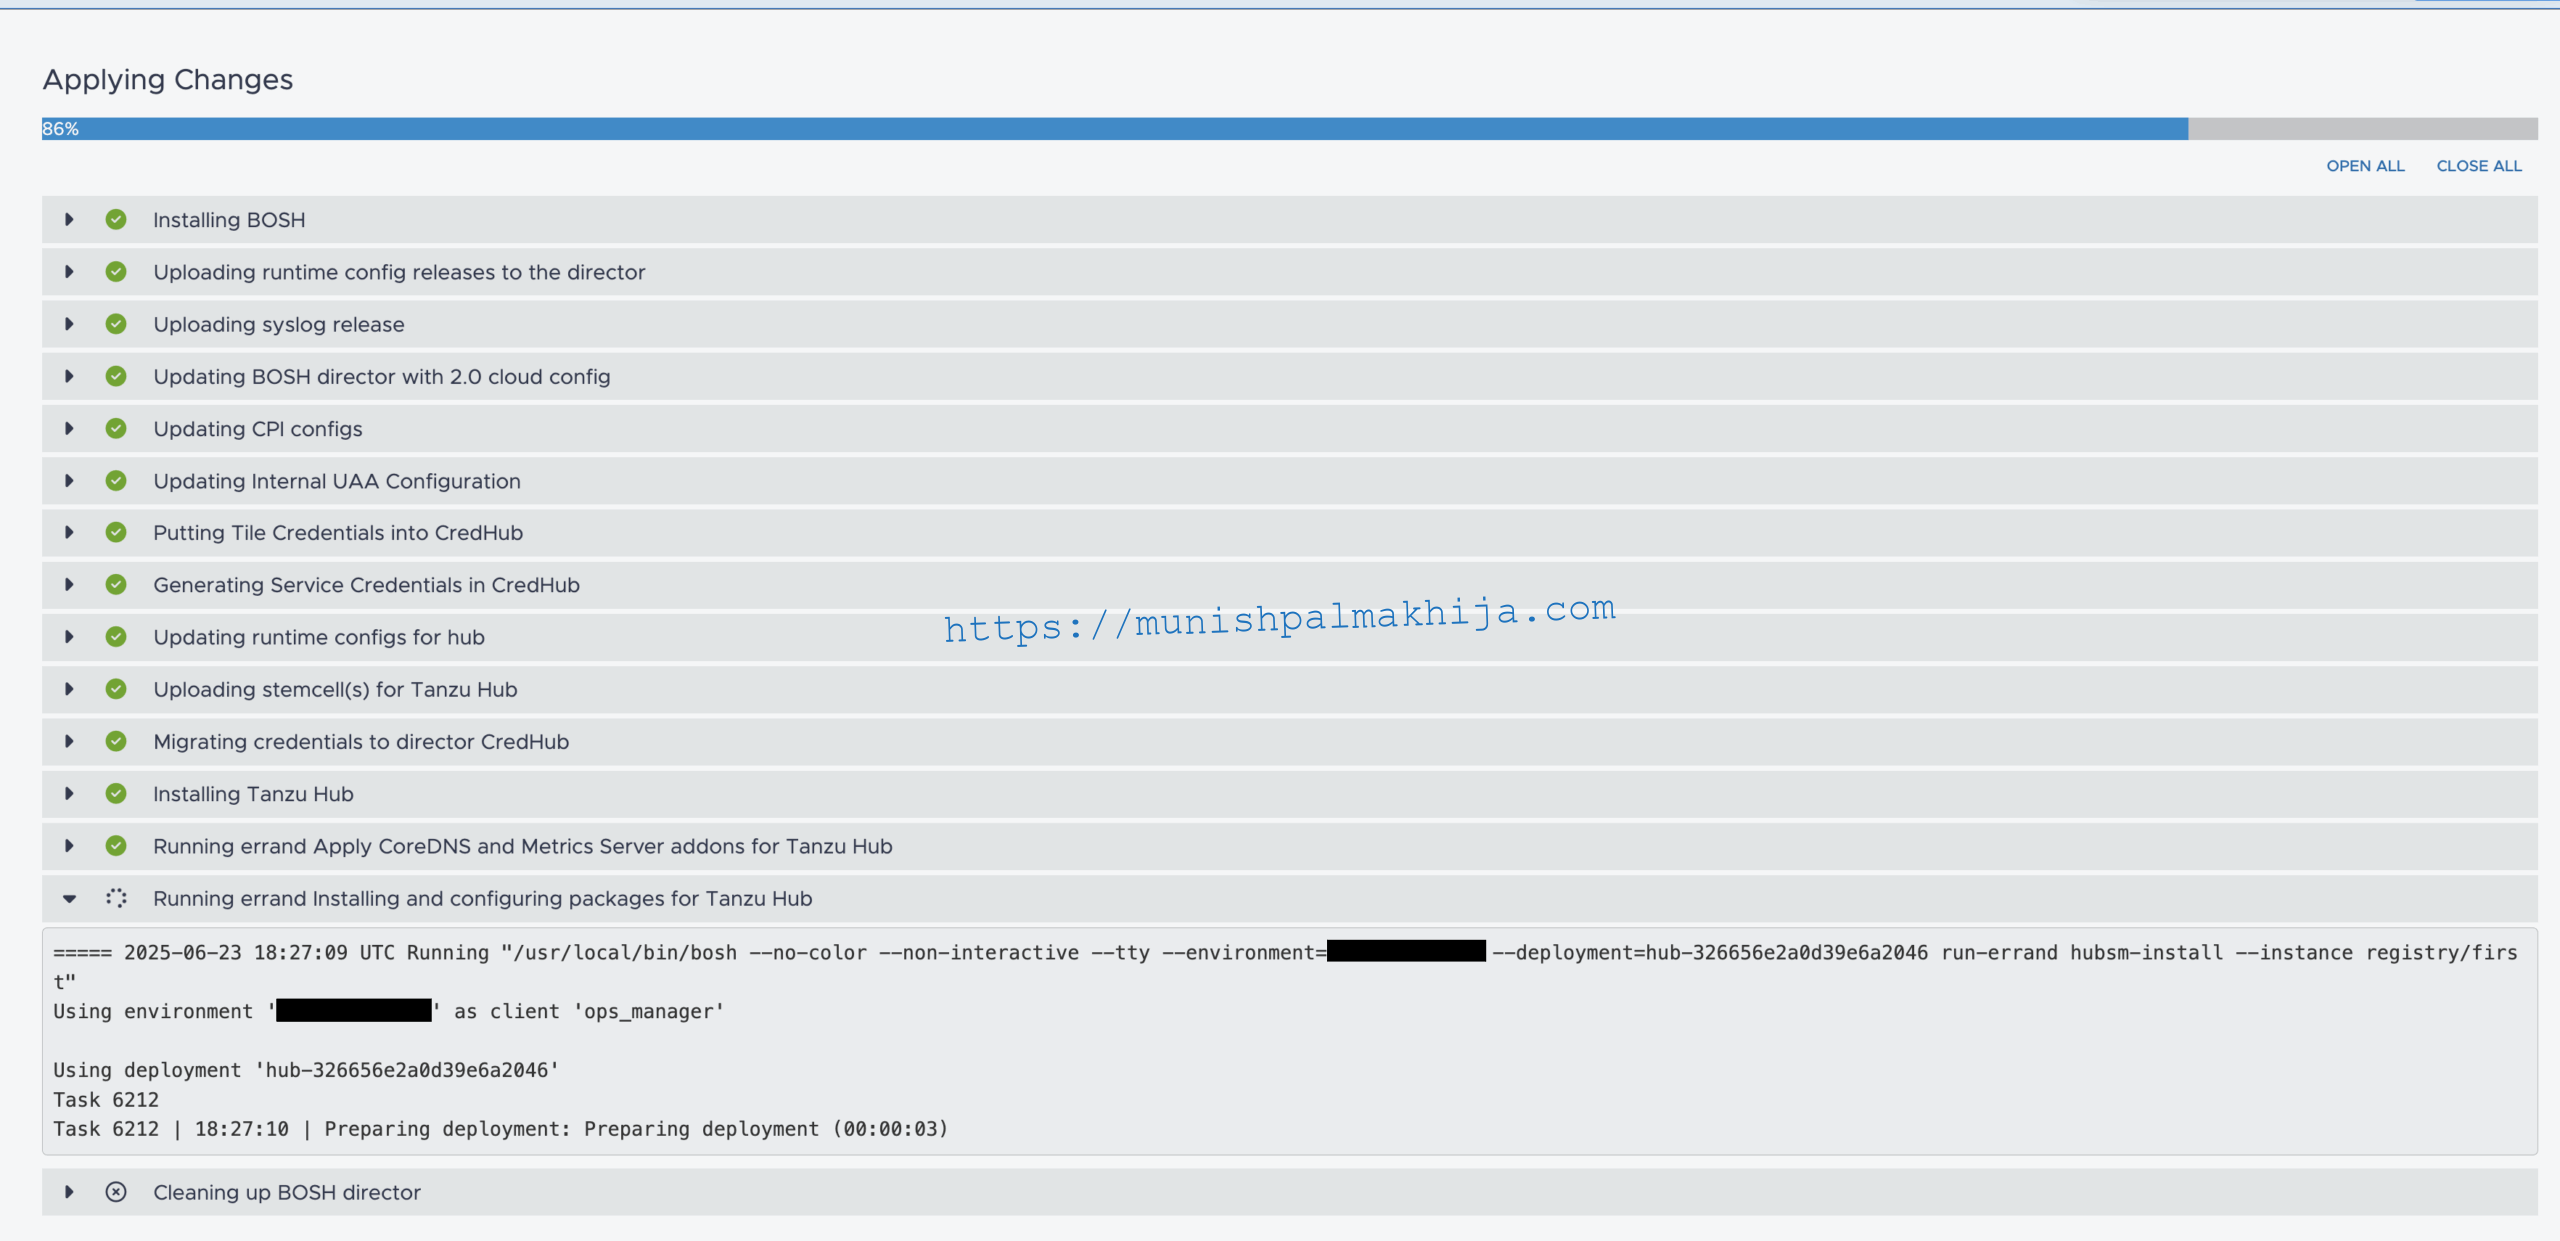
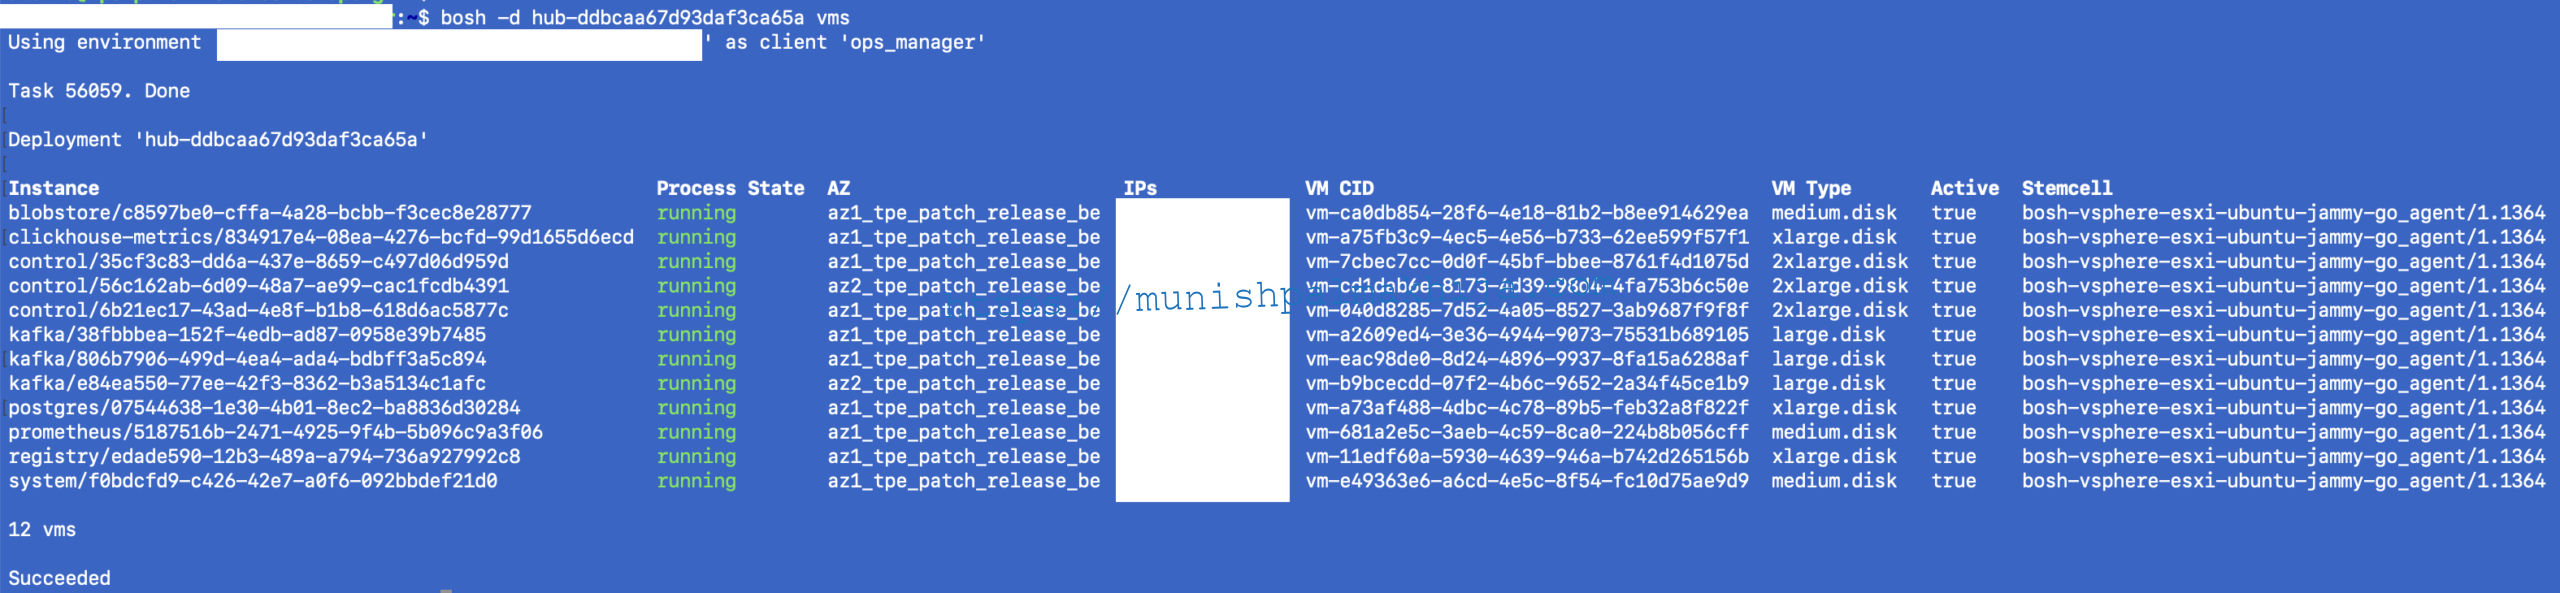
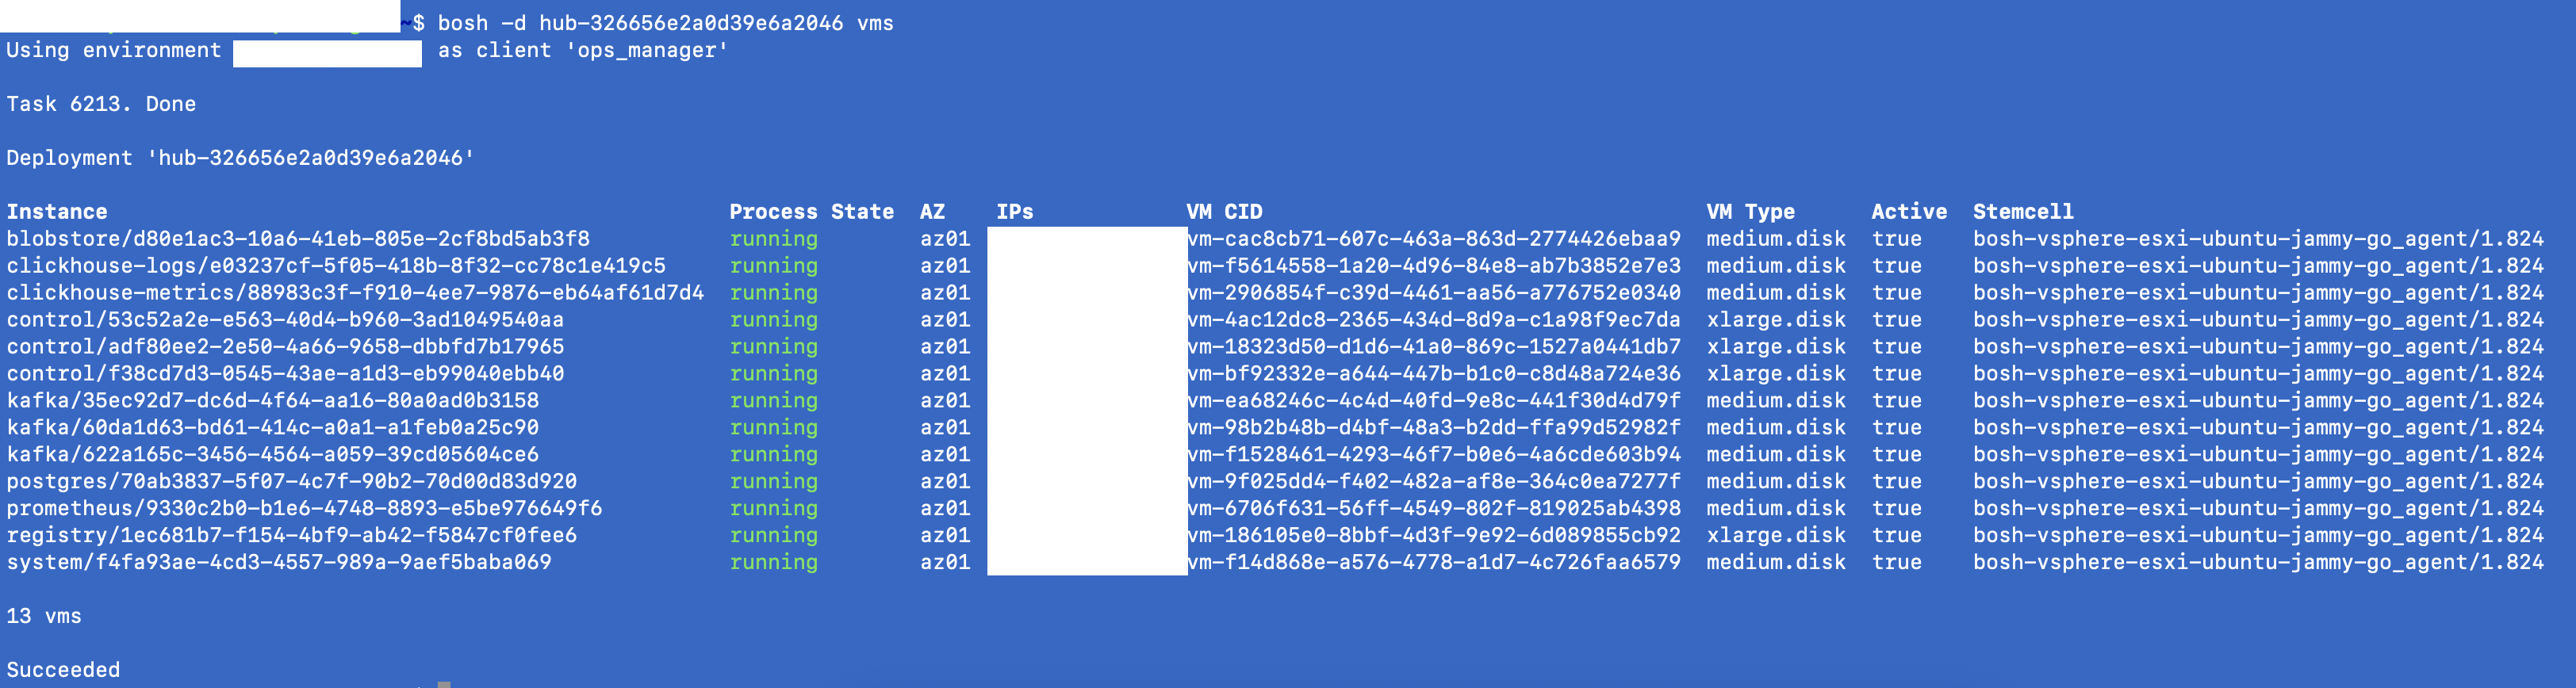
Once the deployment is successful, it will deploy 12 VMs
Access the VMware Tanzu Hub UI
Open the Web browser and navigate to the ingress FQDN
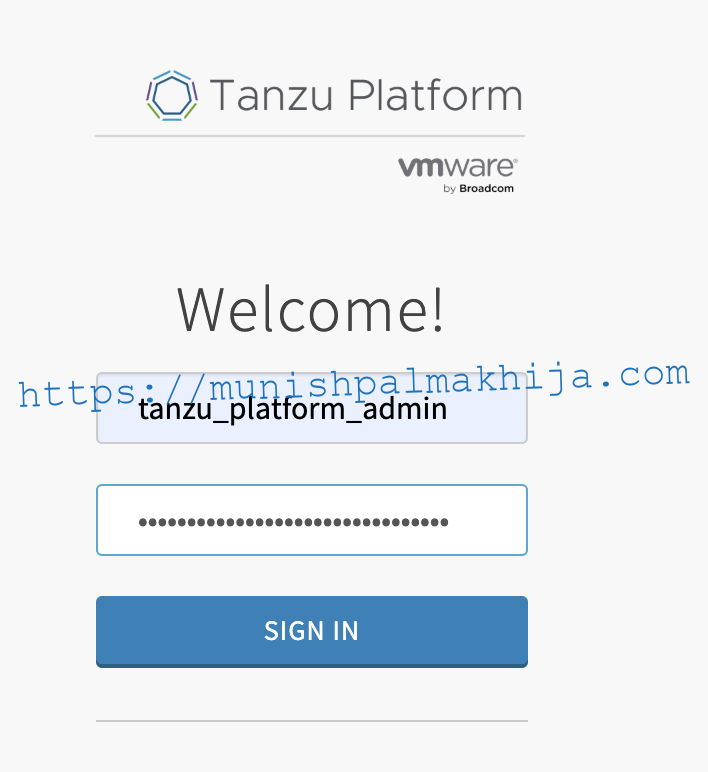
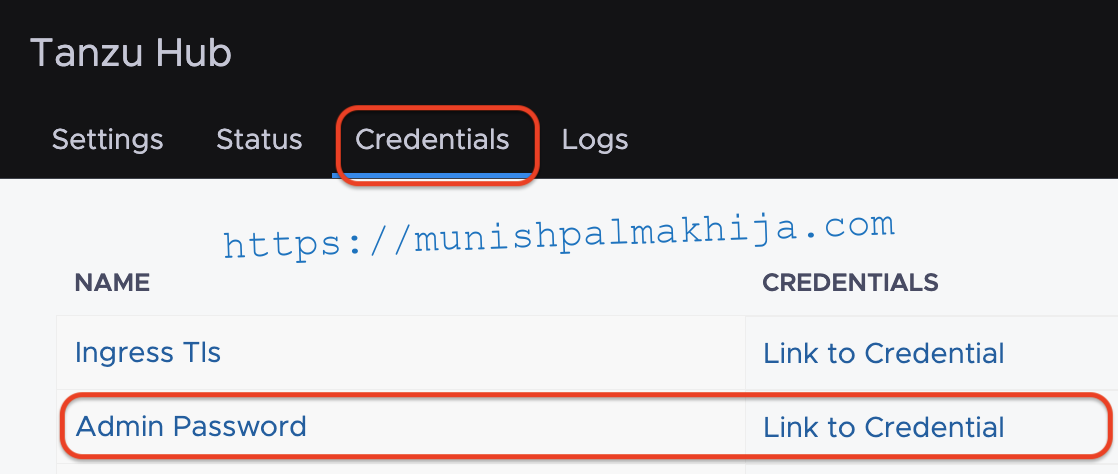
The username will be tanzu_platform_admin, and the password can be retrieved from the Credentials tab of the Tanzu Hub Tile.
Locate the Admin Password row and click Link to Credential
After you enter the credentials, you will be forced to change your password
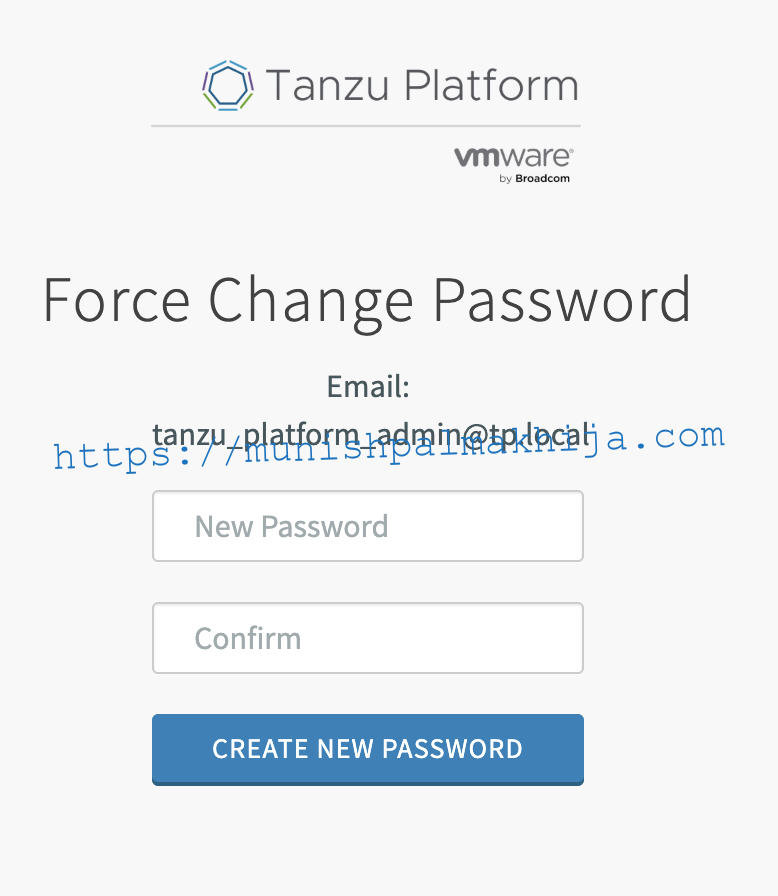
After you create a new password, the old password from the Credentials tab will not work.
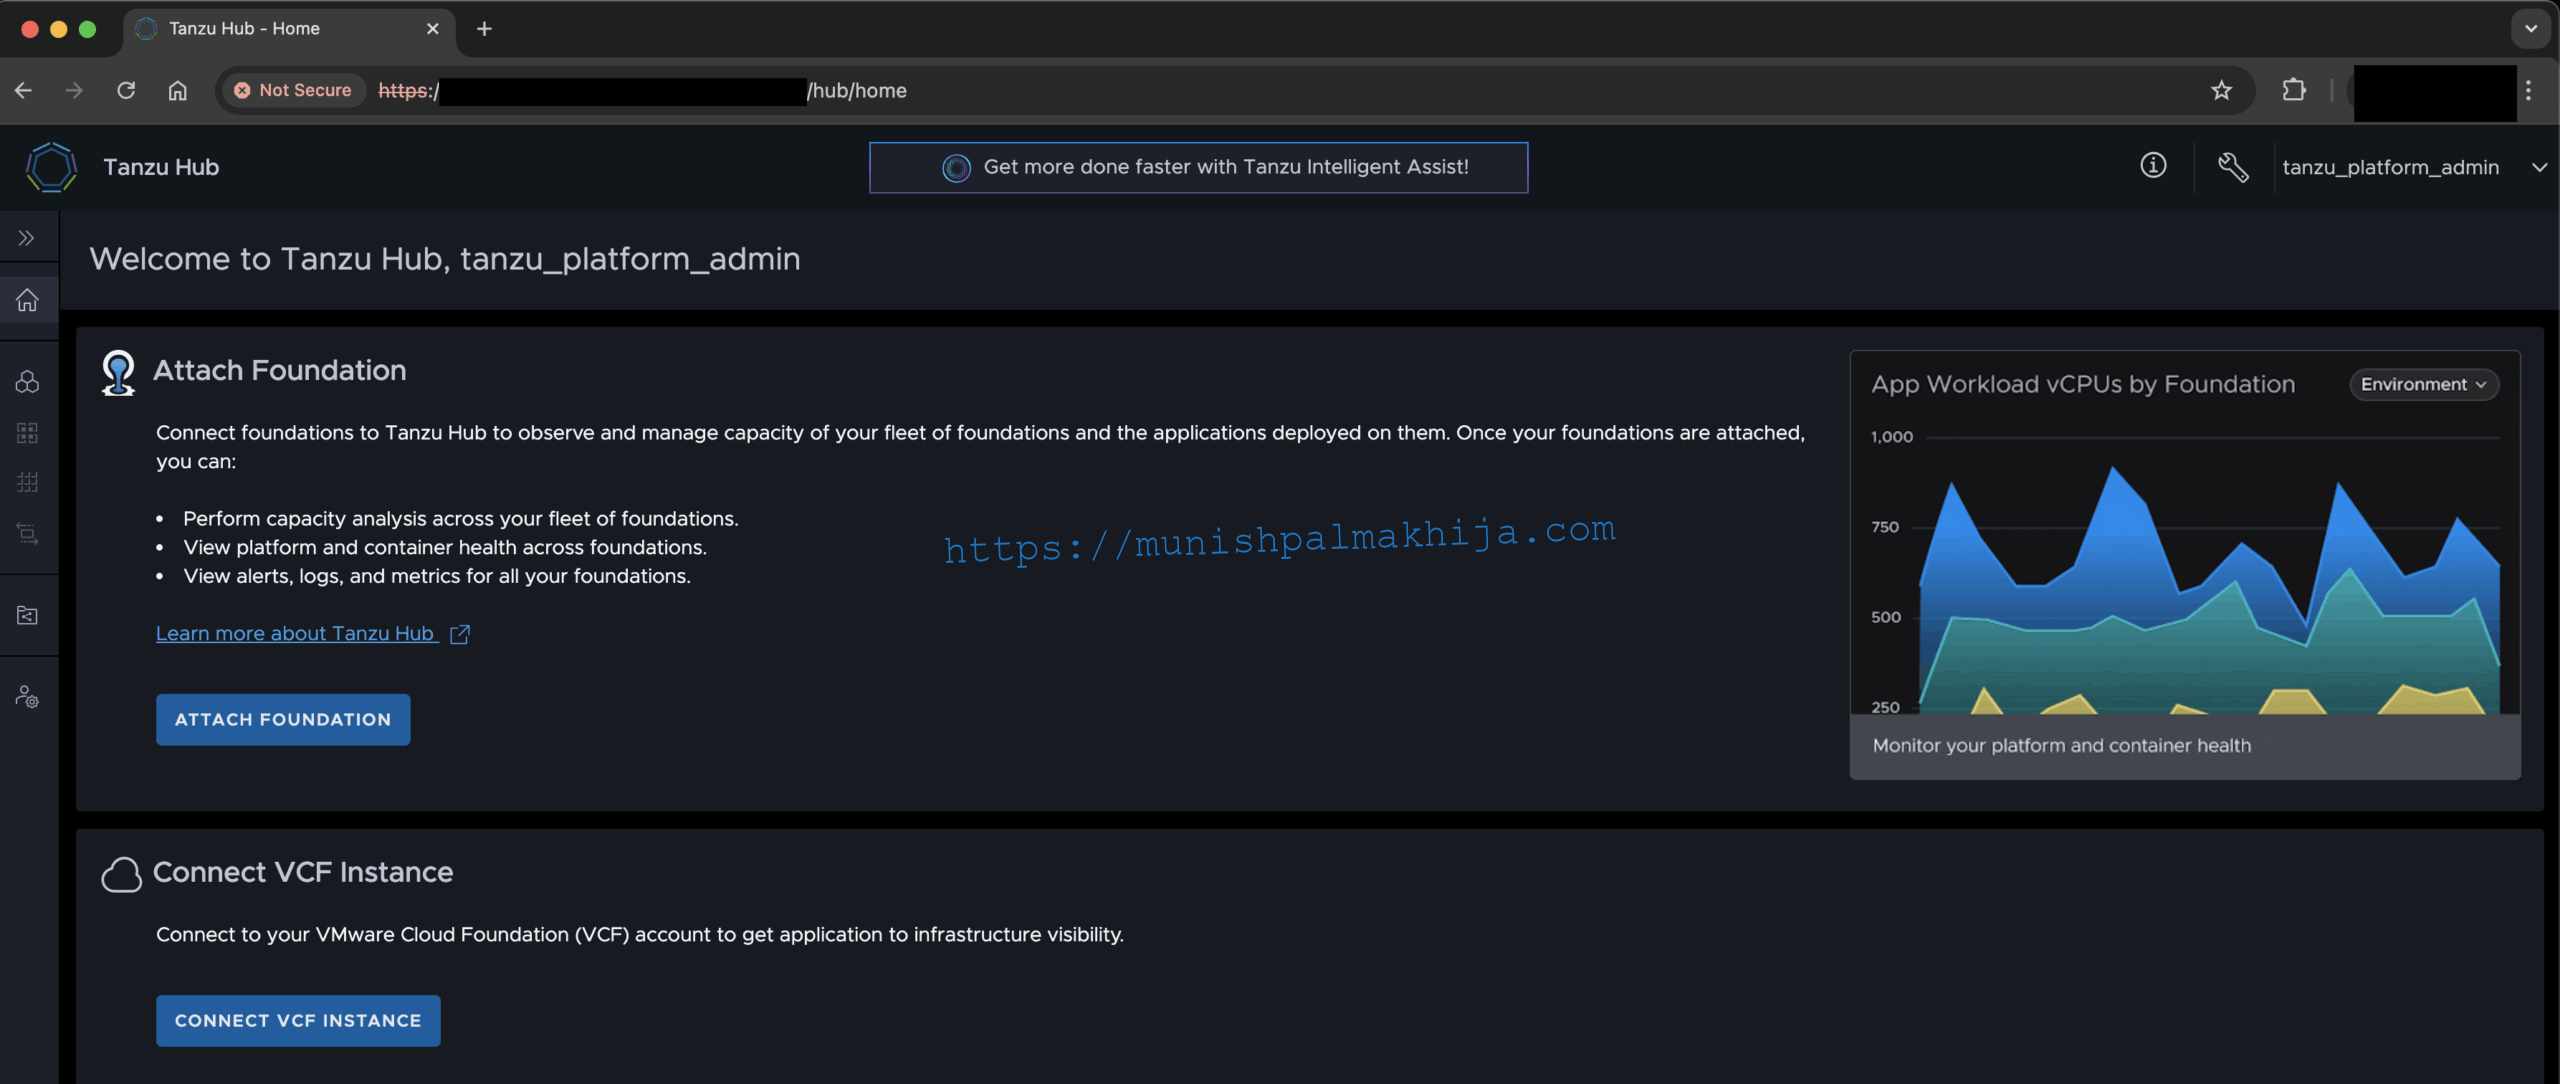
Post-Deployment & Initial Login Walkthrough
Post-Deployment & Initial Login Walkthrough
There are a couple of tasks that are recommended post-initial login
License Activation
Starting in 10.4, unlocking navigation features requires applying a valid license key
Once logged in as an administrator, navigate to Administration > Licenses in the left-hand navigation pane.
Click + Add new license key.
Enter your valid 10.4 Tanzu Platform license key provided via the Broadcom Support Portal.
Click Apply. Refresh the browser window to unlock all features, dashboards, and TIA capabilities.
Map Role-Based Access (RBAC) for External Users
By default, new external users (SSO/LDAP) have no permissions assigned; they will encounter a “You have no permissions” screen upon their first login.
Have your external users log into Tanzu Hub once to auto-create their user profile in the local directory, then log out.
Log back in as tanzu_platform_admin.
Go to Administration > Role Bindings.
Click Add Role Binding, select the external user or group, and bind them to the appropriate scope (e.g., Global Admin, Organization Admin, or Space Developer).